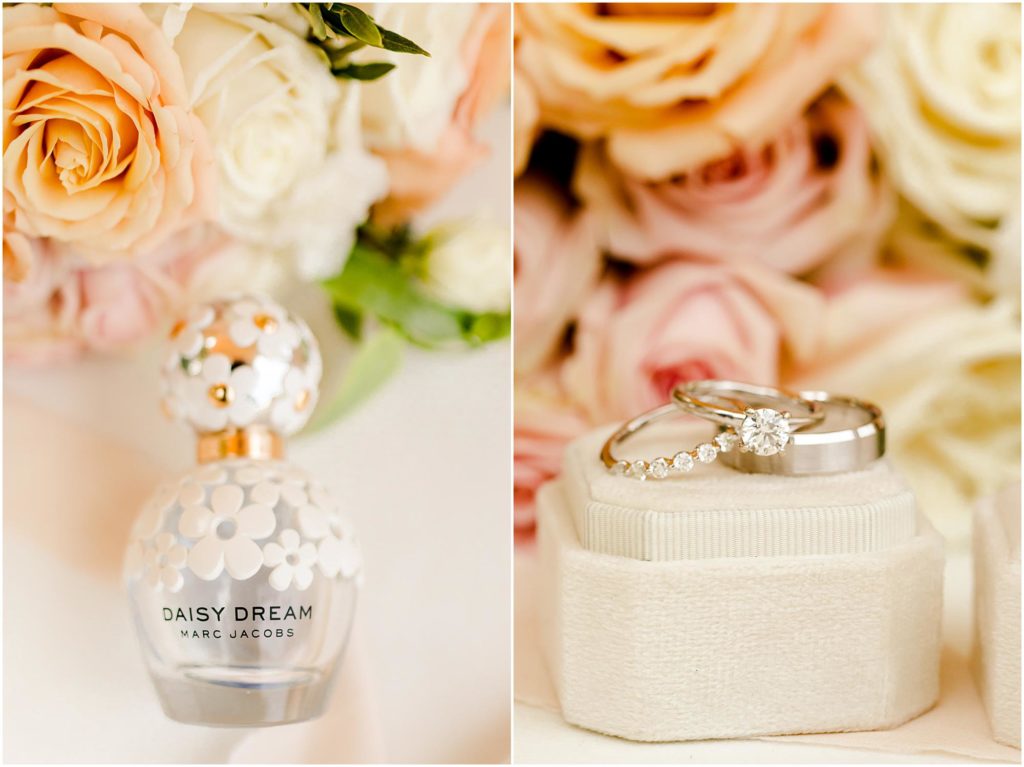
Getting those stunning bridal detail shots on a wedding day isn’t just about pointing your camera at pretty things – it’s an art form that requires technical skill, creative vision, and efficient time management. We’ve spent countless hours perfecting these techniques, and we’re sharing our proven approach to capturing the intimate details that tell the complete story of a wedding day.
While detail photography is just one piece of what we do, it plays a key role in creating beautiful wedding galleries. If you’re beginning your photography career or looking to improve your craft, having a solid foundation makes all the difference. This includes choosing the right gear for your style, knowing how to work with challenging light, and creating a well-planned schedule that gives you time to capture everything. For photographers just starting out, we always recommend working alongside experienced photographers to build confidence and develop your eye.
Let’s explore the techniques and creative approaches that will elevate your detail photography to the next level.
Table of Contents
Essential Equipment for Wedding Detail Photography
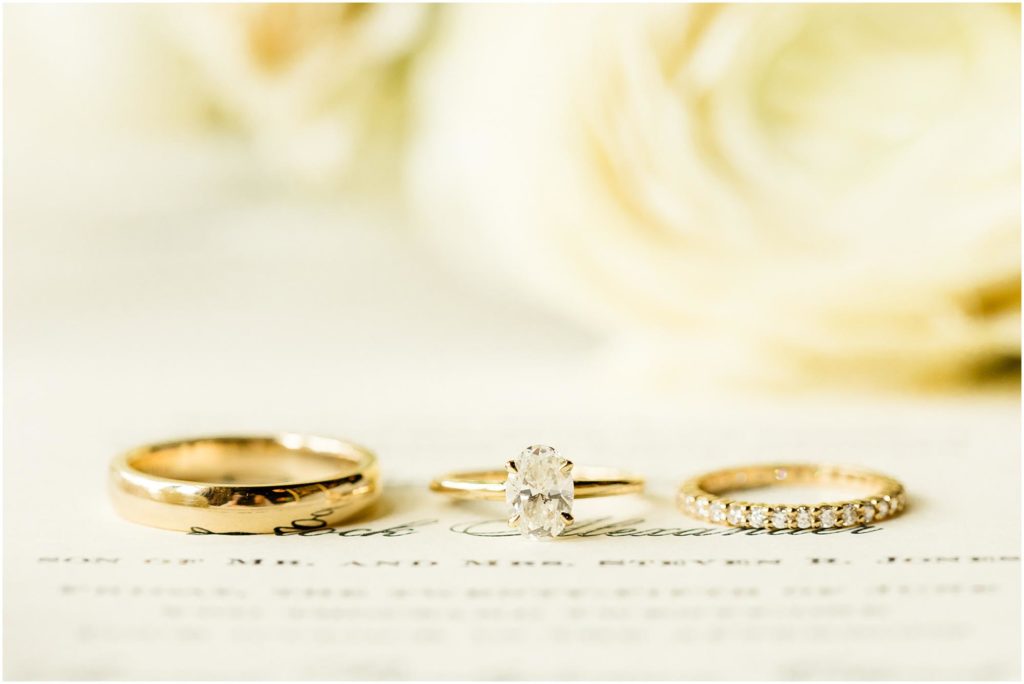
Understanding your gear inside and out is crucial for consistent, professional detail photography. While your regular portrait lenses can capture decent detail shots, investing in specialized equipment will elevate your work to the next level.
For camera bodies, full-frame sensors offer superior low-light performance and better depth of field control. However, crop sensors can actually be advantageous for macro work, giving you extra reach when shooting tiny details. The most essential lens in our wedding detail styling kit is a 100mm macro – it’s perfect for ring shots and provides excellent compression for flat lays. We also keep a 50mm prime handy for wider detail shots of larger arrangements and venue features.
Lighting equipment can make or break your detail shots. We always pack a 5-in-1 reflector, a speedlight with reflector, and an umbrella to diffuse light. Natural window light is beautiful, but having these tools ensures we’re prepared for those dark hotel rooms or cloudy days. Position your light source at a 45-degree angle to your subject for the most flattering shadows and highlights.
The styling kit is where the magic happens. Our must-haves include: three neutral-colored styling mats (light grey, cream, and taupe), vintage ring boxes in various sizes, clear acrylic blocks for elevation, silk and chiffon ribbons in wedding-neutral colors, and small styling tweezers for precise adjustments. We also pack a few emergency items like double-sided tape, cleaning cloths, and straight pins.
Mastering Ring Photography Techniques
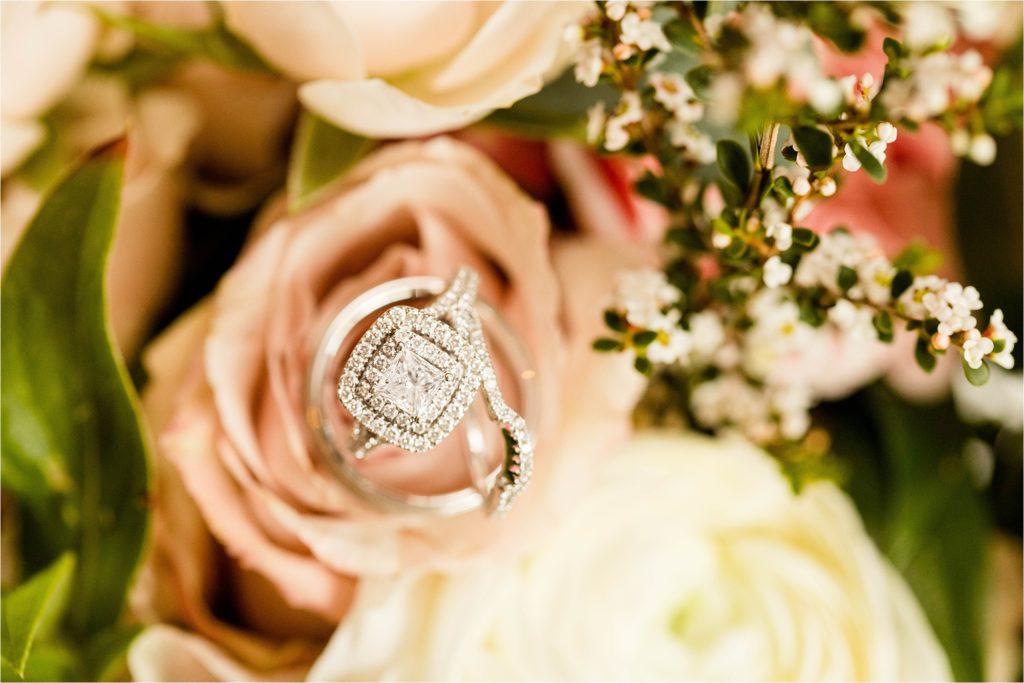
Ring photography is where technical precision meets creative expression. Start by thoroughly cleaning the rings with a jewelry cloth – even the tiniest fingerprint can show up in macro shots. In a perfect world and for optimal sharpness, we would use a tripod whenever possible and trigger the camera with a remote or 2-second timer to eliminate camera shake….BUT…that’s not very realistic on a wedding day. I remember trying this early on and though we were able to get some killer shots, it just wasn’t worth juggling all those logistics.
When taking those ring shots I would set my camera to start at f/8, ISO 100 or so, and whatever shutter speed gives me proper exposure. This aperture ensures both rings are sharp while still maintaining some background blur. For creative shots, we might open up to f/4, but we always take a few backup shots at f/8.
Composition is critical for ring shots. We begin with traditional poses – rings stacked or side by side – but then get creative with angles and reflections. Try shooting the rings on the bouquet of flowers, or place them in a Mrs. Box. Fun Fact, Caitlin loved spending money on these for detail shots…I think it was to make up for us never having one for our own wedding. Don’t forget to check the inside of the bands for any engravings. Those shots can be really cool to capture and the couple will absolutely love those detail shots.
Creating Stunning Flat Lay Compositions
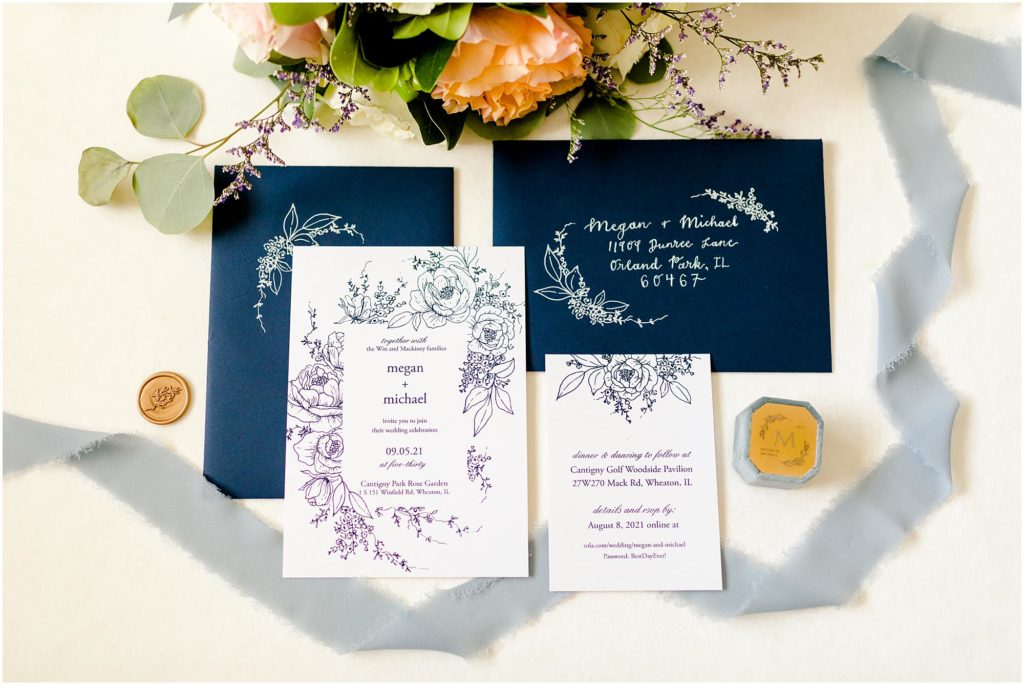
Mastering flat lays requires something, I just don’t know what. I left this part to Caitlin because she always had an eye for it. Here’s our best shot at explaining it. Start by gathering all elements before touching your camera. We sort items by size and importance, creating a mental hierarchy for the composition.
The foundation of every flat lay begins with your styling mat or background. Choose a color that complements but doesn’t compete with your details. Layer larger items first – typically the invitation suite or dress details – then build up with medium and small elements. Use acrylic blocks, lens covers, or folded silk to create subtle height variations.
Color theory plays a huge role in successful flat lays. We follow the 60-30-10 rule: 60% dominant color (usually your background), 30% secondary color, and 10% accent color. The result is a polished look that draws the eye without feeling cluttered. Don’t be afraid to break up text-heavy items like invitations with small florals or ribbon accents. (Pro Tip: Ask the florist to provide this before the wedding day!)
For shooting flat lays, position your camera parallel to your styling surface. We typically shoot with our 35mm and we always take a few test shots from different heights to ensure everything is perfectly aligned. A slight shift in camera angle can make the difference between a good flat lay and a great one.
Capturing Floral Details and Arrangements
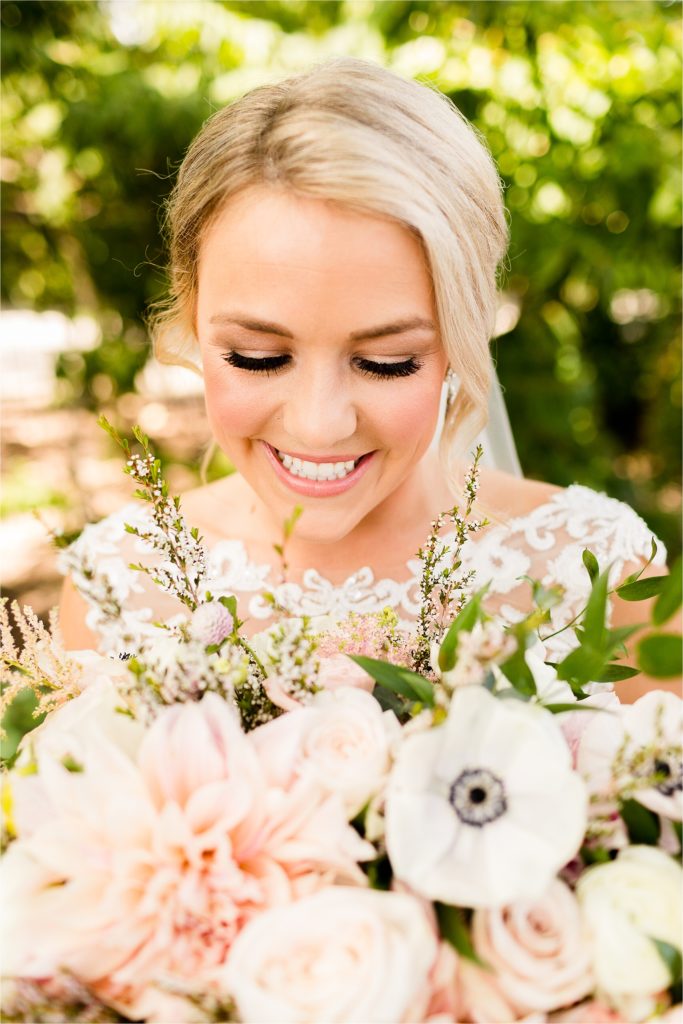
Capturing wedding florals is about more than just snapping pictures of pretty blooms – it’s about documenting the intentional design choices that help tell the couple’s story. Start with the bouquet right after it arrives, when it’s at its freshest. For full bouquet shots, choose a clean, uncluttered background and position the flowers at a 45-degree angle to show their shape and movement.
Lighting is crucial for accurate color reproduction. We prefer soft, directional window light positioned at 45-90 degrees to the flowers. This creates gentle shadows that enhance texture while maintaining color accuracy. If using artificial light, always use diffusion and match your white balance to the ambient light temperature.
For detail shots of individual blooms, switch to your macro lens and look for interesting patterns and textures. Focus on where petals overlap or catch unique light. We shoot these at f/4 to f/5.6 to maintain sharpness while creating beautiful bokeh. Don’t forget to capture the bouquet ribbon and any special items attached to the stems – these details often have sentimental value.
Documenting Wedding Stationery and Paper Goods
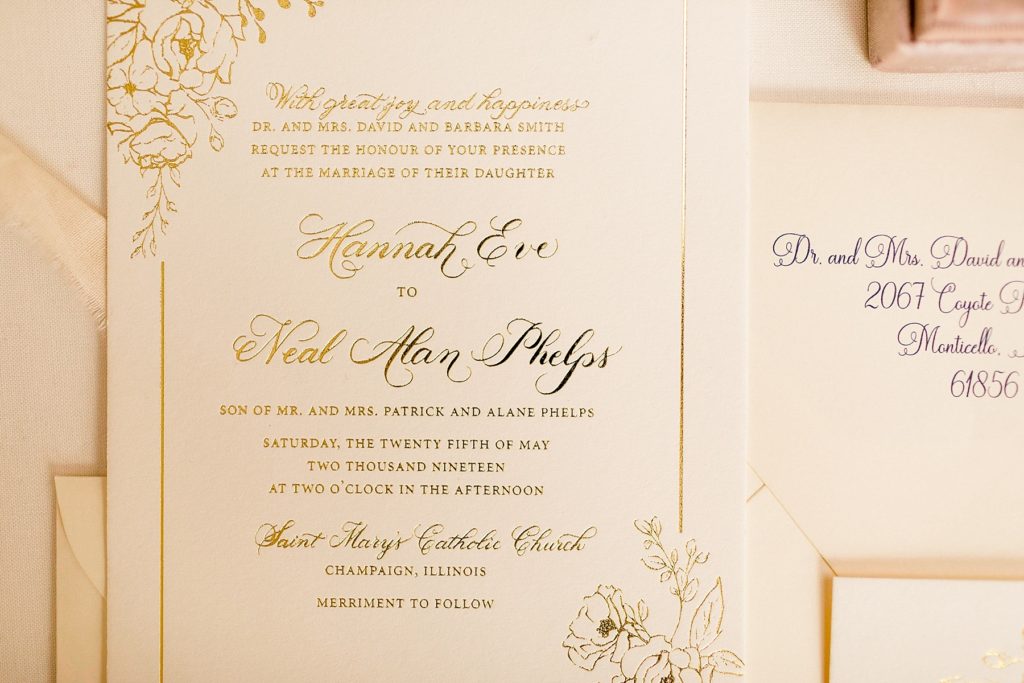
Great invitation photos showcase everything from the overall design to the smallest details. Here’s how we approach photographing these important pieces of the wedding day. Start by arranging pieces from largest to smallest, typically with the main invitation as your anchor piece. (Pro Tip: Use a sticky lint roller to remove any dust or debris from paper surfaces before shooting.)
For foil or letterpress details, angle your light source to catch the metallic elements without creating harsh reflections. One option is to use a black card opposite the light source to deepen shadows and make metallics pop. When shooting transparent elements like vellum overlays, place them on a light-colored background to ensure the text is legible.
Mastering the Art of Detail Photography
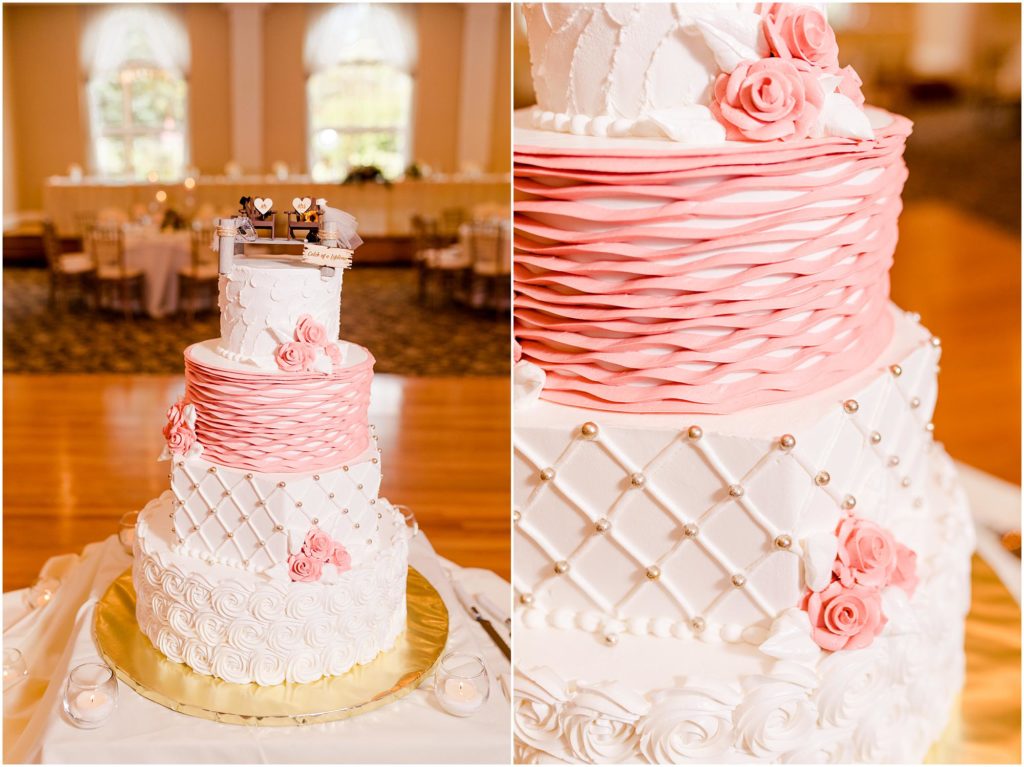
Whether you’re photographing delicate rings, lush florals, or elegant invitations, the key to exceptional detail photography lies in mastering the basics before adding your own creative touch. While equipment and techniques are important, what truly matters is telling the story of each unique wedding day through these carefully crafted shots. Take the time to practice these fundamentals and develop your own workflow – with dedication and attention to detail, you’ll be creating stunning images that your couples will treasure for generations.
For photographers just starting their wedding journey, here are our top recommendations:
- Don’t be afraid to move things to better light. That gorgeous invitation suite will look better photographed near a window than in a dark hotel room.
- Practice detail photography at home before your first wedding. Use your own jewelry, flowers from the grocery store, and some nice stationery to master your technique without the pressure of a wedding day.
- Invest in a good wedding photography macro lens first – you can create beautiful flat lays with a standard lens, but ring shots really need that macro capability.
- Build your styling kit gradually. Start with a neutral styling mat, a basic ring box, and some simple ribbon. Add pieces as you develop your style and see what you actually use.
- Always arrive at least 15 minutes earlier than you think you need for detail photos. This extra buffer time is invaluable for dealing with unexpected challenges.
Hope this guide helps! Always keep learning!
Affiliate Disclosure: Some links in this post are affiliate links, meaning we may earn a commission if you make a purchase through our links, at no extra cost to you. As wedding photographers ourselves, we only recommend gear we’ve thoroughly researched or would use in our own business. Your support helps us continue creating valuable content for the photography community.