Becoming a successful wedding photographer takes more than just a good camera and an eye for photos. It requires mastering technical skills, understanding how weddings flow, managing client relationships, and running a legitimate business. We’ve spent years learning exactly what works (and what doesn’t) in the wedding photography industry. Whether you’re just starting out or transitioning from another type of photography, this guide will walk you through every step of launching your wedding photography business the right way.
Before diving into the fundamentals of becoming a wedding photographer, it’s crucial to understand the big picture. The right photography gear and equipment will form the foundation of your technical capabilities. Once you’ve got the basics down, you’ll want to focus on developing practical skills like mastering wedding photography lighting and creating an efficient wedding day photography timeline. For those ready to gain real-world experience, learning how to become a second shooter at weddings can provide invaluable insights into the industry.
From choosing the gear that is right for you to booking your first paid wedding, we’ll share the exact process that has worked for us and many other photographers we’ve mentored. No fluff, no filler – just real, actionable steps to get you started.
Table of Contents
- Step 1: Master Your Camera and Core Photography Skills
- Step 2: Build Experience Through Second Shooting
- Step 3: Build Your Initial Portfolio
- Step 4: Set Up Your Photography Business Legally
- Step 5: Create Your Wedding Photography Packages
- Step 6: Develop Your Marketing Strategy
- Step 7: Prepare for Your First Wedding
- Step 8: Master Your Post-Wedding Workflow
- Conclusion
Step 1: Master Your Camera and Core Photography Skills
Before you even think about photographing your first wedding, you need to be completely comfortable with your camera and core photography skills. A wedding day moves fast, with constantly changing lighting conditions and fleeting moments you can’t recreate. This means knowing your camera like the back of your hand, not fumbling through menus or hoping auto mode will save you.
Start by mastering manual mode. When a bride walks into a dark church from bright sunlight, you need to adjust your settings in seconds. Practice until you can change your aperture, shutter speed, and ISO without taking your eye away from the viewfinder. Get familiar with tricky lighting scenarios – backlit ceremonies, dark reception halls, harsh midday sun. We typically shoot outdoor ceremonies at f/2.0, 1/1000th sec, ISO 100, then quickly switch to f/1.8, 1/200th sec, ISO 800 for indoor receptions.
You’ll need two professional camera bodies and at least two key lenses to start. Having backup gear isn’t just being cautious – it’s essential when equipment can fail at any moment. We recommend either a 24-70mm f/2.8 or a 35mm f/1.8 as your main lens for everything from getting ready shots to group photos, paired with a 70-200mm f/2.8 for ceremonies and candid moments. If budget is tight, start with the 24-70mm and rent the 70-200mm until you can buy one.
Flash photography is non-negotiable in wedding work. Natural light is great, but receptions are often in dark venues where you’ll need artificial lighting. Start with one quality speedlight and a basic reflector. Practice balancing flash with ambient light – we typically set our flash to 1/16 power with a reflector on top, camera at f/2.0, 1/200th sec, ISO 1000 to maintain the room’s atmosphere while properly exposing our subjects.
Memory cards seem simple but require careful planning. We carry multiple 64GB cards and switch them every 2-3 hours (if you are Caitlin and more like once a wedding day if you are Luke). One corrupted card with all the ceremony photos can ruin your business before it starts so always shoot with dual card slots when possible, and invest in the fastest cards you can afford – buffering during a first kiss isn’t an option.
Finally, work on your timing and anticipation skills. Weddings are full of quick, unrepeatable moments. Practice at family events or busy public places, anticipating reactions and interactions. Learn to read body language, predict moments before they happen, and position yourself in the right place. These skills are just as important as knowing your camera settings.
Test yourself before moving forward: Can you change settings without looking? Bounce flash effectively in different rooms? Handle high-contrast lighting situations? If not, keep practicing. Your first wedding isn’t the place to learn these fundamental skills.
Step 2: Build Experience Through Second Shooting
The best way to start your wedding photography career is as a second shooter. This role gives you real wedding experience without the full pressure of being the primary photographer. But landing these opportunities takes more than just sending out emails asking for work.
Start by researching established photographers in your area whose work you genuinely admire. Follow them on social media, study their style, and engage meaningfully with their content for at least a few weeks. When you reach out, make it personal. Instead of sending a generic “looking for second shooting opportunities” email, try something like this: “Hi Sarah, I’ve been following your work for the past few months and particularly love how you capture candid moments during receptions. Your recent wedding at The Grand Hotel showed such genuine emotion during the parent dances – I’d love to learn how you anticipate these moments. I’ve been practicing wedding photography for the past year and would appreciate any opportunity to learn from you, even if it means starting as an assistant.“
Once you land your first second shooting gig, preparation is crucial. Practice shooting at wide apertures before the wedding day – most lead photographers want their second shooters matching their style, often shooting at f/2.8 or wider. Set up five objects at different distances and practice quickly focusing on each at f/2.8 until you can nail focus consistently.
During the wedding, you’ll typically cover three main areas. First, groom prep while the main photographer handles bride prep. Focus on candid moments of groomsmen helping each other with boutonnieres (70mm, f/1.8, 1/200, ISO 800 for typical hotel lighting), detail shots of watches and cufflinks (50mm, f/1.8, 1/200, ISO 800), and natural group interactions. Second, you’ll shoot alternative angles during the ceremony – if the primary photographer is shooting straight down the aisle, you might be capturing guest reactions from the sides. Finally, you’ll help with reception coverage, focusing on candid guest photos and dance floor moments.
Keep a low profile and dress professionally – black or dark grey clothing that lets you blend in with guests. Bring backup batteries, cards, and at least one backup lens. Never share photos from the wedding without the primary photographer’s permission, and always follow their rules about social media posting.
Most importantly, use each second shooting opportunity to learn. Watch how the primary photographer handles family dynamics, manages timeline delays, and directs group photos. Pay attention to their communication style with couples and vendors. Take mental notes about what works and what doesn’t.
Aim to second shoot at least 5-8 weddings before considering taking on your own clients. This gives you enough experience to handle common wedding day challenges and build a solid portfolio. Each wedding should give you atleast 15-20 portfolio-worthy images if you’re intentional about what you shoot.
Before moving to step 3, review your second shooting experiences: Have you shot in various lighting conditions? Handled different ceremony types? Worked at both indoor and outdoor venues? Are you comfortable with the flow of a wedding day? If not, seek out more second shooting opportunities that will fill these gaps in your experience.
Step 3: Build Your Initial Portfolio
Second shooting gives you great real wedding experience, but you need a well-rounded portfolio to attract your own clients. While working as a second shooter helps, you’ll want to create diverse, high-quality images through multiple channels. One of the best ways to do this is through styled shoots, but there’s a right and wrong way to approach them.
Let’s talk about styled shoots first. These are collaborative events where vendors come together to create wedding-like scenarios for photographers to capture. Many new photographers make the mistake of just showing up and shooting whatever’s happening. Instead, approach styled shoots with a game plan. Research the venue beforehand and bring unique props or lighting equipment that other photographers might not have. (When we became more established, we created relationships with vendors and set up our own styled shoot so that we didn’t have to share the space with other photographers!)
Use this time to also build relationships with local vendors. Offer to photograph their products or services for their social media. A florist’s bouquets, a baker’s cakes, a venue’s reception space – these images diversify your portfolio while building valuable industry connections.
Beyond styled shoots, engagement sessions are another excellent portfolio-building opportunity. Start by offering sessions to recently engaged friends or family members. We recommend this pricing progression: first five sessions free to build your portfolio, then move to $150 for the next five sessions, and gradually increase to your target rate of $400-500 as your work improves.
During these early sessions, focus on learning how to pose real couples naturally. Most of your clients won’t be models, so you need to master clear, simple directions that put people at ease. Instead of giving vague instructions like “look natural” or “get closer,” we use specific prompts that create genuine reactions. For example, you could tell the groom to whisper his worst dad joke in his partner’s ear, or ask couples to walk together while the bride tells a funny story about their first date. These prompts consistently create natural smiles and authentic interactions that translate perfectly to wedding days.
Before moving to step 4, review your portfolio critically: Do you have a consistent editing style? Can you show complete coverage of a wedding day? Are your images diverse in terms of lighting conditions, locations, and couples? If any areas feel weak, focus your next styled shoot or session on strengthening those specific aspects.
Step 4: Set Up Your Photography Business Legally
Before you book your first wedding, you need to transform your photography skills into a legitimate business. While getting all your legal ducks in a row isn’t the most exciting part of being a wedding photographer, it’s absolutely crucial for protecting yourself and your clients.
First, you’ll need to register your business. Most photographers start as a sole proprietorship because it’s simple and inexpensive to set up. However, as your business grows, consider forming an LLC for better liability protection. The process varies by state, but typically involves registering your business name, obtaining a tax ID, and setting up a separate business bank account. Don’t skip the business bank account – mixing personal and business finances is a recipe for tax headaches.
Insurance is non-negotiable in wedding photography. You’ll need at least two types: liability insurance and equipment insurance. Liability insurance protects you if a guest trips over your light stand or you accidentally knock over a venue’s expensive vase. Equipment insurance covers your gear if it’s stolen, damaged, or malfunctions. Professional Photographers of America (PPA) offers comprehensive insurance packages specifically designed for photographers, typically running around $500 annually.
Your contract is your most important business document. We learned this lesson the hard way after a couple demanded all their RAW files six months after their wedding – something we hadn’t explicitly addressed in our early contracts. Your contract should clearly outline:
- Payment terms and schedule
- Deliverables (number of images, albums, etc.)
- Timeline for image delivery
- Cancellation and rescheduling policies
- Copyright ownership and usage rights
- What happens if you get sick
- Backup plans for equipment failure
- Meal requirements and breaks
- Travel fees and accommodation requirements
Have a lawyer review your contract. Yes, it’s an investment, but it’s cheaper than a single lawsuit or contract dispute. Many lawyers offer fixed-rate contract reviews for small businesses – expect to pay $300-500 for a thorough review.
Now let’s talk about record-keeping systems. Set up a way to track:
- Client communications and contracts
- Expenses and income
- Mileage for tax deductions
- Equipment depreciation
- Time spent on each wedding
We use a combination of QuickBooks for financial tracking and Honeybook (Enjoy 30% off your subscription!) for client management, but when starting out, even well-organized spreadsheets will work. Just make sure you’re documenting everything – come tax time, you’ll be grateful for detailed records.
Speaking of taxes, set aside 25-30% of your income for tax payments. Consider making quarterly estimated tax payments to avoid a huge bill at year-end. Also, keep every business receipt – equipment, memory cards, online subscriptions, education materials. They’re all potential tax deductions.
Before moving to step 5, verify you have:
- Business registration completed
- Tax ID number obtained
- Business bank account opened
- Insurance policies in place
- Contract reviewed by a lawyer
- Basic accounting system set up
Don’t rush through these foundations. They might not be as fun as taking photos, but they’re essential for building a sustainable, professional business that will thrive for years to come.
Step 5: Create Your Wedding Photography Packages
Setting your prices and creating packages can feel overwhelming. Too high, and you might not book any weddings. Too low, and you’ll work yourself into the ground without making a profit. Let’s break down exactly how to price your services and structure your packages.
First, calculate your actual costs of shooting a wedding. Most new photographers only think about their time on the wedding day, but here’s everything you need to factor in:
- Equipment costs (divide annual expenses by number of weddings)
- Insurance premiums
- Software subscriptions (editing software, gallery hosting)
- Second shooter fees
- Travel expenses
- Time spent on emails and meetings (typically 3-4 hours per wedding)
- Engagement session time
- Editing time (plan for 15-20 hours per wedding)
- Album design time if included
- Tax withholding (25-30% of revenue)
Now look at your market. Research what established photographers in your area charge, but don’t just copy their prices. Someone charging $5,000 per wedding likely has years of experience and a proven track record. When starting out, position yourself in the lower-middle range of your market. If local photographers charge between $2,000-6,000, consider starting around $2,500-3,000.
Create three package tiers – most clients naturally gravitate toward the middle option. Our initial packages looked like this:
- Basic: $2,500 – 8 hours coverage, two photographers, 400 edited images, online gallery
- Premium: $3,200 – 9 hours coverage, two photographers, 500 edited images, engagement session, online gallery
- Luxury: $4,000 – 10 hours coverage, two photographers, 600 edited images, engagement session, wedding album, online gallery
Make each tier clearly better than the last. The jump from basic to premium should be obvious and worth the extra investment. Don’t just add more hours – add tangible value like a second shooter, engagement session, or album.
Avoid the temptation to offer endless customization options. Too many choices overwhelm clients and complicate your workflow. Instead, offer 2-3 common add-ons like:
- Extra hours of coverage ($350/hour)
- Second photographer ($500)
- Engagement session ($400)
- Wedding album ($800)
Don’t compete solely on price. Focus on what makes your service valuable. Maybe you provide a custom timeline guide, or you create same-day previews. These service elements often matter more to clients than saving a few hundred dollars.
Start raising your prices after booking 5-10 weddings at your initial rates. Increase by 10-15% each time until you’re booking at your target rate. We raised our prices every 5-10 weddings during our first year, using language like: “Our 2025 rates are currently $3,200 for our premium package. This rate is guaranteed for weddings booked by [date].”
Before moving to step 6, verify that your packages:
- Cover all your costs (+ profit margin)
- Match your market position
- Provide clear value at each tier
- Include enough time for proper coverage
- Are simple to understand and explain
- Give room for future growth
Remember, it’s easier to lower prices than raise them, so start a bit higher than you think. You can always offer a discount, but it’s much harder to increase rates once you’re known as the “budget” option.
Step 6: Develop Your Marketing Strategy
Having amazing photos and solid packages won’t matter if couples can’t find you. But here’s the thing about marketing wedding photography – it’s not about being everywhere, it’s about being in the right places with the right message.
Your website is your most powerful marketing tool, so let’s start there. Skip the fancy templates with music and slow-loading slideshows. Couples want to see your work quickly and easily. Build your site with a clear structure: homepage with your best 15-20 images, an about page that shows your personality, a portfolio page with your favorite wedding and engagement shots (Pro Tip – you’ll attract what you show on your website. For example, if you don’t want to shoot beach weddings don’t put any beach wedding pictures on your website.), a page about you (this will help people connect with you as an individual and is just as important as a portfolio page in our opinion!), and a page focused on gathering lead forms. When uploading images to your website use descriptive image names and alt tags – “sarah-john-beach-wedding-ceremony” is better for SEO than “IMG_2354.”
Keep your written content focused on your couples, not yourself (unless writing your about page). Instead of “I love capturing magical moments,” try “You deserve to relive your wedding day through photos that show how it felt, not just how it looked.” Focus on the experience they’ll have working with you, rather than just the final photos they’ll receive. For example: “Your wedding photos should bring back the butterflies of your first look and the happy tears from your father’s toast. We’re here to make sure those moments are captured authentically, so you can relive them for generations to come.”
Social media matters, but you don’t need to be on every platform. Instagram and Pinterest drive the most wedding photography bookings. Post 3-4 times per week on Instagram, mixing recent work with educational content about wedding planning. Create Pinterest boards that answer common wedding questions – “Rainy Wedding Day Photo Ideas” or “Getting Ready Photo Checklist” perform well and showcase your expertise.
Building relationships with other vendors is crucial. Start with venues – they’re often the first vendor couples book, and their referrals carry weight. Visit local venues and offer to take photos of their space. Create a shot list that includes their key selling points – ceremony locations, reception layouts, getting ready rooms. Share these images with them and watch how quickly they start recommending you to their couples. Build as many relationships with venue owners as you can. This will help your business take off faster than you could ever imagine.
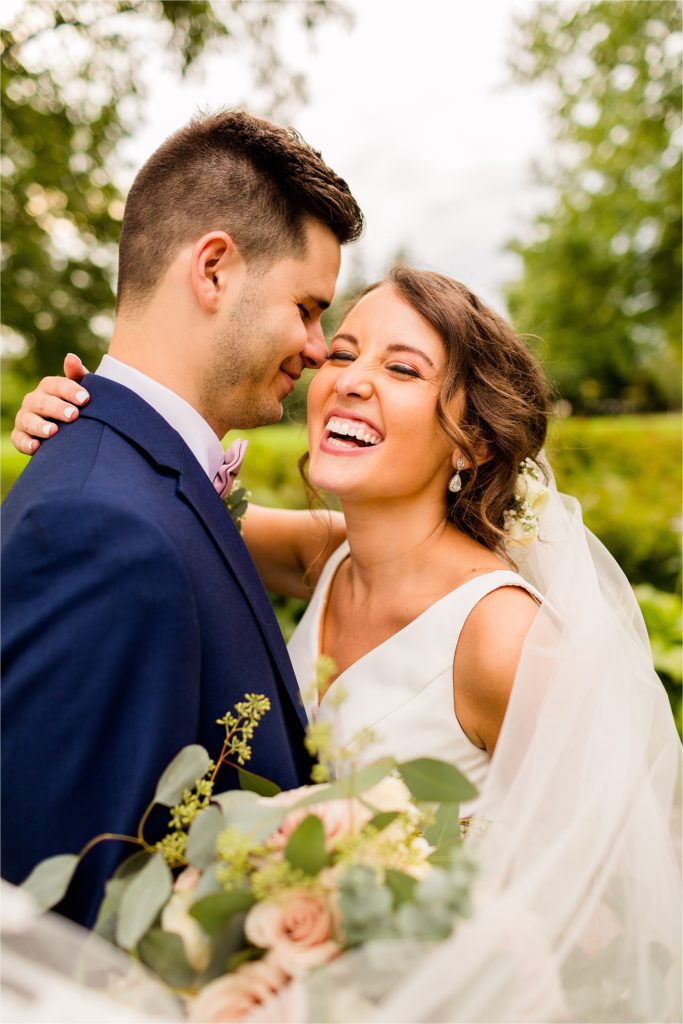
Make friends with planners, florists, and makeup artists. They work with couples before you do some of the time and can recommend you early in the planning process. Shoot detail photos of their work at weddings and share them promptly. We send vendors their photos within 48 hours of the wedding – long before the couple’s full gallery is ready. (Please do this every time, it will work wonders for your business and not many photographers do it.)
Review sites like WeddingWire and The Knot can be worth the investment, but wait until you have at least 5 weddings under your belt. Couples can spot fake reviews easily, so you need genuine testimonials before paying for these platforms. This should not be your long term strategy though. We found that couples that came through these platforms were more price sensitive…that’s ok starting off but you don’t want to build the foundation of your business off of getting leads from these two websites.
Track where your inquiries come from. We use a simple question in our contact form: “How did you hear about us?” This helps focus your marketing budget on what’s actually working. After six months, we found that 50% of our bookings came from referrals, 30% from Google (SEO), and only 10% from Instagram.
Don’t waste money on bridal shows. These events are expensive for vendors and also attract price-sensitive couples. Instead, host a small workshop for other photographers or a styled shoot. This positions you as an expert in your market and builds valuable industry relationships.
Before moving to step 7, make sure you have:
- A clean, fast-loading website with clear messaging (we use Showit, get a free month here!)
- Active presence on 2-3 key social platforms
- Professional relationships with at least 5 local vendors
- System for tracking marketing results
- Plan for regular content creation and sharing
Remember, consistent marketing is better than sporadic bursts. Set aside time each week for marketing tasks, even when you’re busy with shoots and editing.
Step 7: Prepare for Your First Wedding
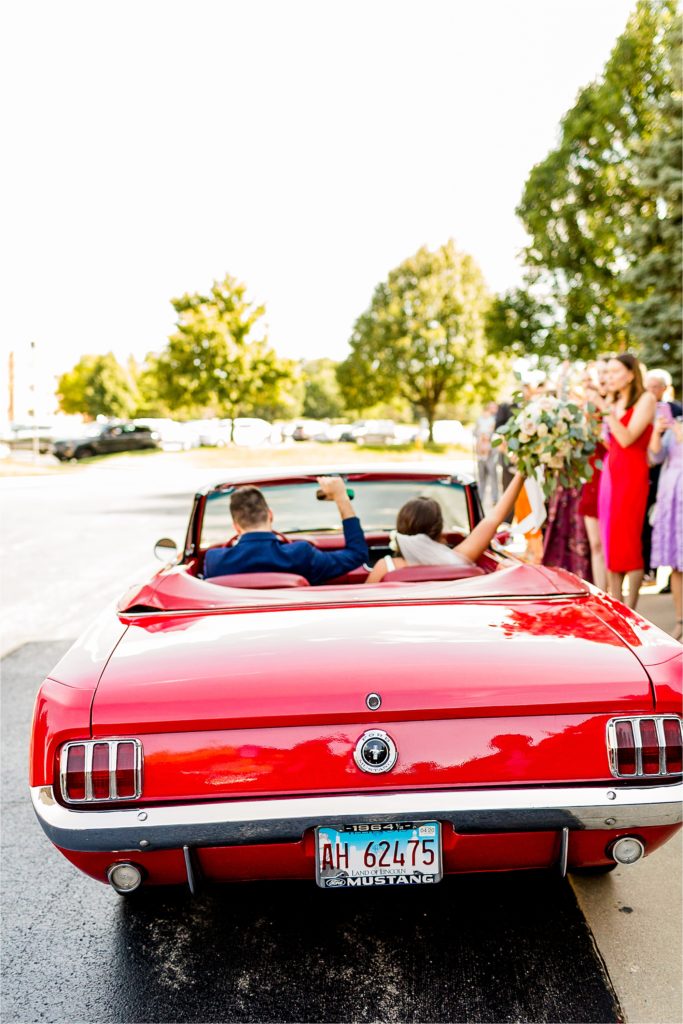
Your first wedding as the primary photographer is a big milestone. After all your preparation, second shooting experience, and portfolio building, it’s time to take the lead. Let’s break down exactly how to prepare for and execute your first wedding successfully.
Start your preparation at least two weeks before the wedding. If possible, arrive early on the wedding day to scout the venue, or consider scheduling a venue walk-through ahead of time. Some photographers like to visit during the same time of day as the ceremony to check lighting conditions and identify potential shot locations. Whether you scout ahead or arrive early on the day-of, look for any challenges like harsh backlighting or space constraints that might affect your shooting. You can even save location ideas and lighting notes in your phone to reference during the wedding.
Create a detailed shot list and timeline. Don’t try to memorize everything – print multiple copies and keep one in your camera bag. We used to print out sheets every single wedding and eventually created this into a shared note on our phone. Do whatever works best for you! No matter what format, break your shot list into clear segments:
Pre-Ceremony:
- Detail shots (dress, rings, invitations, shoes)
- Getting ready candids
- Individual portraits of couple
- Wedding prep
Ceremony:
- Processional shots
- Multiple angles of vows
- Ring exchange
- First kiss
- Recessional
Formal Photos:
- Family combinations
- Wedding party groups
- Couple portraits
Reception:
- Room details before guests enter
- Grand entrance
- First dances
- Toasts
- Cake cutting
- Dance floor coverage
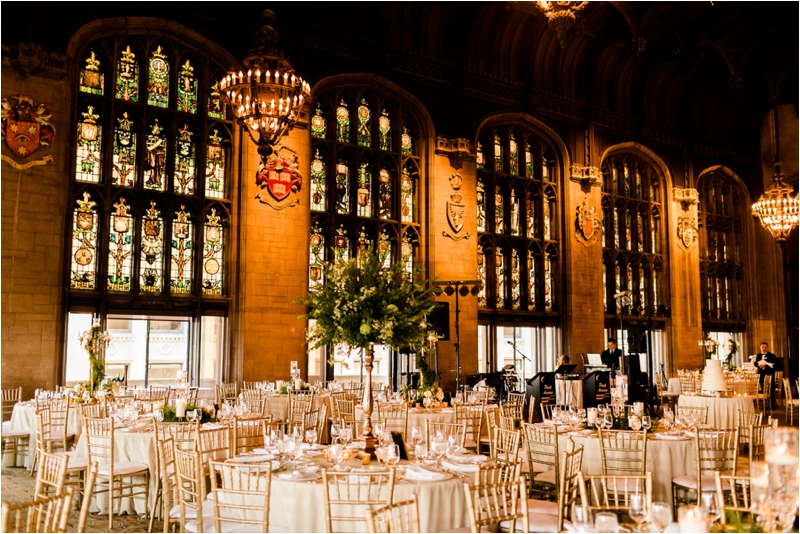
Pack your gear the night before and use a checklist. Don’t just charge batteries – charge every backup battery too. Format all memory cards. Clean your lenses. Pack backup equipment for everything that could potentially fail. Bring more cards and batteries than you think you’ll need.
Arrive at least 30 minutes before your contracted start time. This gives you buffer for traffic delays and time to assess any last-minute lighting or weather changes ( there was one wedding we were almost late to due to traffic in Chicago and we were both freaking out…don’t add that extra stress to your life if you don’t have to). Immediately introduce yourself to other vendors, especially the coordinator or venue manager. These relationships are crucial if the timeline starts slipping.
When photographing getting ready, start with detail shots while hair and makeup are finishing. Look for clean backgrounds and natural light. Move cushions, water bottles, and clutter out of frame. Shoot multiple angles of the dress – on a hanger, hanging in a window, details of the back, close-ups of any special features.
During the ceremony, position yourself for key moments before they happen. Know where you’ll stand for the processional, first kiss, and recessional. If you have a second shooter, coordinate your positions to avoid getting in each other’s shots. Always have your second lens ready with your planned settings – lens changes need to be instant during ceremonies.
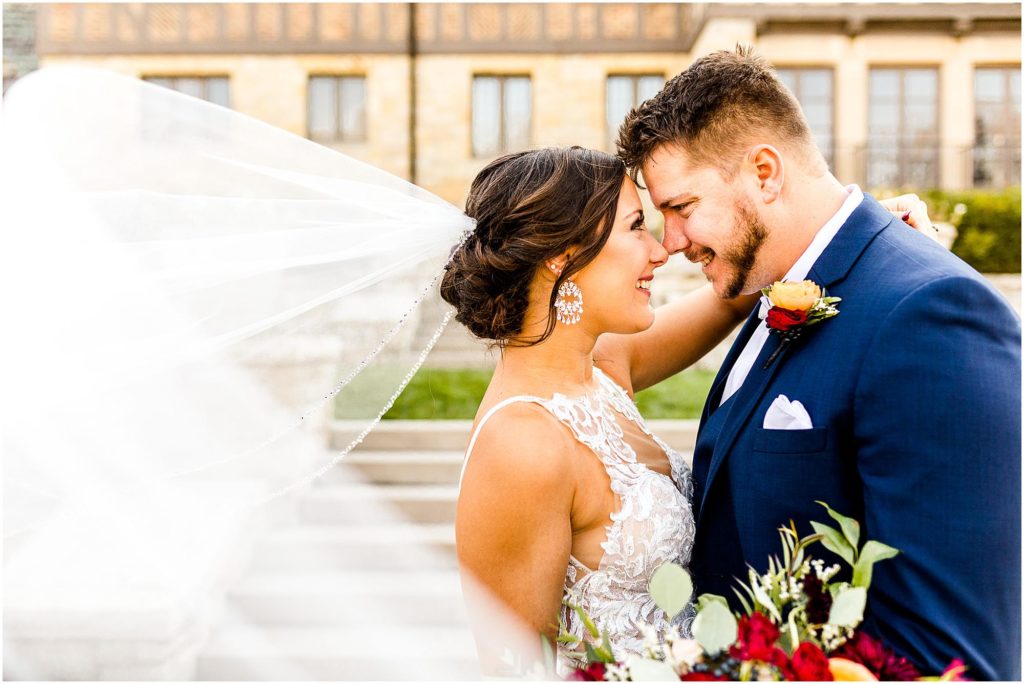
For family photos, work from your pre-planned shot list and bring multiple copies. Assign someone from the wedding party to help gather family members. Work from largest groups to smallest, releasing people as you complete their photos. Keep these sessions moving – long family photo sessions cut into couple portrait time.
Reception coverage requires constant awareness of your surroundings. Position yourself near the dance floor before important dances begin. Watch for genuine reactions during toasts. Keep your flash ready but mix in ambient light shots to capture the real feel of the reception.
Throughout the day, periodically check your work on your camera’s LCD. Confirm you’re getting the shots you need and your exposure is consistent. If something isn’t working, adjust quickly. Don’t wait until you’re editing to discover issues.
Before leaving the reception, check in with the couple and coordinator. Confirm you’ve captured everything needed and get final family photo requests. Pack up only after you’re certain you haven’t missed any key moments.
Before moving to step 8, verify you have:
- Detailed timeline prepared
- Shot list printed
- All gear checked and packed
- Backup equipment ready
- Family photo list confirmed
- Vendor contact information saved
- Venue location and parking details noted
Remember, your first wedding sets the tone for your business. Stay calm, be professional, and focus on documenting the day as it unfolds. No wedding goes perfectly according to plan – your ability to handle unexpected changes professionally will impress your couple and other vendors.
Step 8: Master Your Post-Wedding Workflow
What happens after the wedding is just as important as the day itself. A smooth, efficient post-wedding workflow keeps your clients happy and your business running smoothly. Let’s break down exactly what needs to happen once you get home from the wedding.
First priority is backing up your images. Before you even look at the photos, copy them to at least two locations: we chose to use 2 different external hard drives, but you can decide what works best for you. Don’t skip this step – imagine explaining to a couple that their wedding photos are gone because your hard drive crashed.
Next comes culling, which means selecting your keeper images. Don’t start editing until you’ve completed your cull. Load your images into software like Photo Mechanic – this program shows images instantly without loading preview files. Only tag photos that you like and are not out of focus, have bad expressions, or are test shots. For a typical 8-hour wedding, you might shoot 3000-4000 images and deliver 600-800.
Now for editing. Establish a consistent editing workflow that you can replicate for every wedding. Start by selecting a few key images from different lighting situations and perfect their editing. Then copy those edit settings to similar images and make minor adjustments as needed. When we started it would typically take us 15-20 hours to edit a full wedding, spreading the work across 3-4 days to avoid eye fatigue. As our business grew, we decided to outsource our editing and could not have been happier with getting that off our plate!
Create a system for previews and final delivery. We send 20-25 preview images within 48 hours while the excitement is high. Choose a mix of key moments – ceremony, portraits, first dance – and use these previews to build anticipation for the full gallery. For final delivery, use a professional gallery service called Cloudspot that lets clients download images and order prints.
Set clear expectations about delivery timelines in your contract, then beat those deadlines. If you promise 8 weeks, try to deliver in 6(under promise and over deliver). Clients remember when you exceed their expectations. Send regular updates during the editing process – a simple email saying “Your images are coming along beautifully, here’s another preview” keeps clients excited and patient.
Don’t forget about vendor images. Send photos of their work (flowers, cake, venue setup) within a week of the wedding. This builds good relationships and often leads to referrals. Create a separate collection of vendor photos you can quickly export and share.
Lastly, make sure you have:
- Multiple backup systems in place
- Efficient culling process established
- Consistent editing workflow
- Clear delivery timeline and system
- Vendor image sharing process
- Client communication templates
Remember, post-production is where many photographers get overwhelmed. Having systems in place from the start prevents backlogs and keeps your business running smoothly.
Conclusion
Starting your wedding photography journey might feel overwhelming right now (especially after reading all of this), but remember – every successful photographer began exactly where you are. By following these steps, you’re already ahead of many who jump in without a plan. Master your camera skills, gain real experience through second shooting, build a solid portfolio, handle the business essentials, set up your packages and marketing, and create efficient workflows.
Take it one step at a time. You don’t need to perfect everything at once. Focus on mastering each element before moving to the next if possible. Join photography groups, connect with other photographers in your area, and never stop learning. Your first wedding is just the beginning of what could become an incredible career capturing one of life’s most meaningful celebrations.
Remember, your success in wedding photography isn’t just about taking beautiful photos – it’s about building a sustainable business that brings you joy while serving your clients well. Now get out there and start your journey. Your future couples are waiting!!