-8")


Have you ever wondered why some photos have that beautiful blurred background while others are sharp from front to back? The secret lies in understanding aperture priority mode, a powerful tool that can transform your photography from good to exceptional. As photographers who have spent years perfecting this technique, we are excited to share how this seemingly complex camera setting can become your creative ally.
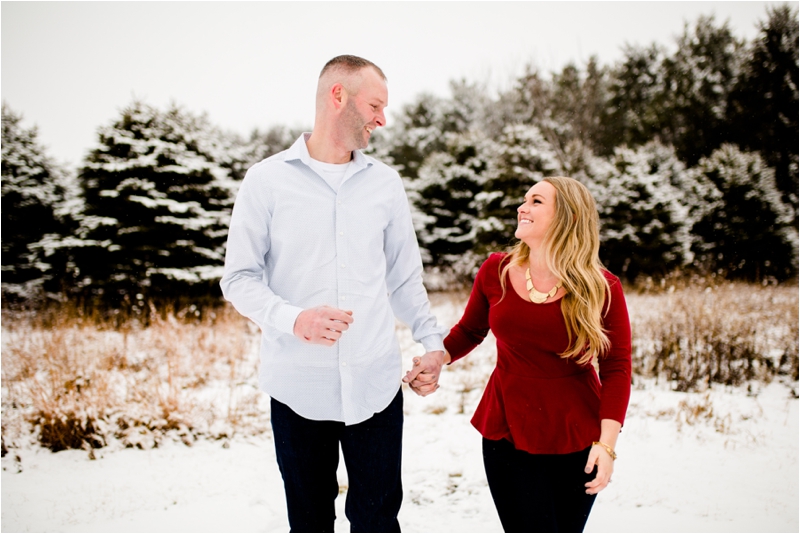
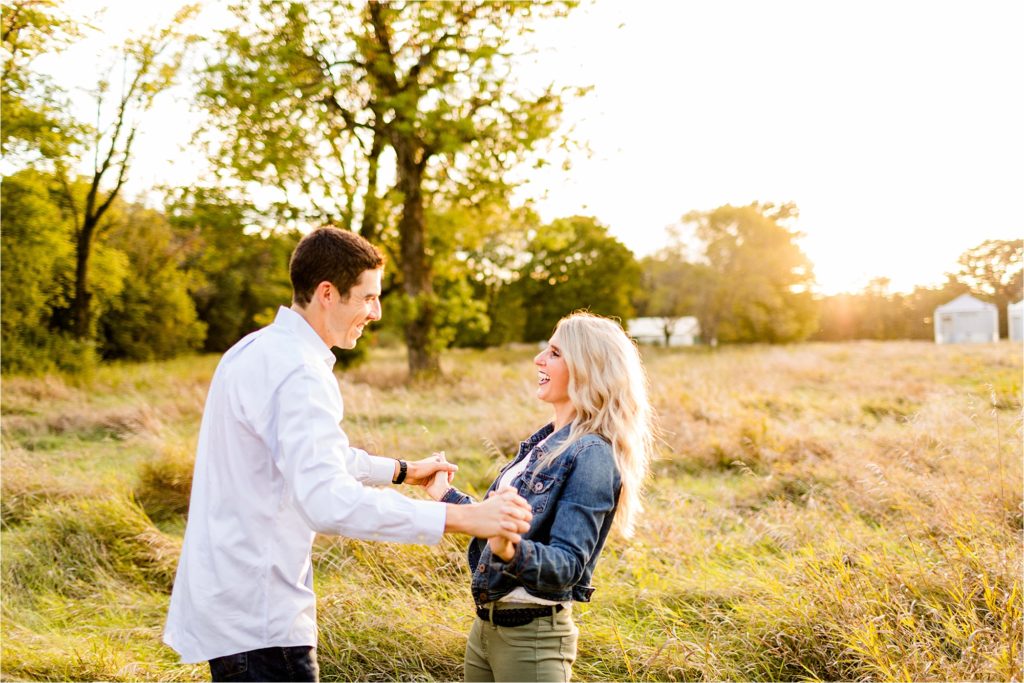
Portrait photography is where Caitlin started her photography journey way back when she was 15 years old. If you ever talk to her about it, she will almost always bring up that she had to have her mom take her to her first paid shoot because she wasn’t old enough to drive. Only a few years later, her and I partnered together to start our wedding photography business from scratch. If you are looking to start a wedding photography business in 2025, make sure to bookmark our post that includes the 8 steps on how to do that in 2025. We also wrote about what photography gear we recommend, it’s meant for wedding photographers but that doesn’t mean you won’t get value from it if you don’t do/plan to do wedding photography at this point in time!
Now let’s dive into Aperture Priority!
Table of Contents
- Understanding Aperture Priority: The Basics
- How to Master Aperture Priority Mode
- Practical Applications of Aperture Priority
- Pitfalls and Challenges: When to Avoid Aperture Priority
- Advanced Techniques and Tips
- Frequently Asked Questions about Aperture Priority
- Conclusion: Embracing Aperture Priority for Enhanced Photography
Understanding Aperture Priority: The Basics
What Is Aperture?
Think of aperture as your camera’s pupil – it’s the opening in your lens that controls how much light enters your camera. Just like how our pupils dilate in darkness and constrict in bright light, your camera’s aperture can be adjusted to control light intake. It’s measured in f-stops, where a lower number (like f/1.8) means a wider opening, and a higher number (like f/16) means a smaller opening. This simple yet crucial element of photography is the foundation of creating stunning images.
The Role of Aperture in Photography
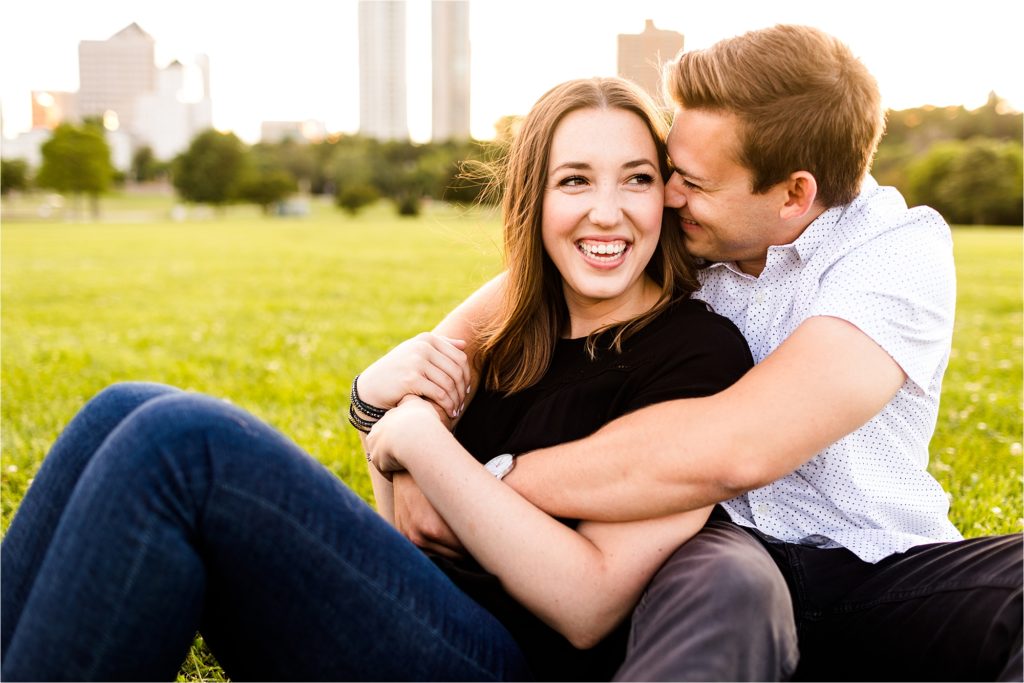
Aperture does more than just control light – it’s a creative tool that shapes how your photos look. When you use a wide aperture (small f-number), you create that dreamy, blurred background effect that makes portraits pop. Conversely, a narrow aperture (large f-number) keeps everything in sharp focus, perfect for landscape shots where you want to capture every detail from the foreground to the horizon.
Introducing Aperture Priority Mode
Aperture priority mode, typically marked as ‘A’ or ‘Av’ on your camera’s dial, is where the magic happens. This semi-automatic mode lets you take control of the aperture while your camera handles the rest. When you set your desired f-number, your camera automatically selects the perfect shutter speed to achieve proper exposure. It’s like having a skilled assistant who ensures your creative vision comes to life while handling the technical details.
This mode strikes the perfect balance between creative control and convenience. You get to focus on composing your shot and controlling depth of field while the camera ensures your exposure is spot-on. It’s particularly valuable when shooting in changing light conditions, where manual adjustments might make you miss that perfect moment.
How to Master Aperture Priority Mode
Setting Up Your Camera for Aperture Priority
Learning how to shoot in aperture priority mode starts with a simple dial turn. Look for the ‘A’ or ‘Av’ setting on your camera’s mode dial – this is your gateway to creative control. Once activated, your main command dial will adjust the f-stop numbers. I always recommend starting with Auto ISO when you’re first learning how to use aperture priority, as it helps maintain consistent exposure while you focus on mastering aperture settings.
Adjusting Depth of Field with Aperture Priority
Shooting in aperture priority mode gives you precise control over depth of field – that magical element that determines how much of your image is in sharp focus. The key is understanding the relationship between f-numbers and your creative vision. A wider aperture (smaller f-number) creates a shallower depth of field, while a narrower aperture (larger f-number) increases it.
Achieving Background Blur (Bokeh)
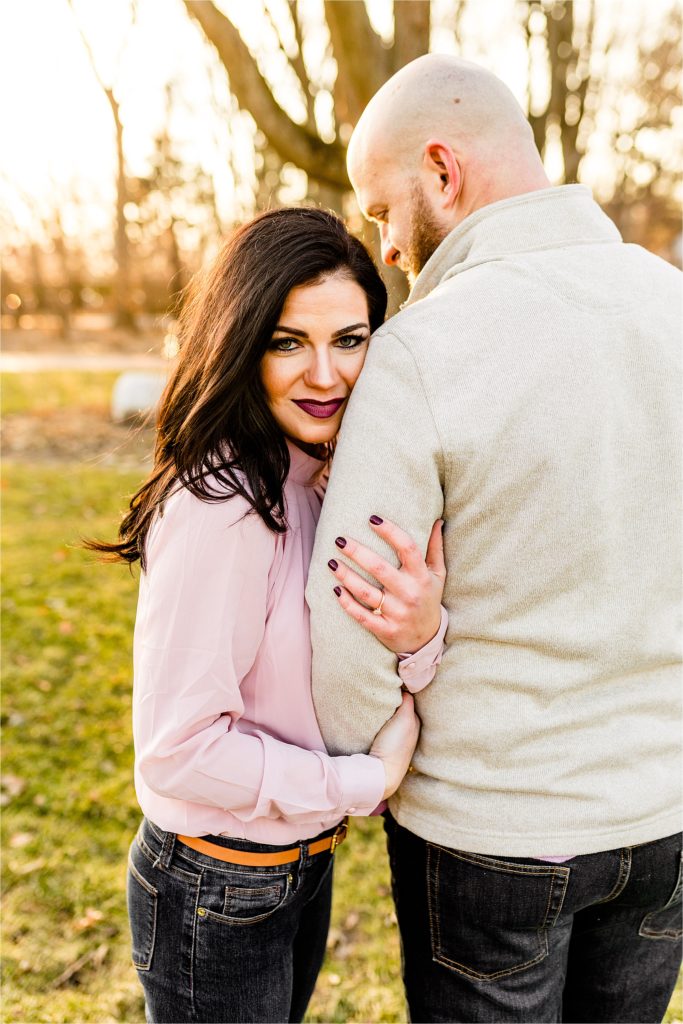
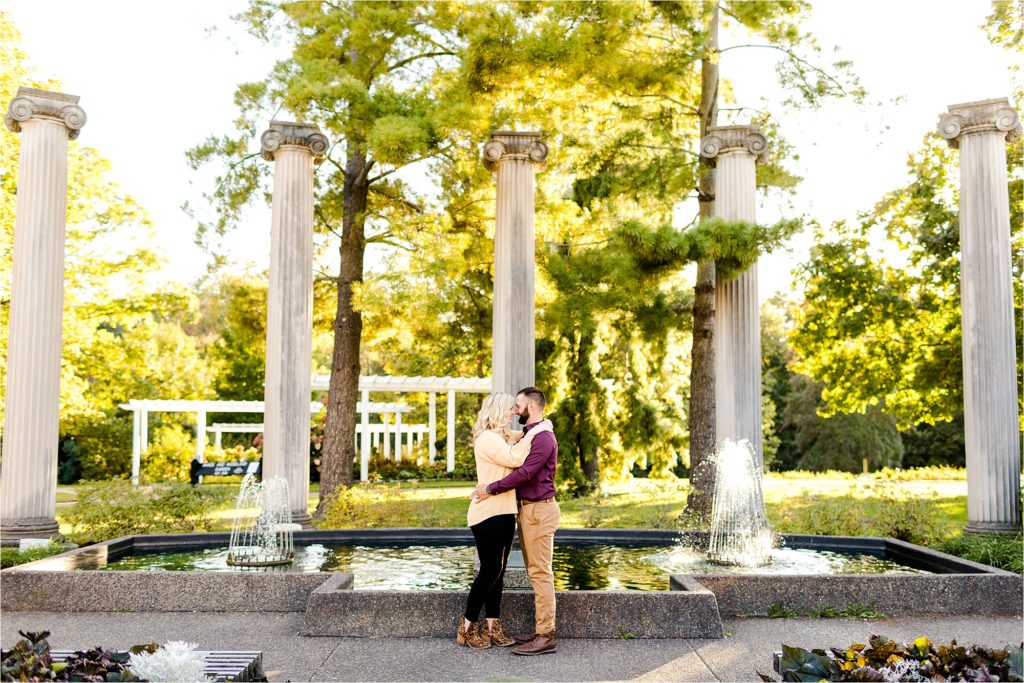
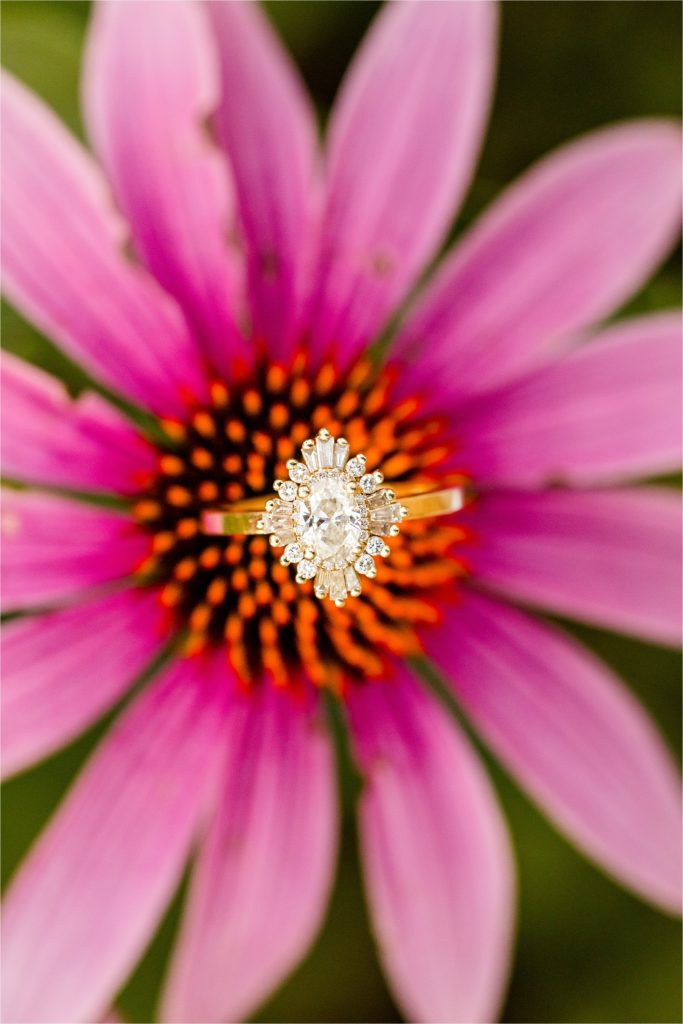
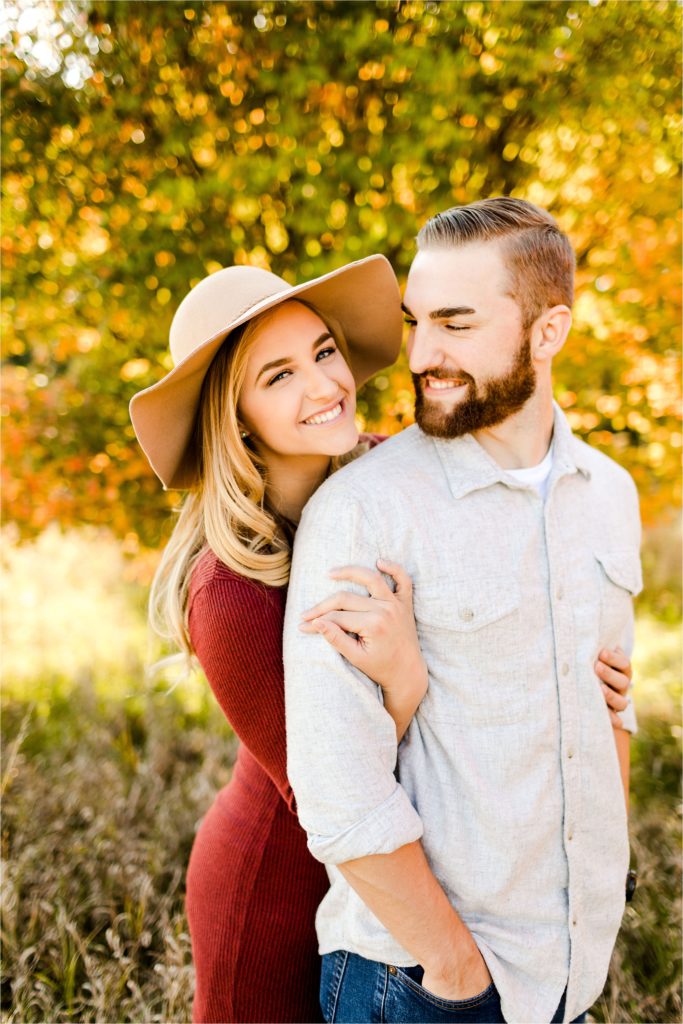
Want those dreamy, blurred backgrounds that make your subjects pop? Set your aperture to its widest setting (lowest f-number like f/1.8 or f/2.8). Position your subject away from the background, and watch as the magic happens. This technique works wonderfully for portraits, wildlife photography, and detail shots where you want to isolate your subject from distracting backgrounds.
Enhancing Sharpness in Landscapes
For landscape photography, you’ll typically want everything sharp from foreground to background. Choose a narrower aperture (f/8 to f/16) to achieve maximum depth of field. However, be cautious about going too narrow (beyond f/16) as this can introduce diffraction, slightly reducing overall image sharpness.
Controlling Exposure and Shutter Speed
While shooting in aperture priority mode, your camera handles shutter speed automatically, but you’re not entirely hands-off. Keep an eye on the shutter speed display – if it’s too slow (typically below 1/60th of a second for handheld shots), you might need to either increase your ISO or use a tripod to avoid camera shake. The exposure compensation button (usually marked with +/-) becomes your best friend here, allowing you to fine-tune brightness while maintaining your chosen aperture.
Mastering aperture priority isn’t just about technical settings – it’s about understanding how these settings translate into creative possibilities. Each adjustment you make tells a different story through your lens.
Practical Applications of Aperture Priority
Aperture Priority in Portrait Photography
When shooting in aperture priority mode for portraits, We’ve found that wider apertures (f/1.8 to f/2.8) create that professional-looking separation between subject and background. The key is to focus precisely on your subject’s eyes – this creates a striking effect where the eyes remain tack-sharp while the rest of the image gradually softens into a creamy blur. We particularly love how this technique helps eliminate distracting backgrounds in busy locations, making even ordinary settings look extraordinary.
Creative Techniques in Low Light Situations
Low light situations are where aperture priority truly shines. By selecting a wide aperture (f/1.4 to f/2.8), you’re not only creating artistic depth but also maximizing the amount of light reaching your sensor. This approach is particularly effective for evening street photography or indoor events where flash isn’t appropriate. Feel free to combine this with Auto ISO to ensure your shutter speeds stay fast enough for sharp images while maintaining creative control over depth of field.
When working in dim conditions, we’ve discovered that starting with your widest aperture and then stopping down only if necessary helps maintain image quality without pushing your ISO too high. This technique has saved countless shots in challenging lighting situations, from candlelit dinners to twilight cityscapes, where maintaining atmosphere is crucial to the final image.
Pitfalls and Challenges: When to Avoid Aperture Priority
Common Mistakes and How to Avoid Them
While aperture priority mode is incredibly versatile, it’s not foolproof. One of the most common mistakes I see is forgetting to monitor shutter speed. Even with a perfect aperture setting, if your shutter speed drops too low, you’ll end up with blurry images. I always keep an eye on my shutter speed indicator and adjust my ISO if needed to maintain sharp shots.
Another frequent pitfall is relying too heavily on the camera’s metering. In high-contrast scenes, like sunset landscapes or backlit portraits, you might need to use exposure compensation to prevent over or underexposure. We’ve learned to regularly check my histogram and make adjustments accordingly, especially in challenging lighting conditions.
Comparing Aperture Priority with Other Camera Modes
Shutter Priority Mode
When considering aperture priority vs shutter priority, think about your subject’s movement. While aperture priority excels at controlling depth of field, shutter priority mode is your go-to for freezing action or creating motion blur effects. Shutter priority is best used when photographing sports, wildlife, or any fast-moving subjects where controlling motion is more critical than depth of field.
Manual Mode
Manual mode is like having the keys to the entire kingdom – complete control over every setting. While it’s perfect for controlled environments like studio shoots or landscape photography where lighting conditions remain constant, it can be overwhelming in dynamic situations. After years of experience, we have become really efficient with our cameras so that we can utilize manual mode in all circumstances. It’s ideal to get use manual mode but understand it’s not always practical. Shoot to make it a goal of yours to be just as confident in manual mode as in any other mode the camera offers!
Program Mode
Program mode is essentially your camera’s auto pilot. While it’s convenient for casual snapshots, it significantly limits your creative control. The camera makes all exposure decisions, which might not align with your artistic vision. We never use program modeb ut I could see some use it in situations where speed of capture trumps creative control, like documenting fast-moving events where conditions change rapidly.
Remember, each mode has its purpose, and understanding when to use each one is just as important as knowing how to use them. In my experience, aperture priority strikes an excellent balance between creative control and convenience, making it my go-to mode for most shooting situations.
Advanced Techniques and Tips
Pairing Aperture Priority with Auto ISO
Learning how to use aperture priority effectively often starts with understanding Auto ISO. This powerful combination allows you to maintain creative control over depth of field while ensuring proper exposure. I set my minimum shutter speed to 1/125th second for general shooting, which prevents motion blur in most situations. When shooting moving subjects, you can bump this up to 1/500th or faster. The beauty of this approach is that the camera automatically adjusts ISO to maintain these minimum speeds while respecting your chosen aperture.
Experimenting with Creative Aperture Settings
Once you’re comfortable with the basics, it’s time to get creative. Try shooting the same scene at different apertures to see how it affects the final image. Here are some creative techniques:
- Use f/16 or smaller to create stunning sunstar effects around bright light sources
- Experiment with extremely wide apertures (f/1.4-f/2) for ethereal, dreamlike effects
- Try intentional background blur patterns by including lights or geometric shapes in your composition
We’ve discovered that some of our most interesting images came from breaking conventional rules about aperture settings. Don’t be afraid to use a wide aperture for landscapes or a narrow one for portraits if it serves your creative vision. The key is understanding how different apertures affect your image and using that knowledge to achieve your desired artistic effect.
Technical perfection isn’t always the goal – sometimes the most compelling images come from pushing boundaries and experimenting with unconventional techniques.
Frequently Asked Questions about Aperture Priority
FAQs on Aperture Priority and Photography Best Practices
Q: What is aperture priority, and when should I use it? A: Aperture priority is a semi-automatic camera mode that lets you control the aperture while the camera handles shutter speed. We find it most useful when we want to control depth of field while shooting in changing light conditions, particularly for portraits.
Q: How do I use aperture priority for the best results? A: Start by deciding on your creative goal. For portraits with blurred backgrounds, choose a wide aperture (f/1.8-f/4). For landscapes where you want everything sharp, use a narrower aperture (f/8-f/11). Always monitor your shutter speed to ensure it’s fast enough to prevent camera shake.
Q: Does aperture priority work well in low light? A: Yes, but with some considerations. Using a wide aperture in low light allows more light to reach your sensor. However, you might need to increase your ISO or use a tripod if the camera selects very slow shutter speeds.
Troubleshooting Aperture Priority Issues
Q: Why are my photos overexposed or underexposed? A: This usually happens when the camera’s metering system is confused by high-contrast scenes. We solve this by using exposure compensation: +1 for darker subjects against bright backgrounds, -1 for bright subjects against dark backgrounds.
Q: Why are my images blurry even with correct focus? A: If your subject is sharp but there’s overall motion blur, your shutter speed is probably too slow. Either open your aperture wider, increase your ISO, or use a tripod. Remember, the reciprocal rule: your shutter speed should be at least 1/focal length of your lens.
Q: My aperture won’t go as wide as I want. Why? A: This depends on your lens’s maximum aperture. While some lenses can open to f/1.4 or f/1.8, others might be limited to f/3.5 or f/5.6. This is why investing in “fast” lenses (those with wider maximum apertures) can be valuable for certain types of photography.
Conclusion: Embracing Aperture Priority for Enhanced Photography
Recap of Key Points
Understanding what is aperture priority and how to effectively use it has helped our photography journey, and we hope it will do the same for you. We’ve covered how this powerful mode gives you creative control over depth of field while simplifying exposure decisions.
The beauty of aperture priority lies in its versatility. From controlling background blur in portraits to managing depth of field, it’s a mode that grows with you as you develop your photographic style. We’ve found that mastering this mode has not only improved my technical skills but has also allowed me to focus more on composition and creativity.
Further Resources and Learning Opportunities
If you’re excited to dive deeper into photography, here are some valuable ways to continue your learning journey:
- Join local photography groups or online communities where you can share experiences and learn from others
- Practice with weekly photo challenges focusing on different aperture techniques
- Consider attending workshops that specialize in creative exposure techniques
- Follow professional photographers who regularly share their settings and thought processes
I encourage you to experiment with different aperture settings in various situations. Take notes about what works and what doesn’t, and don’t be afraid to push beyond conventional wisdom. Remember, every great photographer started exactly where you are now – with curiosity and a willingness to learn.

-12")


