-8")


Table of Contents
- Introduction to an Engagement Photography Workflow
- Pre-Session Preparation
- The Engagement Shoot
- Post-Session Management
- Photo Selection and Editing
- Final Delivery to Clients
- Marketing and Portfolio Building
- Streamlining Your Workflow with Technology
- Customizing Your Workflow Over Time
- Conclusion: Your Workflow Evolution
Introduction to an Engagement Photography Workflow
Experience definitely shows that the difference between chaos and consistency in engagement photography involves more than talent alone—it depends on having a solid workflow! Good systems help turn potential stress into success. Many photographers find when starting out, they might feel overwhelmed by long workweeks trying to keep up. However, with well-built systems, it’s possible to handle significantly more work much more efficiently.
That’s where a well-oiled workflow becomes your best friend! From scouting locations that match your couple’s vibe to confidently guiding them through advanced engagement posing techniques, every part of the process contributes to smoother sessions and happier clients. Once the shoot wraps, using professional editing software for engagement photographers can help speed up delivery time without sacrificing quality. And if you’re ready to grow sustainably, incorporating SEO for wedding photographers into your workflow can keep inquiries rolling in—no hustle required!
Understanding the Importance of a Streamlined Workflow
As engagement photographers, we often wear two hats – artist and business owner – juggling numerous tasks behind every gorgeous photo! A streamlined workflow acts as our professional foundation, connecting everything from the initial client email to delivering those wonderful final images. Without a reliable system, important details can get missed, valuable time can be wasted, and the results might lack consistency.
Many photographers discover early on that they’re practically reinventing the wheel with every new client. This can lead to a huge portion of work time, sometimes 55-79%, being spent solely on editing and processing. By creating standard workflows, we can often cut that figure considerably, perhaps by almost 30%! This frees up valuable time for creative pursuits and maybe even helps achieve a better work-life balance. It’s a common early pitfall to miss client deadlines without a tracking system; however, a good workflow management system can help maintain a perfect track record, even during busy seasons with numerous engagement sessions!
How Efficient Workflows Enhance Professionalism and Client Satisfaction
When our workflow runs smoothly, the advantages extend far beyond simple organization! Clients quickly notice professionalism when we confidently guide them through a well-established process. From prompt email responses to relaxed shooting experiences and punctual delivery, each organized step builds their trust in us. Hooray for happy clients!
A thoughtful workflow also carves out space for connecting creatively with couples, which is such a rewarding part of the job. Industry figures suggest that the actual photo-taking accounts for a relatively small percentage (around 4-6%) of the total workflow time. By optimizing the other 94%, we can dedicate more energy to making that shooting time truly special!
Key Benefits of a Refined Workflow
- Consistent client communication and experience
- Timelines we can confidently promise and deliver on
- Significantly less stress and mental load!
- Happier clients who are more likely to send referrals our way
- Capacity to take on more clients without burnout
Pre-Session Preparation
The foundation for fantastic engagement photos isn’t laid during the shoot itself – preparation is key! It’s a common lesson learned early on: showing up unprepared to unfamiliar locations can lead to dealing with poor lighting or unexpected issues. Now, we know the prep phase deserves as much detail as the shooting process.
Discuss & Plan with Clients: Setting Expectations
The starting point for a great photoshoot is always a thorough client consultation. Rather than rushing details through emails, we find scheduling a video call or meeting in person helps forge a real connection with the couple! It sets everyone up for success.
Our Client Consultation Checklist often includes:
- Their relationship story and what makes them unique
- Vision for the session (mood, style, feeling)
- Clear explanation of deliverables (number of images, timeline, formats)
- Location options and why they’re suitable
- Outfit guidance and planning
- What to expect during the actual session
Implementing structured consultations often leads to increased client satisfaction. For instance, hearing feedback like Megan and Ethan’s is wonderful: “We were so nervous before our session, but your detailed planning call made us feel prepared and excited instead of anxious.”
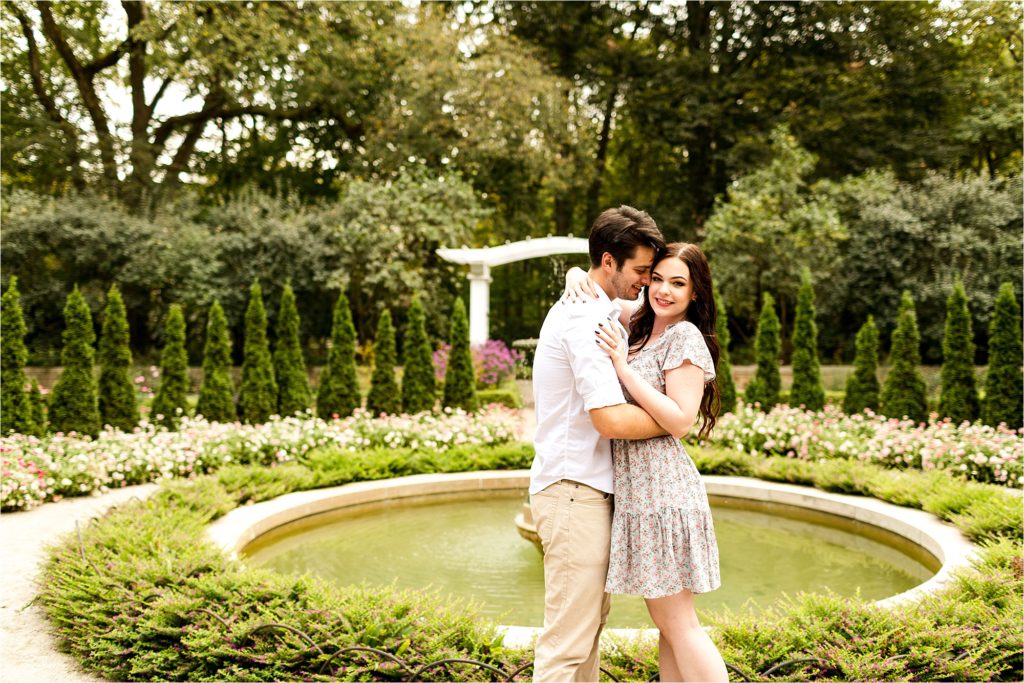
Scouting Locations and Timing for Optimal Lighting
Location scouting represents a vital investment in the final images! We’ve all probably learned the hard way about assumptions – like arriving at a waterfall location in summer only to find it completely dry. That’s why visiting potential shooting sites during the same time of day planned for the session is so helpful for seeing exactly how the light behaves.
During scouting, we typically document:
- Sun position and potential flare spots
- Shaded areas for difficult midday light
- Backup spots within easy walking distance
- Parking and accessibility information
- Permit requirements and restrictions
Preparing a Detailed Shot List Aligned with Client Preferences
While spontaneity often yields wonderful results, having a solid shot list helps capture all the desired images. A collaborative approach, like using a shared Pinterest board where clients pin images they adore, can be really effective! This helps us understand their vision clearly.
Based on their selections, we can create a personalized shot list including:
- Specific poses the couple requested
- Meaningful details (like heirloom jewelry or special locations)
- A variety of compositions (wide environmental shots, mid-range interactions, intimate close-ups)
- A logical flow between spots, planned for the best light
Organizing the sequence logically by location and lighting minimizes unnecessary movement. This preparation can sometimes trim shooting time while actually increasing the variety in the final delivered images!
Equipment Check: Ensuring All Gear is Ready
The night before an engagement session, running through a systematic equipment check can prevent potential headaches! We’ve all likely faced that moment of realizing batteries weren’t charged as thought. A standardized checklist is a lifesaver!
Pre-Session Equipment Checklist:
- Format all memory cards
- Charge camera batteries (and spares!)
- Clean all lenses
- Check flash batteries and triggers
- Pack reflector and diffuser
- Client comfort items (water bottles, bug spray)
- Weather-specific gear (rain covers, lens hoods)
- Location-specific permits or passes
Helpful Tip: Forgetting memory cards after a long drive is a scenario we can avoid! Keeping emergency backups of core gear permanently stored in the camera bag is a small investment that prevents major rescheduling issues.
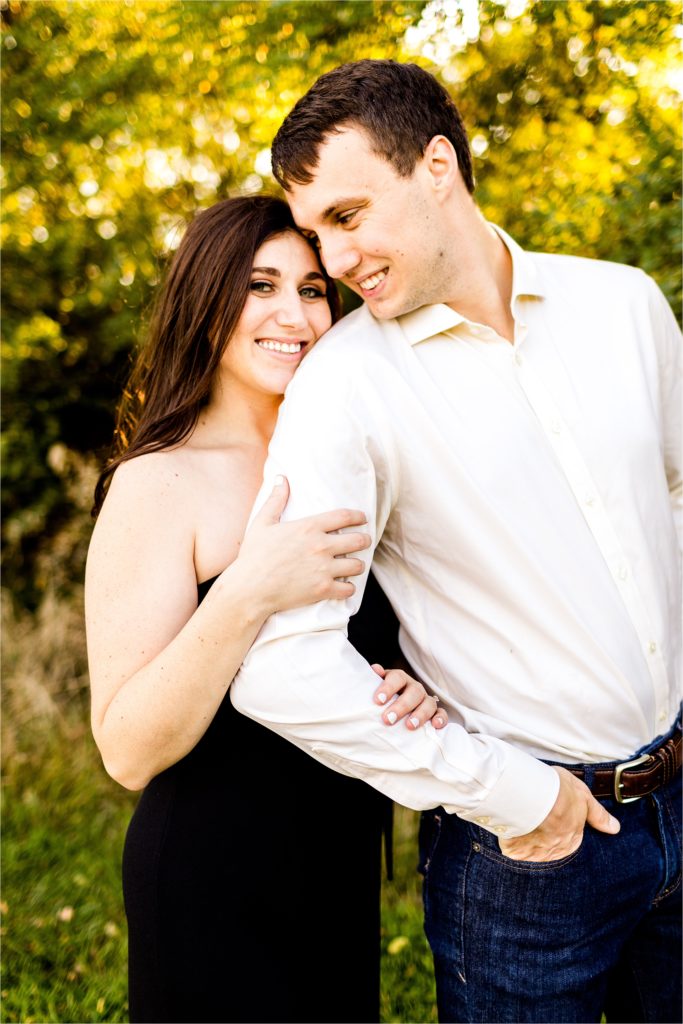
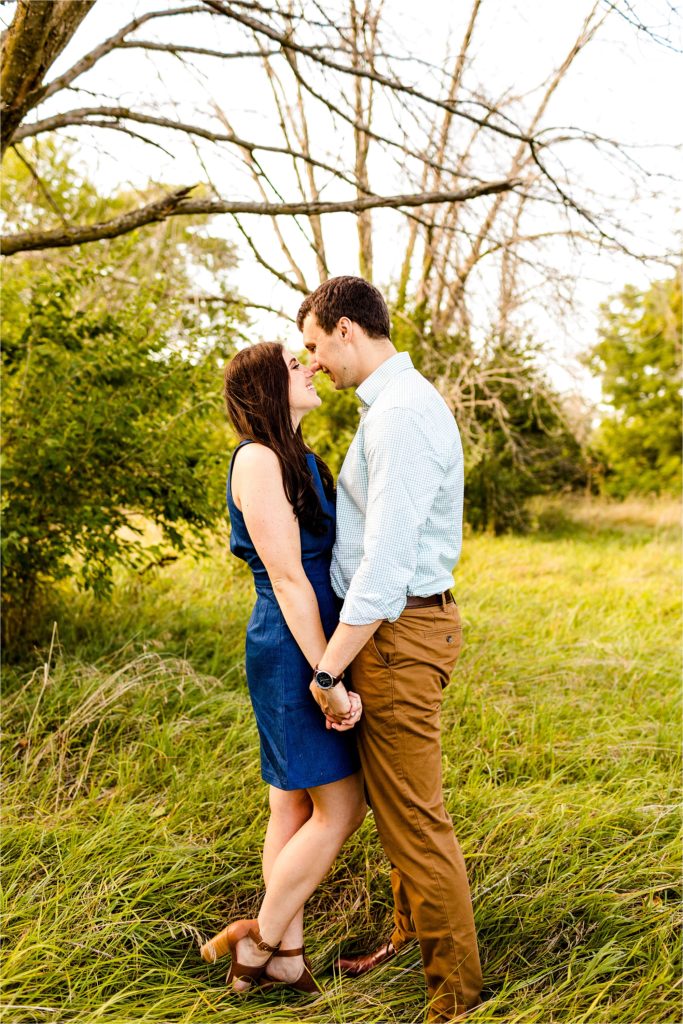
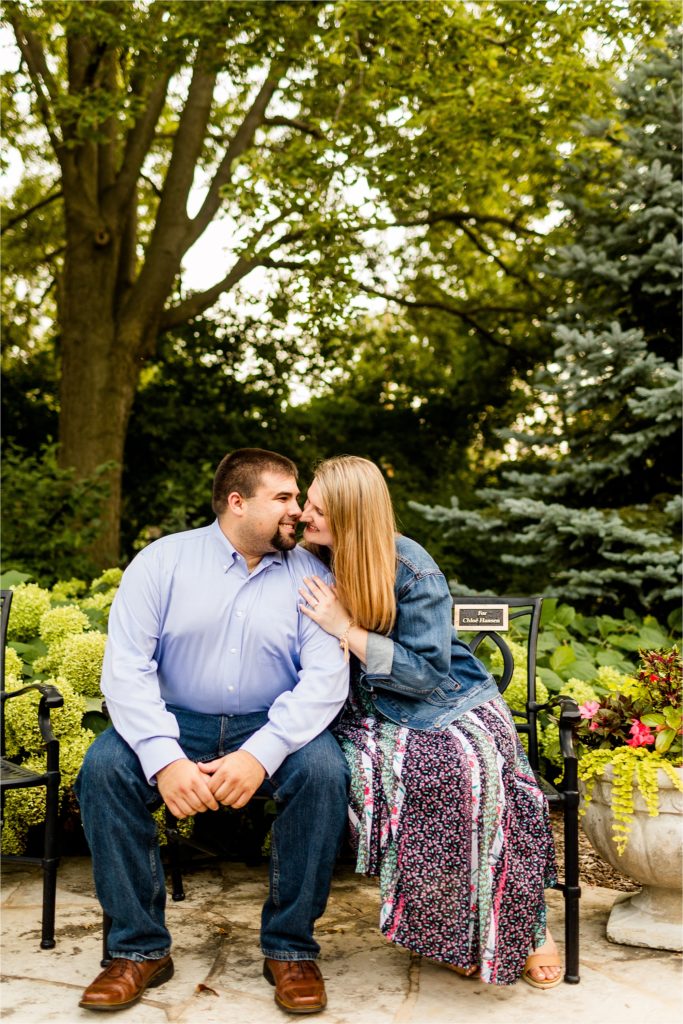
The Engagement Shoot
The engagement session is where all that careful planning comes together beautifully! Over time, we develop techniques that help create authentic interactions, even with couples who might feel a bit camera-shy initially.
Arriving Early and Setting Up Efficiently
Arriving at least 30 minutes before clients is a habit that consistently proves beneficial! It provides a buffer for unexpected situations, like finding a planned area blocked by an unforeseen event. Having that extra time allows for scouting an alternative and greeting clients with calm confidence instead of confusion. What a relief!
Setting up efficiently involves more than unpacking gear; we aim to create a smooth experience from the moment clients arrive. Positioning equipment strategically allows for quick transitions between setups without being visually distracting.
Our Pre-Client Arrival Routine often includes:
- Walking the immediate shooting area and planning the first few setups
- Taking test shots to confirm exposure settings
- Positioning bags centrally but out of sight
- Reviewing the shot list and mentally mapping transitions
- Taking a breath to center ourselves and set positive intentions for the shoot!
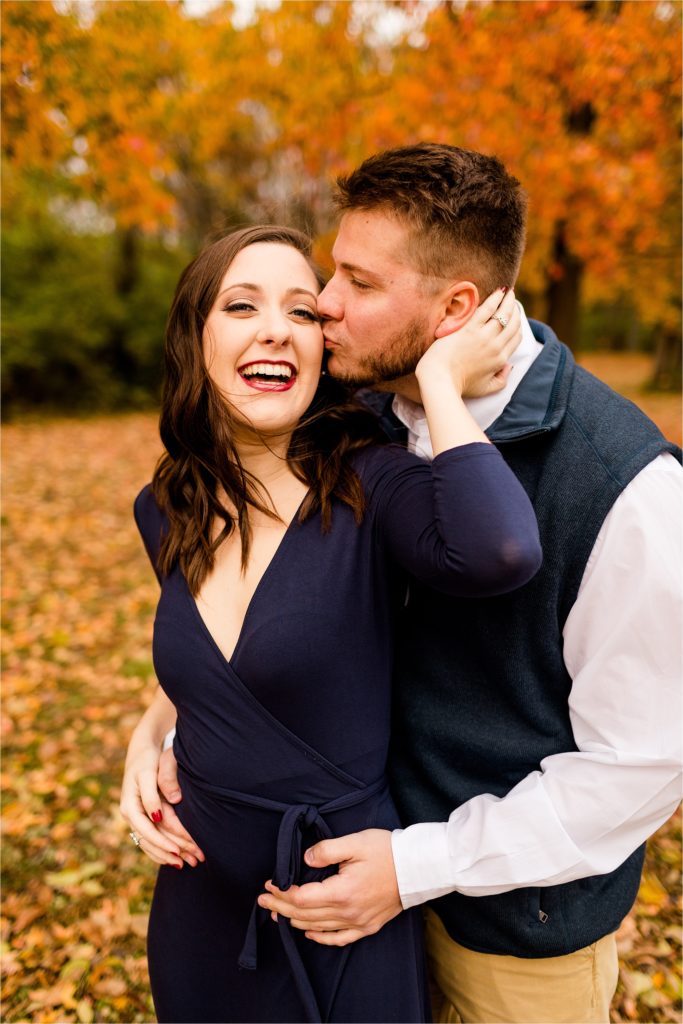
Communicating Clearly with Clients During the Shoot
Directing couples during engagement sessions requires a gentle touch. Through practice, we develop a vocabulary of simple, clear prompts that encourage genuine interactions rather than stiff poses. It’s great seeing couples relax and enjoy themselves!
We often begin with easier, low-pressure prompts like:
- “Walk toward me while sharing something you love about each other.”
- “Stand here and take a minute to think about your first date.”
- “Hold hands and simply enjoy this lovely location together.”
As clients warm up, we can progress to more specific guidance:
- “Whisper your favorite thing about your partner in their ear.”
- “Give each other a hug like you haven’t seen each other in weeks!”
- “Dance together like no one’s watching—we’ll be shooting with a long lens!”
A technique learned from workshops that works well involves spending the first 15 minutes in relaxed conversation while capturing casual images. This “warm-up” period consistently results in more natural expressions throughout the session!
Managing Time Wisely to Capture Key Parts of the Day
Effective time management during engagement sessions influences both image quality and the client experience. Structuring sessions into segments with natural breaks, rather than shooting non-stop, often works well.
A typical 90-Minute Session Timeline might look like:
- 0-15 minutes: Simple walking poses and casual interaction (warming up)
- 15-35 minutes: First location key shots (more directed posing)
- 35-45 minutes: Location transition and quick break
- 45-70 minutes: Second location with varied compositions
- 70-90 minutes: “Golden hour” dramatic shots and natural interactions
Throughout the session, we communicate timing gently, without making clients feel rushed. Simple phrases like, “We’ve captured some lovely images here, and now we have about 30 minutes left to explore the garden area,” help manage expectations while keeping the atmosphere relaxed.
Post-Session Management

As soon as we return from an engagement session, the post-production process kicks off! This phase protects our work and lays the groundwork for efficient editing. For many photographers, this used to be a major bottleneck, but a streamlined system makes it much quicker!
Backing Up and Importing Images Securely
Losing images to card corruption is a nightmare scenario we strive to avoid! Developing a robust backup system is paramount. Following the industry-standard 3-2-1 backup strategy immediately after each session provides peace of mind.
Our 3-2-1 Backup System:
- THREE total copies of raw files
- On TWO different types of media (e.g., internal SSD and external drives)
- With ONE copy offsite (e.g., cloud storage)
Helpful Tip: Continuous cloud backup services offer invaluable protection against unforeseen events like theft or hardware failure, allowing for quick recovery of client files. When importing into software like Lightroom, establishing a consistent intake process saves considerable organization time later!
Import Preset Components often cover:
- Standard copyright metadata
- Client information and contact details
- Shooting location GPS data
- Common keywords for the session type (e.g., engagement, park)
- A basic camera profile applied uniformly
Organizing and Sorting Images for Workflow Efficiency
How we organize images during import directly affects every following step! A clear folder structure, perhaps working backward from the desired outcome, is very helpful.
Example Structure:
- Year > Month > Client-SessionType > RAW/Edited/Finals
- e.g., 2025 > 04-April > Miller-Chen-Engagement > RAW
File naming conventions also deserve careful thought. Random camera-generated numbers make long-term organization challenging! Renaming files during import using a consistent format is much better.
Example Naming Convention:
- YYYYMMDD_ClientName_SequentialNumber.RAW
- e.g., 20250405_MillerChen_001.RAW
This kind of organization system can save significant time per session when searching for specific files later or managing long-term archives! Using AI-powered culling tools can also dramatically reduce culling time, freeing up energy for creative editing choices.
Our Typical Culling Process
- First Pass: Flag obvious rejects (blurry images, closed eyes, misfires).
- Second Pass: Identify the 5-star standout images that really capture attention!
- Third Pass: Select complementary images that help tell the couple’s story fully.
- Final Review: Check for sufficient variety in poses, expressions, and compositions.
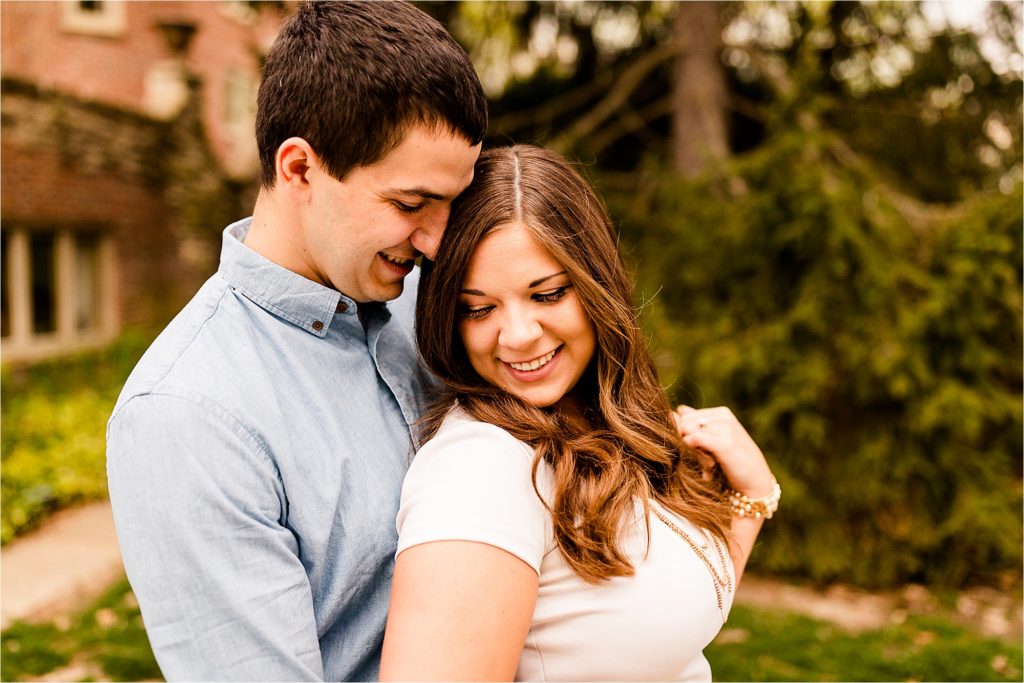
Photo Selection and Editing
This is where we transform raw captures into polished images that clients will adore! Refining our editing process over time allows us to work more efficiently while improving quality and consistency. It’s fantastic when we can cut editing time significantly per session!
Culling: Choosing the Best Images from the Session
The culling process blends artistic judgment with efficiency. A two-round system often works quite well for many photography workflows!
- Round 1: Technical Assessment
- Remove technical misses (out of focus, unflattering expressions).
- Group similar shots using software features (like Photo Mechanic’s compare tool).
- Flag definite keepers, maybe with a star rating.
- Round 2: Storytelling Selection
- Select images that create a flowing narrative of the session.
- Look for variety in composition, feeling, and setting.
- Limit very similar poses to just the strongest 1-2 examples.
Using specialized culling software like PhotoMechanic offers fast rendering, allowing image evaluation much quicker than in standard editing programs. This speed increase can save valuable time per session!
Selection Framework Questions We Ask:
- Does this image convey genuine feeling?
- Is it technically sound (focus, composition, lighting)?
- Does it add something distinct to the overall collection?
- Would we be proud to feature this in our portfolio?
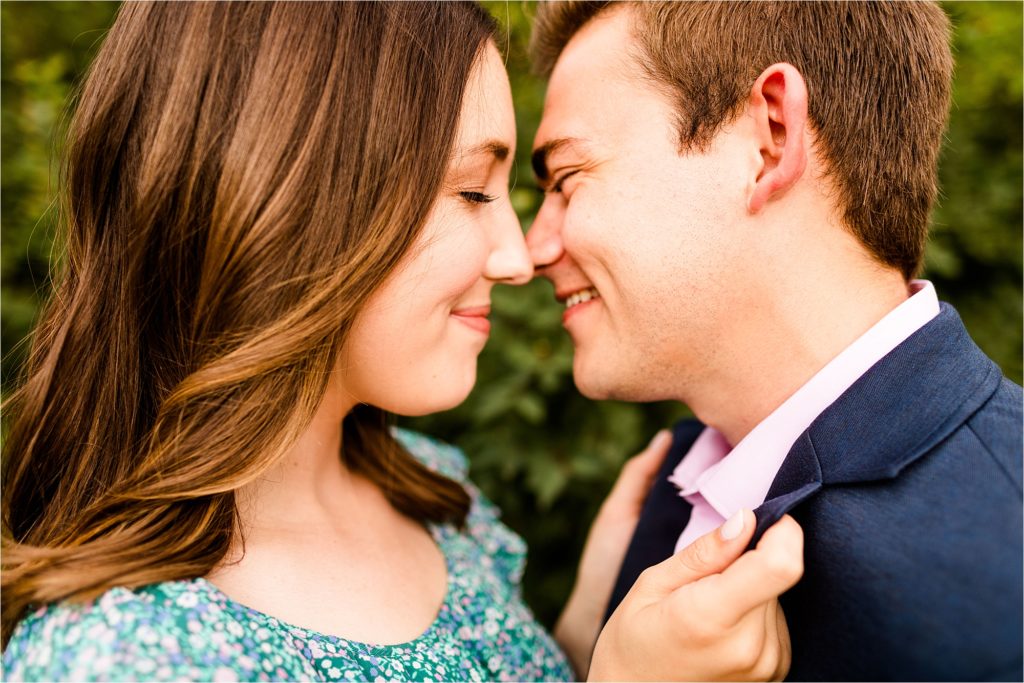
Advanced Editing Approaches for Polished Engagement Photos
Once the strongest images are identified, the focus shifts to enhancing their natural beauty without creating obviously manipulated results. Developing signature presets aligned with our brand aesthetic provides a great starting point! These presets are refined, not just applied universally.
Our Editing Priority Order is typically:
- Skin tone accuracy: This is super important for client satisfaction!
- White balance and exposure: Getting the technical foundation right.
- Contrast and dimension: Creating depth and visual interest.
- Color grading: Applying our artistic interpretation and style.
- Targeted retouching: Keeping it subtle and natural.
Helpful Tip: Experience teaches that subtle editing is often better. An “enhanced natural” style, where photos look beautiful but not heavily filtered, is frequently requested and appreciated by clients! Using professional software with robust color editing tools, like Capture One, can improve editing quality, especially for skin tones in varied trickly lighting conditions.
Batch Processing vs. Individual Edits: Finding Balance
Achieving both efficiency and high quality requires finding the right balance here. Tracking editing time can help identify where batch processing is effective and where individual attention is needed.
A Three-Tier Editing Approach might work well:
- Hero Images (approx. 20%): Receive detailed individual editing, including careful retouching and creative adjustments. These often become portfolio pieces!
- Primary Selects (approx. 60%): Receive careful individual editing, handled efficiently. These form the core client gallery.
- Complementary Images (approx. 20%): Benefit mostly from batch processing, with quick individual tweaks only where needed. They complete the story.
Implementing AI editing tools (like Imagen AI) can reduce basic editing time considerably while maintaining a consistent style. The AI learns our preferences, applying them as a starting point, letting us focus on the finer details!
Final Delivery to Clients
After perfecting the engagement images, the final delivery stage shapes how clients experience and remember our service. This process is key for cementing client satisfaction, regardless of how great the images are!
Choosing the Right Formats and Resolutions
Understanding how couples typically use their engagement photos helps tailor the delivery. Common uses include social media, wedding websites, and prints. Offering formats for each need is super helpful!
Our Standard Delivery Package could include:
- Full-resolution JPEG files (ideal for printing)
- Web-optimized files (e.g., 2000px wide, for websites)
- Social media optimized crops (e.g., square/vertical, ready for Instagram!)
This thoughtful approach avoids client frustration with resizing images themselves. Hearing feedback like Taylor and Marcus’s makes it worthwhile: “Having Instagram-ready photos made sharing our engagement announcement so easy!” Using descriptive, client-friendly filenames (like “SmithEngagementSunsetBeach01.jpg”) instead of just numbers also improves their experience long-term.
Delivering the Finished Product: Digital Galleries & Prints
Choosing the right delivery platform matters! Options like Pic-Time offer an elegant presentation and a positive client experience. Features clients often appreciate include:
- Mobile-friendly viewing
- Easy download options for various uses
- Direct print ordering capability!
- Favorites marking and sharing features
- Optional music to enhance the viewing experience
For an extra special touch, scheduling “gallery premiere” video calls can be fantastic. Walking clients through highlights, explaining creative choices, and showing gallery navigation adds a personal connection that often boosts print sales compared to just sending a link!
Helpful Tip: While digital is standard, including a small print box (like 5x7s) with a few highlighted images can create a tangible connection that purely digital delivery might miss. These often encourage larger print orders later!
Follow-up and Client Feedback: Confirming Satisfaction
The delivery shouldn’t be the end of our client relationship; it’s an opportunity! An automated follow-up sequence can nurture the connection.
A Client Follow-Up Timeline might include:
- Same-day delivery: Personalized gallery premiere call (if doing them!)
- 3 days after: Check-in email confirming gallery access.
- 10 days after: Suggest print products based on their favorited images.
- 30 days after: Request feedback and offer a wedding photography reminder.
- 6 months before wedding: Share an “engagement anniversary” highlight image.
This systematic approach can significantly increase wedding bookings from engagement clients! To keep improving, we gather specific feedback via a simple form:
- Communication clarity and responsiveness?
- Shooting experience comfort level?
- Image quality and style match expectations?
- Gallery experience usability?
- Overall satisfaction and referral likelihood?
These insights help refine our workflow and highlight strengths for marketing!
Marketing and Portfolio Building
Once we’ve delivered wonderful images, their potential reaches beyond that single client! Shifting from random posting to strategic storytelling can greatly increase engagement session bookings. What a win!
Utilizing Blogs and Social Media to Showcase Work
Blog posts remain a highly effective marketing channel! Unlike social posts, blogs offer permanent, searchable platforms for potential clients to connect deeply with our work.
A Successful Engagement Blog Post Formula could be:
- Story-focused opening about the couple.
- Location insights and why it was chosen.
- 20-25 curated images telling a complete story.
- Behind-the-scenes details about creative choices.
- Vendor credits and location info.
- Clear call-to-action for inquiries!
Optimizing posts with location-specific keywords can boost organic search traffic significantly. For social media, developing platform-specific approaches works better than simply cross-posting.
Platform-Specific Strategy Ideas:
- Instagram: Tell stories with carousels, share behind-the-scenes in Reels/Stories.
- Pinterest: Use vertical images with searchable text overlays targeting planning terms.
- Facebook: Share mini-galleries with detailed captions and client testimonials.
Engagement Session Highlights: Creating Instagram-Worthy Posts
Instagram is fantastic for attracting ideal clients! During sessions, intentionally capturing a few visually striking images designed for social impact (while staying authentic!) can be very effective.
An Instagram Content System could include:
- Main feed: Polished highlights showing our signature style.
- Stories: Candid behind-the-scenes views and client reactions.
- Reels: Quick location transitions or simple editing transformations.
- Guides: Location recommendations based on session experiences.
This multi-format approach maximizes engagement from a single session and shows comprehensive value! Even a simple Reel can gain impressive views and lead directly to bookings.
Helpful Tip: Consistent posting (e.g., 3x weekly), even using slightly older content, often outperforms sporadic posting of only new work. A content calendar relieves pressure and maintains visibility!
Curating a Portfolio that Attracts Ideal Clients
Our portfolio is the ultimate statement of our artistic vision! Experience shows that curated portfolios attract the right clients while gently deterring poor fits. Refreshing selections quarterly keeps it current!
Instead of including every single “good” image, apply careful curation focusing on impact and technical skill.
Portfolio Organization Strategy Ideas:
- Main Portfolio: Only the absolute best work (e.g., 40-50 images max).
- Location-Specific Galleries: Help clients visualize sessions in specific places.
- Style Examples: Show different approaches (urban, natural, etc.).
- Full Session Examples: Show delivery consistency with 1-2 complete galleries.
This structure helps potential clients picture themselves in our images and demonstrates versatility within our style! Featuring the types of clients we hope to attract more of leads to better inquiries.
Streamlining Your Workflow with Technology

Leveraging technology effectively gives modern photographers a competitive edge! Analyzing where time is spent most helps identify tools that can truly boost productivity. It feels great to find helpful tech solutions!
Exploring Software Solutions for Workflow Automation
An efficient system often relies on integrated software tools. Building an ecosystem where information flows seamlessly between platforms is way better than using disconnected apps!
A Core Software Stack might include:
- Client Management: HoneyBook (contracts, questionnaires, payments)
- Culling: Photo Mechanic (much faster culling!)
- Editing: Capture One (great color accuracy, tethering)
- Gallery Delivery: Pic-Time (integrated sales, nice presentation)
- Email Marketing: Flodesk (automated sequences, appealing templates)
AI-powered culling tools like Aftershoot can drastically reduce culling time by identifying technical issues and grouping similar shots!
Helpful Tip: Many photographers initially worry automation might feel impersonal, but often the opposite happens! Automating routine tasks frees up more time for genuine client interactions, strengthening relationships. An automated email sequence is particularly powerful!
An Automated Email Sequence Example:
- Inquiry response (quick, 24/7!)
- Booking confirmation & next steps
- Session prep guide & questionnaire
- Session reminder & final details
- Same-day preview delivery (e.g., 3 highlights)
- Gallery announcement & viewing instructions
- Print product info & recommendations
- Testimonial request & referral info
This system provides consistent communication and saves us from manually sending repetitive emails. Clients frequently comment on how professional and organized it feels!
Outsourcing: When and How to Consider External Help
Even with great software, strategic outsourcing can be key for scaling a photography business. Tracking hours often reveals editing as a major time consumer, sometimes taking up a large percentage of total workflow time.
Finding the right outsourcing partner might take trial and error:
- Budget options might lead to inconsistent quality.
- Specialized services are better but might need style calibration.
- Partnering with someone familiar with our specific style often yields the best results!
A good partnership can handle a significant portion of the editing load, reducing personal time to quality control and creative finishing. The investment often pays for itself many times over in freed-up capacity!
Recommendations for photographers considering outsourcing:
- Start with a small test batch (5-10 images).
- Provide very detailed style guides with clear examples!
- Budget time/funds for revisions during the initial learning phase.
- Increase volume gradually as consistency improves.
Case Study Insight: Outsourcing editing can free up substantial time per session (e.g., converting 3.5 hours of editing to 45 minutes of management). This reclaimed time can be redirected to revenue-generating activities like shooting or marketing!
Customizing Your Workflow Over Time

Successful photographers view their workflow not as static, but as a living framework that evolves! Workflows naturally change as businesses grow and adapt over the years. It’s part of the journey!
Learning from Each Session: Continuous Improvement Tips
Every engagement session offers learning opportunities if we reflect intentionally! After each project, asking a few simple questions helps:
Post-Project Review Questions:
- What went exceptionally well that we should repeat?
- What caused friction or stress that we could improve?
- What unexpected things happened that we can plan for next time?
This systematic evaluation turns challenges into growth opportunities! For example, noticing sunset sessions often run late might lead to building an automatic buffer into those timelines—reducing stress while still getting those lovely final shots. Tracking specific metrics also reveals patterns:
- Average time spent per workflow phase
- Client response rates (galleries, products)
- Most frequently selected image types
- Common client questions
This data-driven approach might reveal bottlenecks, like spending too much time on basic corrections, prompting improvements in shooting technique to save editing time later!
Adjusting Techniques Based on Client Needs and Industry Trends
Client expectations change, requiring us to adapt! Noticing trends, like requests for “sneak peek” images, might lead to developing a quick turnaround process for a few highlights – often becoming a highly praised service feature!
An adaptable workflow incorporates flexibility. Developing modular components allows customization for different client needs, rather than having one rigid system.
Workflow Variations We Might Offer:
- Standard: Typical delivery timeline (e.g., 2 weeks)
- Rush: Faster turnaround (premium pricing)
- Extended: More coverage/images
- Adventure: Remote locations needing specialized planning
Helpful Tip: Instead of overhauling the entire workflow for every new trend, it’s wise to evaluate new tools against specific existing pain points. If a tool doesn’t solve a real problem in our process, it might just add unneeded complexity!
Conclusion: Your Workflow Evolution
As we’ve explored, the journey from booking to delivery involves so much more than capturing lovely images! A well-designed workflow truly transforms not only our images but our entire business direction. Many find that implementing effective systems leads to reduced working hours, increased income, and higher client satisfaction scores – driving more referrals and repeat business! Fantastic outcomes!
Our ideal workflow isn’t copied from someone else; it’s a personalized system aligned with our unique approach and goals. We can start by identifying current pain points: Where do we feel most overwhelmed? Which tasks get put off? These areas offer valuable clues for where to focus workflow improvements first!
Workflow refinement is an ongoing process. Setting regular review dates (maybe quarterly?) helps evaluate how systems are working and what tweaks could boost efficiency further. The photographers who thrive long-term build adaptability into their core approach rather than sticking to a static system forever. Keep evolving!
Affiliate Disclosure: Some links in this post are affiliate links, meaning we may earn a commission if you make a purchase through our links, at no extra cost to you. As wedding photographers ourselves, we only recommend gear we’ve thoroughly researched or would use in our own business. Your support helps us continue creating valuable content for the photography community.

-12")


