-8")


Taking that leap from natural light photography to off-camera flash can feel like a big step, but you’re already closer than you think! Every time you’ve wanted more control over light or dreamed of creating those lovely, deep portraits you see, that’s what off-camera flash helps you with.
The photography community has fully embraced this change. Around 60% of professional photographers use flash, and features like TTL and wireless functions have changed how pros approach lighting, making workflows more efficient and leading to better results. You’re not merely learning a way to shoot, you’re joining a movement that’s reshaping modern photography!
Table of Contents
Getting Started with Off-Camera Flash
What is Off-Camera Flash?
Think of off-camera flash as giving your light source freedom from being tied to your camera. Instead of that harsh, straight-on light that can look amateurish, you get to place your flash unit anywhere around your subject. This freedom takes flat, dull photos and helps them become images with true depth and character.
So, what is off-camera flash, exactly? It’s any flash unit that works separately from your camera, connected wirelessly through radio signals, optical communication, or sync cables. This setup lets you copy natural lighting patterns, like window light coming from the side or striking backlighting during golden hour, but with total command over how bright it is and where it comes from.
Advantages of Using Off-Camera Flash
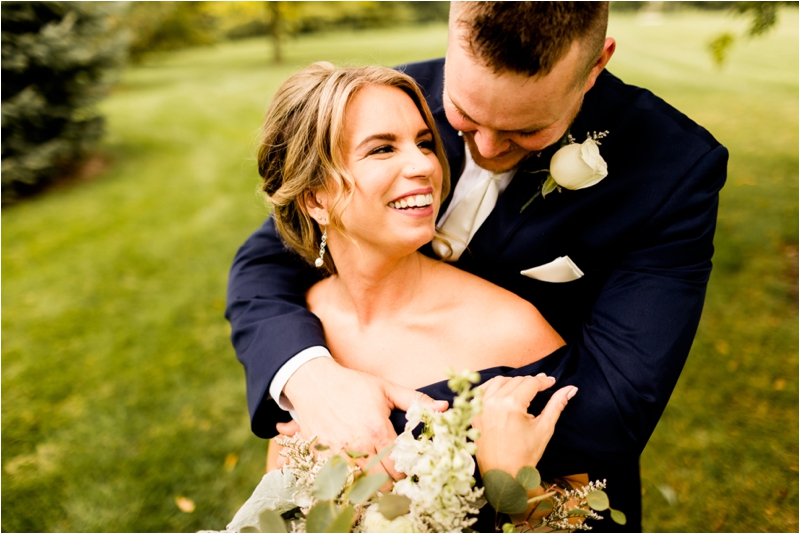
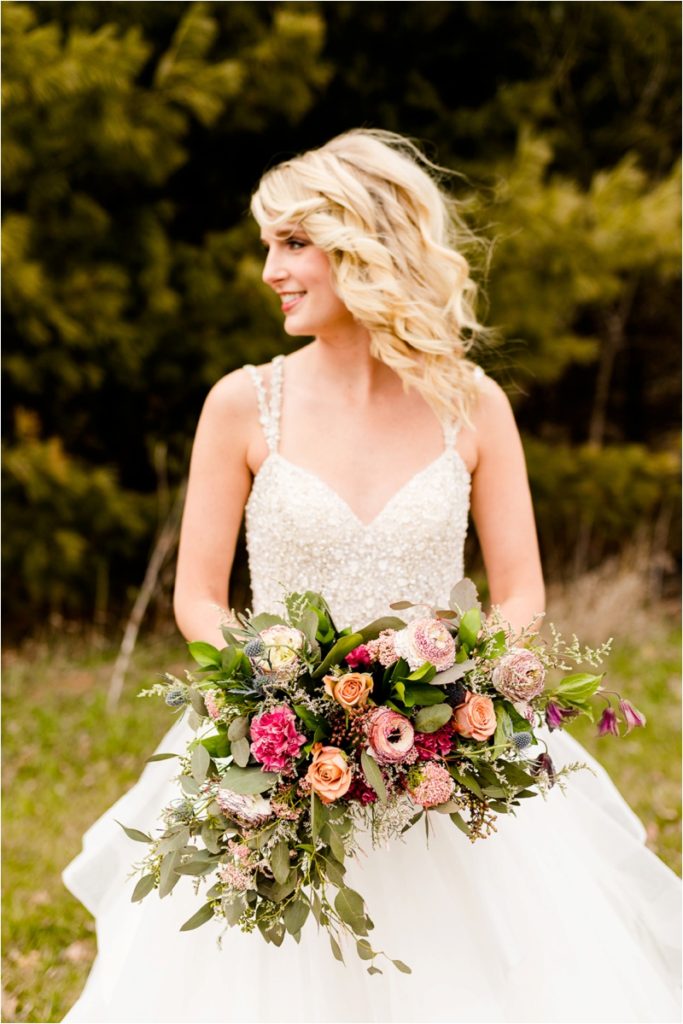
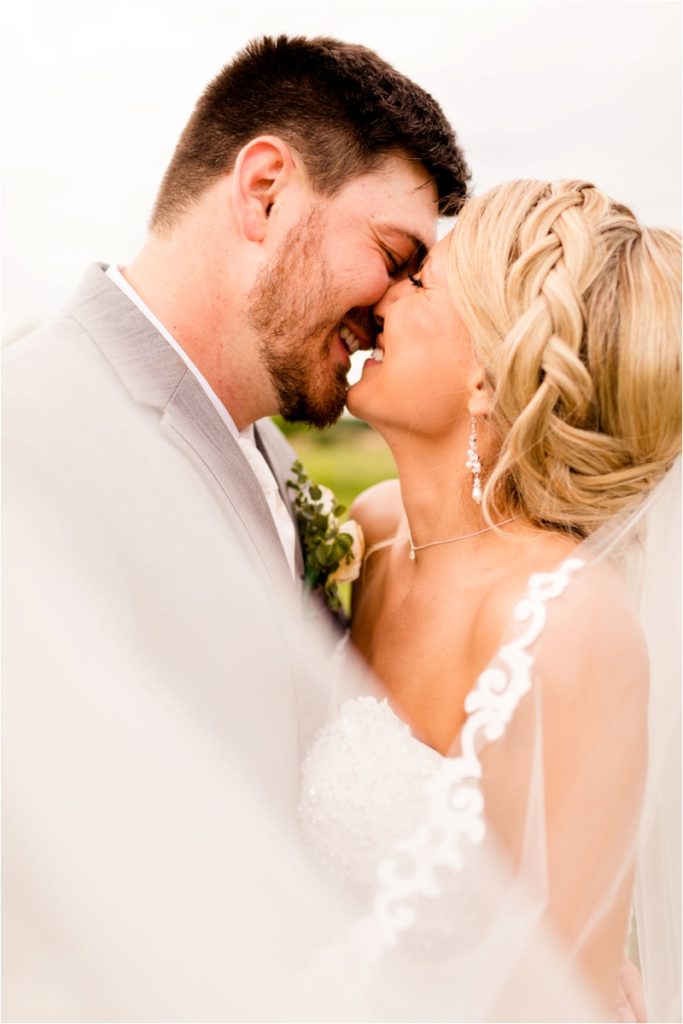
Off-camera flash photography helps solve a basic problem many beginner photographers face, harsh, unappealing light. When you put a flash right on your camera, you’re basically creating a small, super bright sun right above your lens. What happens then? Those wide-eyed looks and shadowy “raccoon eyes” that make everyone wince.
Moving your flash away from the camera immediately adds three key elements to your pictures. First, you get directional control, letting light shape your subject’s features in a natural way. Second, you build depth through shadows and highlights that give your photos a three-dimensional feel. Third, you achieve consistency across many pictures, even as you or your subjects move around the scene.
Professional wedding photographer Katelyn James highlights the value of keeping setups simple, especially during busy events. Begin by learning straightforward setups before adding complexity, this helps you avoid missing important scenarios while struggling with tricky gear during receptions!
Key Terms for Flash Photography
Before we dive deeper into off-camera flash setup, let’s go over the main terms that will guide you. Triggers are your communication tools, they tell your flash when to fire. These come in three main kinds, radio triggers (most dependable), optical triggers (budget-friendly but need to “see” each other), and sync cables (a reliable backup choice).
Modifiers shape and control your light quality. Think of them as the difference between bright midday sun and soft window light on a cloudy day. Joel and Cheryl from Black & Gold Photography mention that light modifiers like softboxes, MagMod grids, and gels add an extra level of creative command, helping you shape both how soft and what color your light is.
Sync speed is the fastest shutter speed your camera can use with flash before you see those annoying dark bars across your picture. Most cameras sync between 1/160s and 1/250s, though advanced techniques like High-Speed Sync can push these limits for creative command in bright settings.
Practical Gear for Aspiring Photographers in 2025
Speedlights vs. Strobes: Which is Right for You?
The speedlight versus strobe argument often stops new off-camera flash users in their tracks, but the answer depends more on how you shoot than on specific preferences. Speedlights are great for portability and quick setup situations. They’re battery-powered, small, and wonderful for wedding photographers who need to move quickly between ceremony and reception venues.
For most beginners starting in 2024-2025, the Godox TT685II series ($110-$130) offers a great blend of features and affordability. Available for Canon, Nikon, Sony, Fuji, and Olympus cameras, this speedlight provides TTL, HSS, and wireless abilities that will grow with your skills. The slightly more advanced Godox V1 ($259-$279) has a round head design and magnetic modifier mount for those who want more professional features right from the start.
Strobes offer more energy and quicker recycle times, making them suitable for studio work or situations needing constant, high-output lighting. However, modern battery-powered strobes like the Godox AD200 Pro have blended these traditional lines, offering strobe energy with speedlight portability.
Must-Have Accessories: Triggers, Stands, and Modifiers
Your off-camera flash system needs more than just the flash unit itself. Radio triggers should be at the top of your list because they offer better range and dependability compared to older optical systems. The Godox X2T trigger ($60-$80) provides easy TTL and HSS command with dependable wireless communication up to 100 meters, while the more advanced Godox XPro ($69-$89) offers more fine-tuning choices for complex setups.
Light stands provide the stability and positioning command that sets apart amateur snapshots from professional portraits. Even a simple stand opens up creative possibilities that handheld flash simply cannot match. You’ll place your light source exactly where you need it, keeping things consistent shot after shot.
When picking modifiers, start simply with a 43-inch white umbrella ($20-$50) paired with your flash. This creates wonderfully softer, more appealing light than bare flash. As your skills advance, think about upgrading to a 60x60cm softbox with grid ($40-$65) for more focused command, or even a used Profoto OCF Beauty Dish (~$150) for great versatility.
A complete beginner setup, including the Godox TT685II, X2T trigger, umbrella with stand, typically costs about $280, giving you a strong beginning that can expand as your skills grow.
Setting Up Your Off-Camera Flash System
Step-by-Step Guide to Positioning and Adjusting Flash
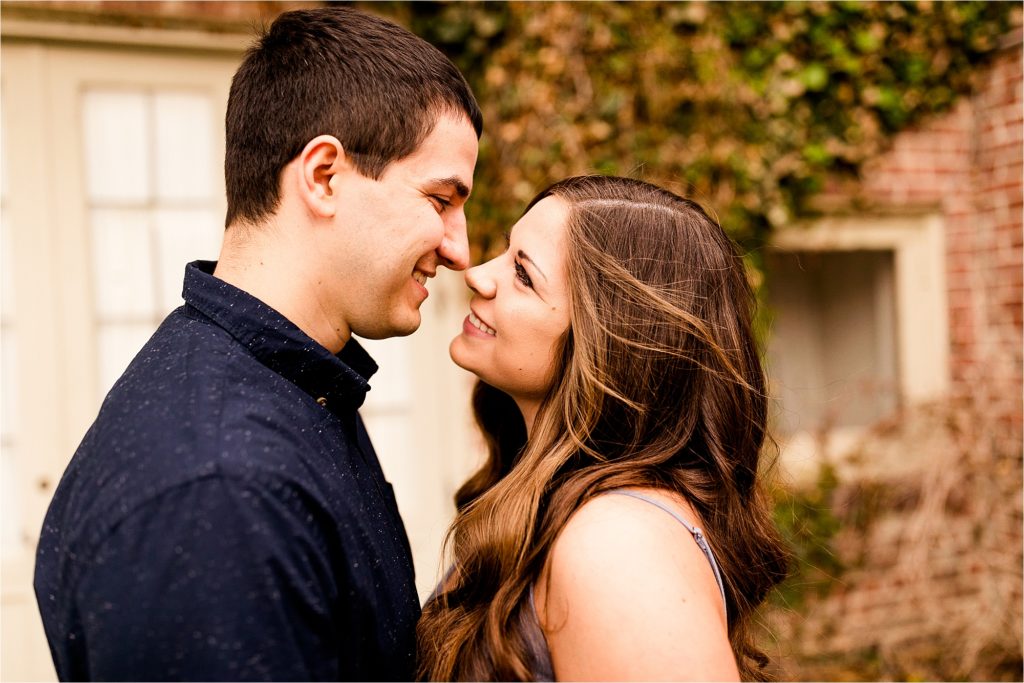
Learning how to use off-camera flash begins with understanding basic positioning principles. ShootDotEdit emphasizes that getting the desired effect means proper positioning, thinking about whether you want hard or soft light, the direction (front, back, or side lighting), distance, and flash power output.
Start simply with your off-camera flash setup. Mount your flash on a light stand about four to eight feet from your subject, depending on the modifier you’re using and how bright you want the light. Attach your wireless trigger to the camera and connect it with your flash unit, making sure both devices are on the same channel.
Set your flash to quarter power to start, this is a good initial point for most portrait situations. Take a test shot and check both the picture and histogram. Adjust flash power up or down based on your results, keeping in mind that changes in distance also affect light intensity. Moving the flash closer makes it brighter, moving it farther lessens the intensity.
For striking effects, try the approach used by Black & Gold Photography: place a single bare-bulb flash about 10 feet away and point it directly at your subjects for appealing backlighting that makes elements like rain or snow stand out with atmosphere.
Balancing Flash with Ambient Light: A Beginner’s Approach
Building skill in off-camera flash settings means understanding the relationship between flash and ambient light. Begin by metering your scene for ambient light alone. Set your camera’s exposure to capture the background or environment naturally, then bring in flash to illuminate your subject. This approach keeps the venue’s atmosphere while making sure your subjects are well-lit and properly exposed. During golden hour sessions, you might expose for the warm background light, then use flash to highlight the couple without overwhelming the natural ambiance.
Manual flash mode provides the most consistent results for this approach. Unlike TTL mode, which adjusts automatically and can give varying results, manual mode keeps the exact power level you set until you change it. This consistency is so valuable when lighting conditions stay stable.
Resolving Common Setup Problems
Flash sync problems often happen because channels between transmitter and receiver don’t match, batteries are low, or there’s interference from other wireless devices. Always test your setup before important shoots, and carry backup sync cables as a reliable option.
Color temperature differences create unwanted color tints when flash (daylight balanced at 5500K) mixes with tungsten venue lighting (3200K). Use warming gels on your flash or adjust white balance settings to match ambient conditions.
Power counting becomes natural with practice, but beginners often wrestle with the inverse square law, doubling the distance between flash and subject needs four times the power to keep the same exposure. Start close and work backward rather than trying to overpower far-off subjects.
Improving Light Modification Skills
Common Light Modifiers: Softboxes, Umbrellas, and More
Understanding photography portrait lighting approaches starts with recognizing how different modifiers affect light quality. Softboxes create controlled, directional light with defined edges, a great fit for striking portraits where you want specific shadow command. The light they produce mimics large window light, wrapping around your subject’s features wonderfully.
Umbrellas provide the quickest way to soften harsh flash light quite a bit. Shoot-through umbrellas offer the softest, most even coverage, while reflective umbrellas provide more directional command with a bit more contrast. Both options set up quickly and pack well for location work.
Grids and snoots control light spill, creating focused beams well-suited for rim lighting or accent effects. These modifiers help separate subjects from backgrounds and stop your flash from affecting other areas of the scene. For wedding photographers, grids are great at highlighting couples during first dances without lighting unwanted background elements.
How to Use Each Modifier Well
The key to using modifiers well is understanding the relationship between size, distance, and subject. Larger light sources create softer shadows, but only when placed close to your subject. A large softbox placed ten feet away produces harder light than a small modifier positioned two feet from your subject.
When using umbrellas, place them close enough that your subject could almost touch them. This closeness maximizes the softening effect and creates that lovely, wrap-around light quality that makes portraits glow. Know that modifiers reduce light output, so increase your flash power accordingly, often by two full stops or more.
Bouncing flash off neutral surfaces when possible creates the most natural-looking light. Angle your flash to bounce off white or light-colored ceilings behind you rather than firing directly at your subject. When venue ceilings are too high or dark for effective bouncing, portable bounce cards redirect light well.
Flash Settings and Camera Methods
TTL vs. Manual Mode: Understanding the Difference
The TTL versus manual mode choice impacts every part of your off-camera flash portraits. TTL mode automatically adjusts flash output based on your camera’s metering system, adapting to changing conditions in real-time. This automation works well during dynamic events where subject distance and lighting conditions change quickly.
Manual mode gives you full command over flash output, ensuring consistent results shot after shot. When working in controlled settings or when you need to copy specific lighting looks, manual mode delivers predictable, repeatable results that TTL simply cannot match. Professional wedding photographers often change between modes throughout an event. TTL works well during processionals and recessionals where subject distance changes constantly, while manual mode works better during portraits and posed group shots where consistency matters more than adaptability.
Camera Settings for Different Scenarios
For portrait sessions, begin with aperture priority mode set to f/2.8-f/5.6 for appealing depth of field, ISO 400-800 to keep detail without too much noise, and shutter speeds between 1/160s-1/200s to stay within sync limits. Adjust flash power to get proper subject exposure while keeping ambient background balance.
Group shots need different settings: f/8-f/11 for enough depth of field to keep everyone clear, lower ISO if lighting allows, and possibly higher flash power to evenly light larger groups. Place multiple flashes when possible to avoid harsh shadows on people in the back rows.
Reception lighting needs flexibility: TTL mode for unpredictable times, higher ISO (1600-3200) to capture ambient venue atmosphere, and bounce flash methods to create natural-looking fill light that doesn’t overpower the mood lighting.
Common Issues and Strong Solutions
Avoiding Overexposure and Harsh Shadows
The most frequent beginner problem involves turning flash power too high, creating blown-out subjects and harsh shadows. This often comes from confusion between light quality and light quantity. Harsh shadows happen from unmodified direct flash, while overexposure comes from too much flash power.
High-end photographers Hunter and Sarah advise against making lighting setups too complicated, especially in fast-paced wedding settings. Sometimes natural or simple on-camera flash works more efficiently than elaborate off-camera setups when timing matters more than perfect lighting.
Lower your flash output first when facing overexposure issues. Move the flash farther from your subject or reduce power settings rather than closing down your aperture, which affects depth of field. Understand that small power adjustments create big exposure changes, work in half-stop steps.
Professional Advice for Consistent Results
Always have backup equipment for key shoots. Carry at least two speedlights, extra batteries for all units, and keep sync cables as backups to your wireless triggers. Equipment failures happen at the worst times, but preparation helps keep you from missing important pictures.
Test your setup regularly: confirm trigger communication, check flash output levels, verify modifier positioning, and take test shots before guests arrive. This pre-shoot routine finds problems when you have time to fix them rather than during important times.
Advancing Your Skills: Creative Uses
Combining Many Flashes for Striking Effects
Once you’ve gotten good at single-light setups, using many flashes opens up creative possibilities that single sources cannot achieve. Position your main flash for key lighting, add another for rim or hair light, and use a third to light backgrounds or create atmospheric effects.
Sales of entry-level and advanced flash models are growing at about 15% year-over-year, showing increased adoption among photographers ready to broaden their lighting tools. This growth shows the creative advantages that multi-flash setups offer.
Balance power levels carefully when using many lights. Your key light should usually be strongest, with fill and accent lights set to lower powers that complement rather than compete with your main light. Start with simple ratios like 4:1 between key and fill lights, adjusting based on the amount of contrast you want.
Using Gels for Color Creativity
Colored gels change ordinary flash into creative tools for mood and atmosphere. Warm gels copy golden hour light during blue hour sessions, while cool gels complement natural daylight for seamless blending. Understanding color theory helps you pick complementary or contrasting gel combinations for great visual impact!
During receptions, gel your off-camera flashes to match venue lighting, tungsten gels for warm indoor lights or daylight gels for venues with mixed lighting. This matching helps stop color tints and creates natural-looking results that keep the venue’s atmosphere.
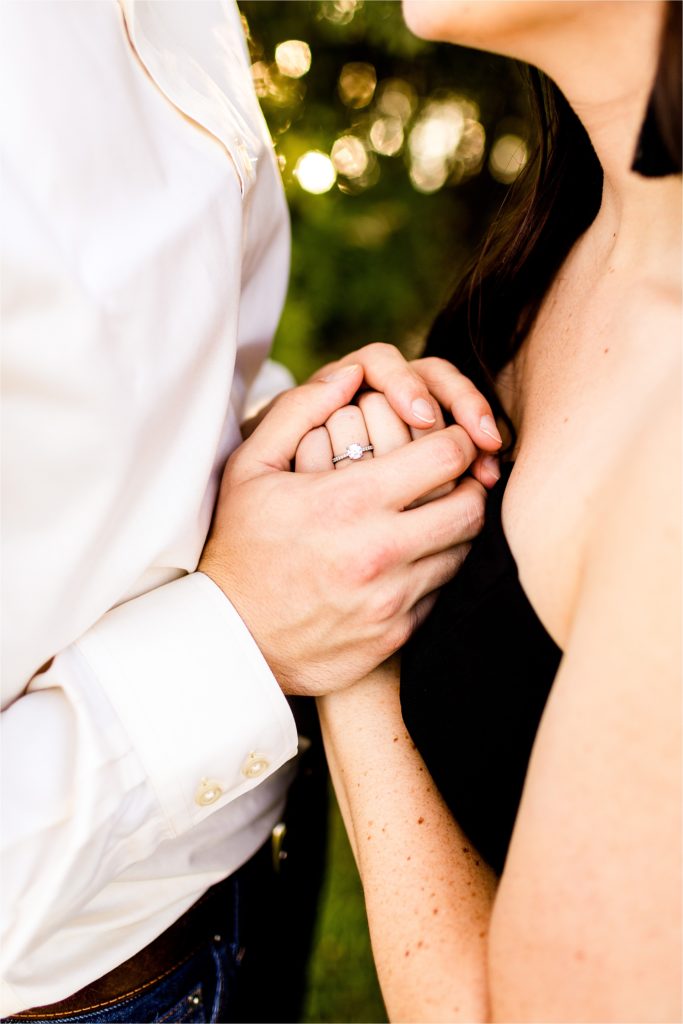
Experiment with striking gel combinations for engagement sessions and creative portraits. Purple and orange create wonderful sunset effects, while blue and yellow provide modern, editorial looks that truly stand out.
Conclusion
Developing your off-camera flash techniques for beginners starts with understanding a basic idea: you’re learning to command and shape light rather than simply adding brightness to dark scenes. The journey from fumbling with harsh on-camera flash to confidently crafting lovely, deep lighting takes practice, but every photographer can get these results with patience and the right approach.
Start simply with basic lighting approaches, a single flash, a simple modifier, and straightforward positioning. Build confidence through regular practice during non-critical sessions, slowly adding complexity as your skills grow. Even professional photographers rely on fundamental approaches refined through experience rather than complicated setups.
Your choice to learn off-camera flash skills pays off throughout your photography journey. The ability to create consistent, professional lighting in any setting makes your work stand out and provides the creative command that natural light alone can’t give. Whether you’re capturing sweet wedding scenarios or striking engagement portraits, these skills help you never be limited by available light conditions.
The photography industry keeps moving toward more refined lighting approaches, with wireless connectivity and automated features making advanced setups more reachable than ever. By learning these foundational off-camera flash techniques now, you’re setting yourself up to grow with the industry and consistently provide the professional results your clients expect.
Affiliate Disclosure: Some links in this post are affiliate links, meaning we may earn a commission if you make a purchase through our links, at no extra cost to you. As wedding photographers ourselves, we only recommend gear we’ve thoroughly researched or would use in our own business. Your support helps us continue creating valuable content for the photography community.

-12")


