Taking on your first wedding as a photographer is equal parts exciting and intimidating. That rush of adrenaline as you pack your gear, double-check your batteries, and prepare to capture one of the most important days in a couple’s life – we’ve been there, and we know exactly how you’re feeling. While it’s natural to feel nervous, having a solid game plan and understanding the foundations of wedding photography will help you approach your first wedding with confidence. In this guide, we’ll walk you through everything you need to know, from gear preparation to post-wedding workflow, ensuring you’re ready to deliver beautiful memories for your clients.
If you’re considering diving into wedding photography, we’ll help you build a strong foundation. Planning to upgrade your gear? Our guide to camera bodies for wedding days will help you make the right choice and we also have a full gear guide on what we recommend for your wedding photography kit. Looking for tips on capturing all those special touches? Our guide to photographing wedding details will help you tell the complete story.
Now, let’s break down exactly what you need to know to make your first wedding a success. We’ll cover everything from essential gear checks to timeline planning, ensuring you’re prepared for every moment of the big day.
Table of Contents
Essential Equipment and Backup Planning
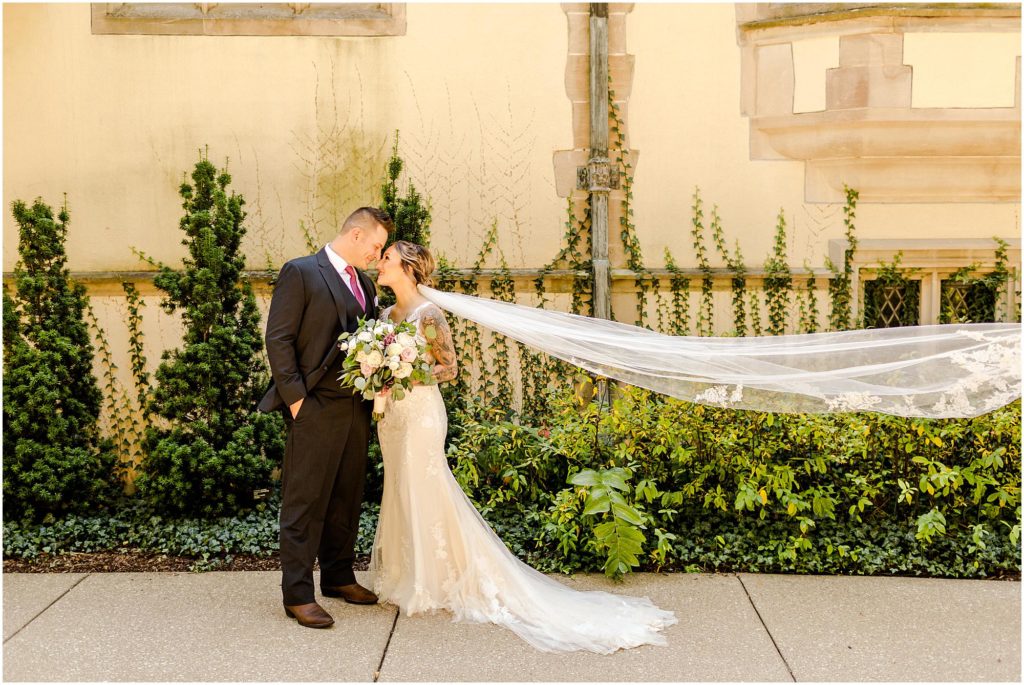
When it comes to wedding photography gear, Murphy’s Law is always in full effect – if something can go wrong, it probably will. That’s why having backup equipment isn’t just a recommendation – it’s absolutely necessary. We operate with three Canon 5D Mark IV bodies – Caitlin carries one with a 35mm lens, while I (Luke) carry two bodies, one with a 35mm and another with a 50mm. This setup helps us make sure we’re always ready for any situation while having immediate backup options available.
When it comes to lens selection, having the right combination is crucial. I want to take the time to explain our setup but feel free to take or leave anything. The 35mm serves as our primary lens throughout the wedding day – it’s versatile enough for everything from getting ready shots to reception coverage, while providing that perfect balance of context and intimacy. (A cost saving tip for Canon users is to go with the Sigma 35mm.) For ceremonies, speeches, and first dances, I will use the 70-200mm, which allows me to capture those intimate moments without being intrusive. Detail shots are where the 100mm macro lens truly shines – it’s our go-to for capturing rings, jewelry, and those tiny elements that make each wedding unique.
Memory card management deserves special attention. We always pack more cards than we think we’ll need – typically 32GB or 64GB cards, using multiple 64GB cards rather than a 128GB or 256GB card. The main reason we decided to do this is because it minimizes potential data loss if a card fails. Our cameras have dual card slots, writing to both simultaneously for instant backup. (Here’s a link to the case we keep our SD and CF cards.) Pro Tip: Make sure you continue to replace your memory cards as time goes on. We would purchase new cards every Black Friday because they were a very good price and it was the end of our season here in Central IL.
Outside of gear, you’ll want to wear comfortable shoes – you’ll be on your feet for 8-12 hours and if you don’t have the right shoes you will feel it. We also bring an emergency kit that includes things like bandaids, safety pins, tissues, and even a sewing kit. Lastly, you will be hungry and thirsty so keep a few granola bars and water bottles in your bag and/or car – wedding days are long, and you need to stay energized. Funny story, we had one wedding where I thought it was a good idea to bring FiberOne bars…5 bars later and I can’t begin to explain how bloated I was by the end of the day. That was a mistake I never made again!!
Pre-Wedding Client Communication and Planning
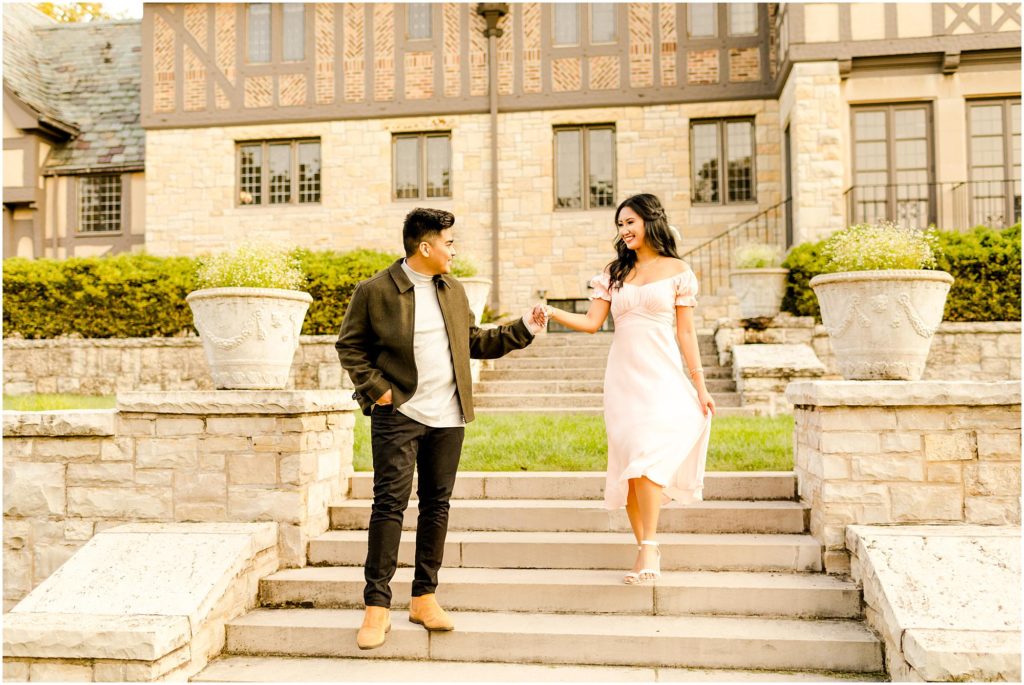
A successful wedding largely depends on the groundwork laid weeks/months before the event. Pre-wedding communication isn’t just about discussing photo preferences – it’s about building trust and making sure that you and the couple are on the same page.
Caitlin would always communicate with the bride-to-be and start with a detailed phone consultation at least a month before the wedding. During this meeting, she would discuss things like the wedding timeline in detail, when’s the first look happening, and how much time is allocated for family portraits.
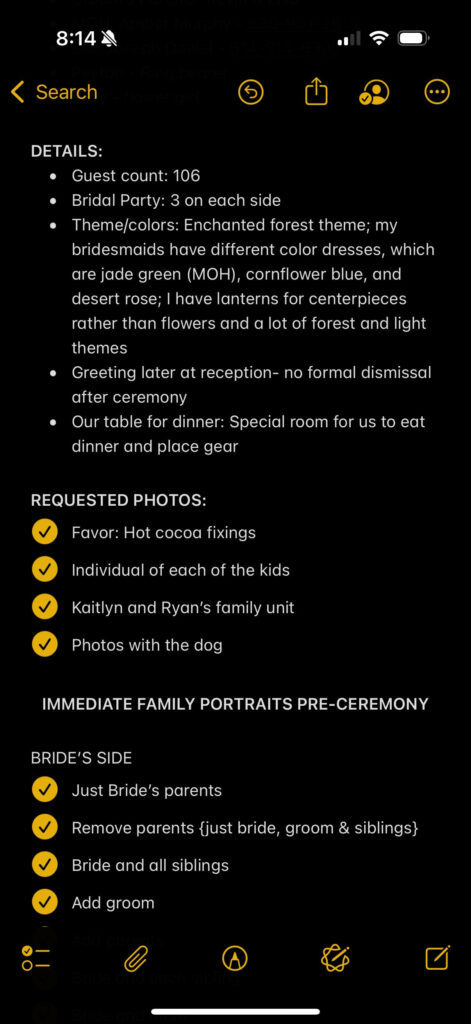
Creating a comprehensive shot list is crucial for your first wedding. We either had a printed out piece of paper with all the shots on it or we used the notes app on our phones. Always work closely with the couple to understand their must-have shots and any unique elements they want to incorporate. Are there special family heirlooms being featured? Perhaps grandparents who need extra attention during family portraits? Maybe there’s a surprise performance during the reception that needs to be captured? Each wedding has its own personality and special moments that matter deeply to the couple. Document these details meticulously – you don’t want to be the photographer who missed Aunt Margaret’s handmade cake topper or the bride’s late father’s cufflinks being worn by her brother.
Your shot list should break down into clear segments: getting ready, ceremony, family formals, couple portraits, and reception. For family portraits, get specific names and groupings beforehand – this saves precious time on the wedding day and ensures no key combinations are forgotten. Remember to also note any family dynamics that might affect group photos – divorced parents, family members who need to be photographed separately, or elderly relatives who might need to be photographed early in the day when they have more energy. Below is a screenshot of a section of our notes we would have on a wedding day!
Capturing Critical Wedding Day Moments
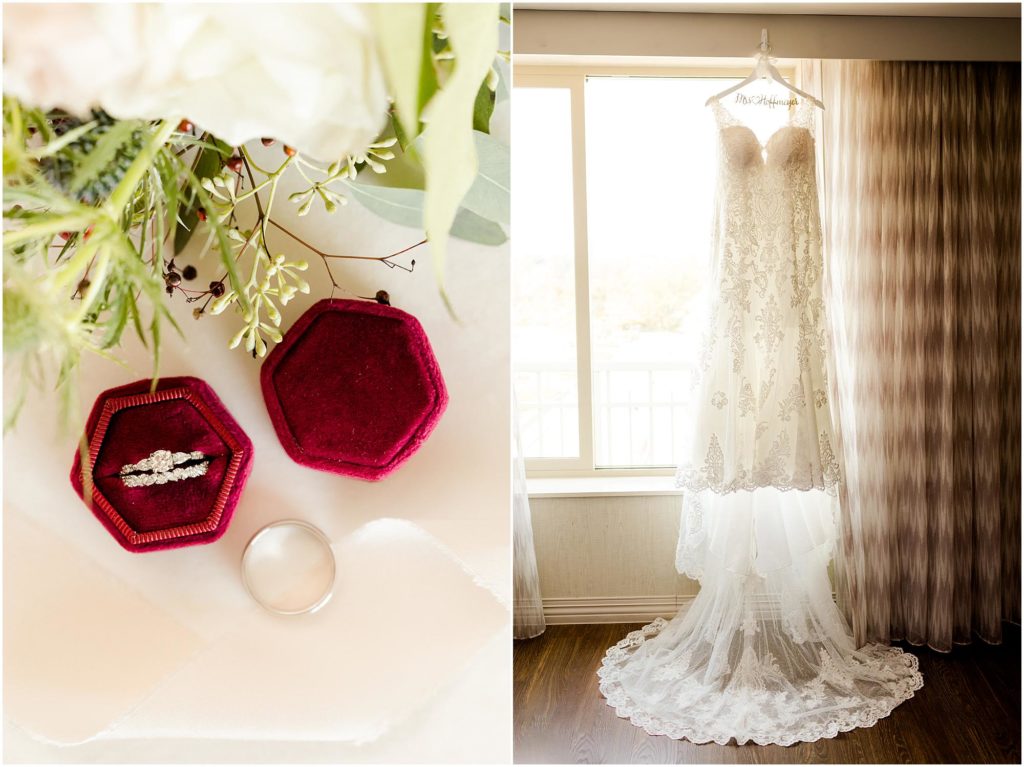
Wedding days flow through distinct phases, each requiring different approaches. During getting ready time, we use our 35mm to capture both the overall scene and intimate moments. The 100mm macro comes out for detail shots of the dress, rings, and accessories. You will want to get the Canon L series and that is totally understandable but if you are on a budget we are here to tell you that we have and continue to use this lens and it works great. (Fun story is that I bought that lens before I even met Caitlin. It was actually gathering dust in my crappy college apartment closet and I decided to gift it to her before we started working together.) Look for genuine moments – a parent’s emotional reaction, bridesmaids helping with final touches, quiet moments of reflection. (Pro Tip: Use manual focus with all ring shots.)
The ceremony requires careful planning. Coordinate with the officiant about any restrictions – each venue and officiant has different rules about photographer movement and flash usage. Don’t forget to do this! Respecting the rules of venue owners and church coordinators can really set you apart from your competitors! During the ceremony, position yourself for key moments – the processional, first kiss, and recessional. Remember to capture guests’ reactions – they’re part of the story too. These are one-time moments, which means there are no “re-dos.” We have to always be ready…don’t be afraid to be a little trigger-happy during these moments because you will never get these moments back and it’s important that you capture that perfect shot!
Camera Settings and Technical Considerations
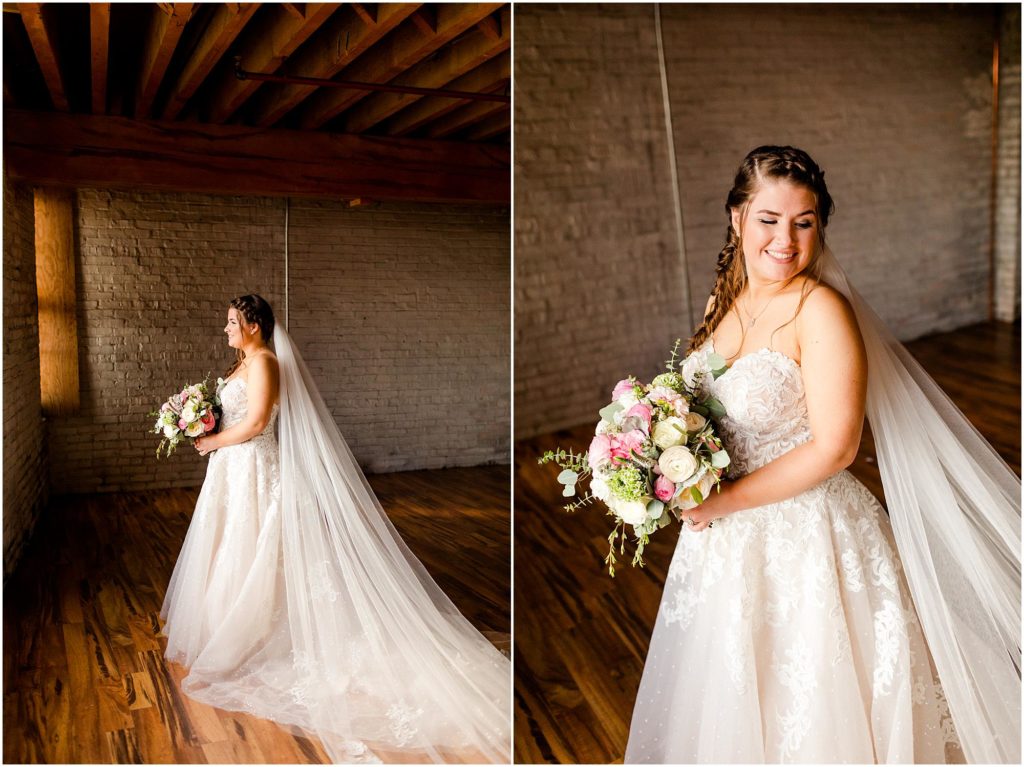
Wedding photography demands constant adaptation, and having full control over your camera is so necessary. We always shoot in manual mode – no exceptions. While aperture priority might seem tempting as a safety net, manual mode gives you complete control over your exposure triangle and ensures consistency across your images. The best part is that it makes editing much easier because your light is consistent across multiple images since your settings aren’t changing every time you focus the camera.
Moving between different lighting environments is one of the biggest challenges you’ll face during a wedding day. Here’s how to handle these transitions smoothly: When moving from bright sunlight into a dimly lit church, start adjusting your settings while walking in. The key is to make changes in a specific order: first, lower your shutter speed (but try not to go below 1/200th for key moments), then open up your aperture if needed, and finally increase your ISO as a last resort. This methodical approach helps you maintain image quality while ensuring proper exposure.
The reverse applies when heading outdoors – start by lowering your ISO to its base level, then adjust shutter speed and aperture to match the brighter conditions. Having this systematic approach becomes second nature with practice and helps you avoid missing shots while your eyes adjust to the new lighting.
Reception venues often have mixed lighting conditions (Check out this blog post all about lighting on a wedding day, – this also includes our flash setup) – maybe there’s some daylight coming through windows, plus indoor lighting and DJ lights. In these situations, pick your settings based on the primary light source where most of the action is happening. For example, during first dances, expose for the couple’s faces under the spotlight rather than trying to balance the entire room.
Flash photography becomes crucial during receptions. Learn to bounce flash off walls and ceilings for softer light. One of the most important things we could recommend is that you practice with flash before the wedding day – receptions are not the time to experiment. If you are not confident with flash, take the time to learn it. I promise it will be worth the time investment! (Here is a link to the flash we use.)
Working with Wedding Party and Families
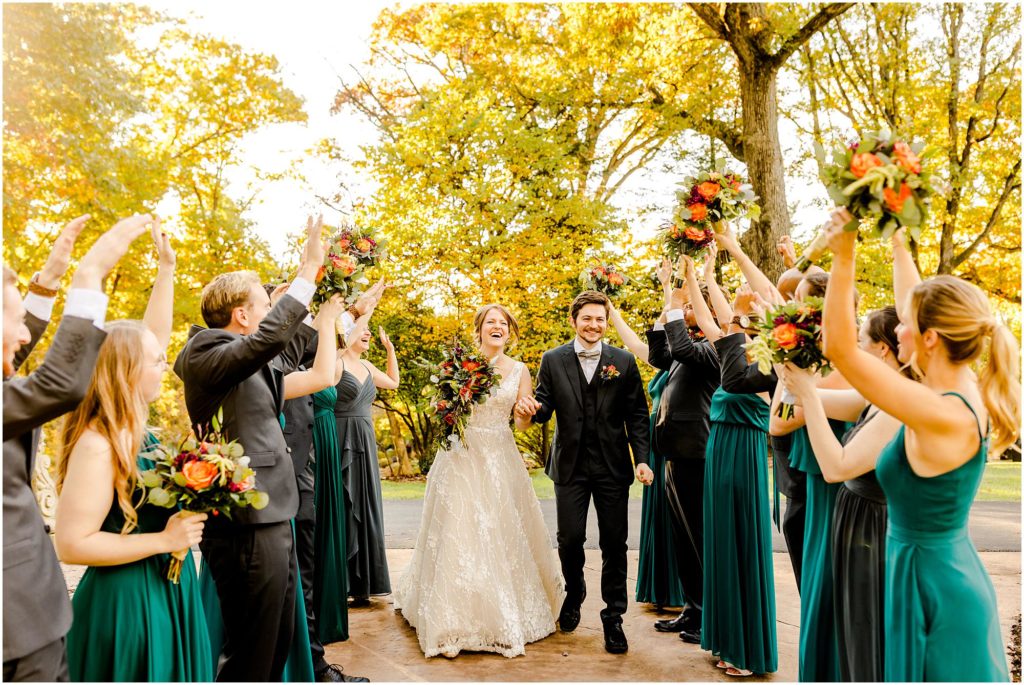
One wedding we shot a few years ago we photographed a family formal that included over 100 people! Managing a group that size taught us the importance of being both organized and adaptable. Whether you’re dealing with 10 people or 100, have your family photo list handy and assign a member of the wedding party or family to help gather people. Start with the smallest groups and work your way up, releasing people as they’re done. This keeps things moving and prevents restlessness.
Communication is key – be confident but friendly. One technique that’s been incredibly valuable for us is learning and using people’s names. During the getting ready photos and throughout the day, make an effort to remember the names of the wedding party members. When you can say “Hey Sarah, could you move a bit closer to the bride” instead of just pointing and directing, it creates a more personal connection and helps everyone feel more comfortable. This simple approach has consistently led to better photos and a more enjoyable experience for everyone involved.
During formals, maintain awareness of your surroundings and lighting conditions. If you’re shooting outdoors, position groups so they’re not squinting into the sun. For indoor shots, place groups near large windows or other consistent light sources to ensure even lighting across all faces especially if you are not using flash.
Post-Wedding Workflow and Delivery
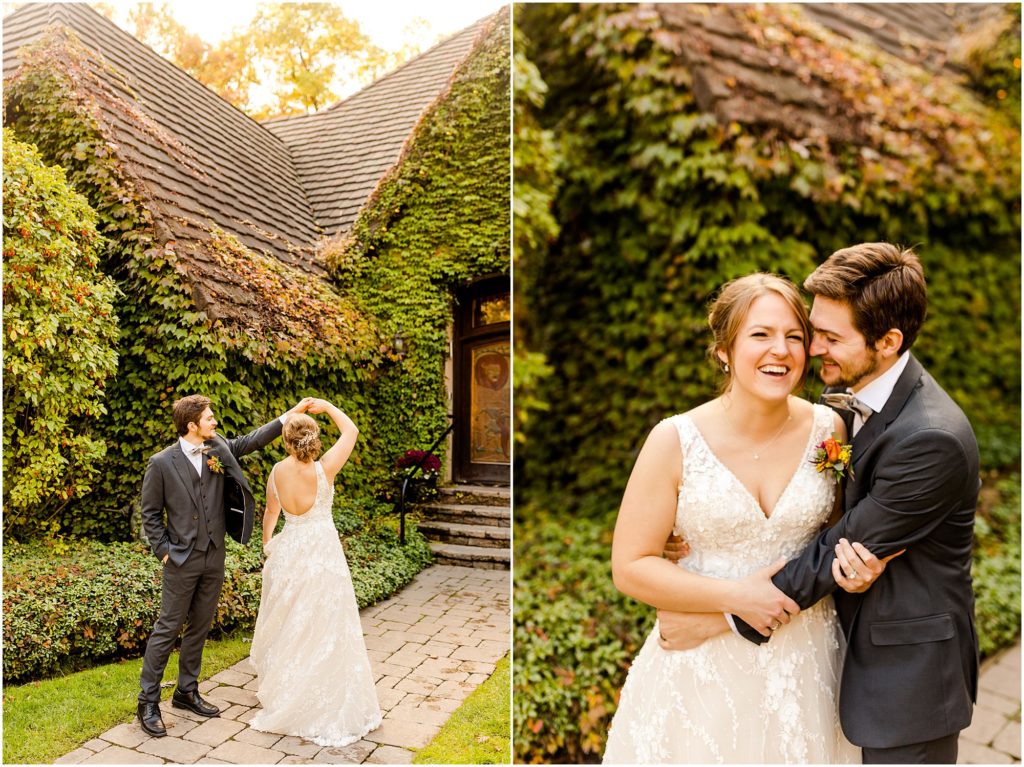
A solid post-wedding workflow starts the moment you get home. Your backup strategy is crucial – we maintain three copies of every wedding until the photos have been delivered: the original files stay on the memory cards until final delivery, plus two separate copies on different portable hard drives stored in a fire safe. This might seem excessive, but when you’re responsible for someone’s wedding memories, there’s no such thing as too many backups.
When culling, work in phases:
- First pass: Remove any technically flawed images (poor focus, closed eyes, unflattering expressions)
- Final pass: Ensure you have a good representation of all key moments
When it comes to editing style, find what resonates with you and your target clients. While we personally prefer a classic, timeless editing style that withstands changing trends, there’s nothing wrong with using trendy presets if that’s what you love. Just keep in mind that bold editing trends can date your work – what’s popular on Instagram today might look outdated in five years. If you do go with a trending style, be prepared to potentially update your editing approach as trends evolve.
Aim to deliver around 75-100 final images per hour of coverage. This gives clients plenty of variety while maintaining quality throughout the gallery. For delivering galleries, we use Cloudspot.io (Get 20% if you want to try it!), which provides a professional, user-friendly platform for clients to view, download, and share their images. The right gallery hosting platform can make a huge difference in your client experience, so choose one that aligns with your business needs and client expectations.
Final Thoughts
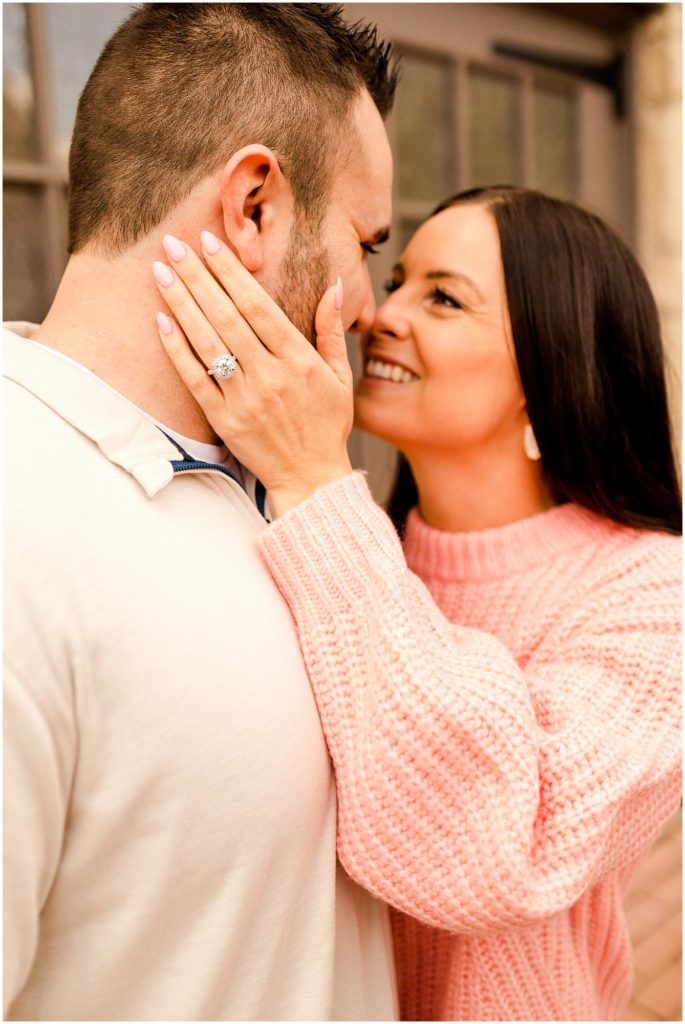
Your first wedding is a major milestone in your photography journey. While it might feel overwhelming, remember that every professional wedding photographer started exactly where you are now. The key is preparation, maintaining confidence, and staying focused on capturing authentic moments as they unfold.
Remember, wedding photography is about more than just technical skills – it’s about being present, anticipating moments, and creating a comfortable environment for your clients. Stay organized, remain confident, and focus on telling the unique story of each couple’s special day.
The journey of becoming a wedding photographer is both challenging and rewarding. Take what you’ve learned here as a foundation, but don’t be afraid to develop your own style and approach as you gain experience. Every wedding you shoot will teach you something new and help you grow as a photographer.