-8")


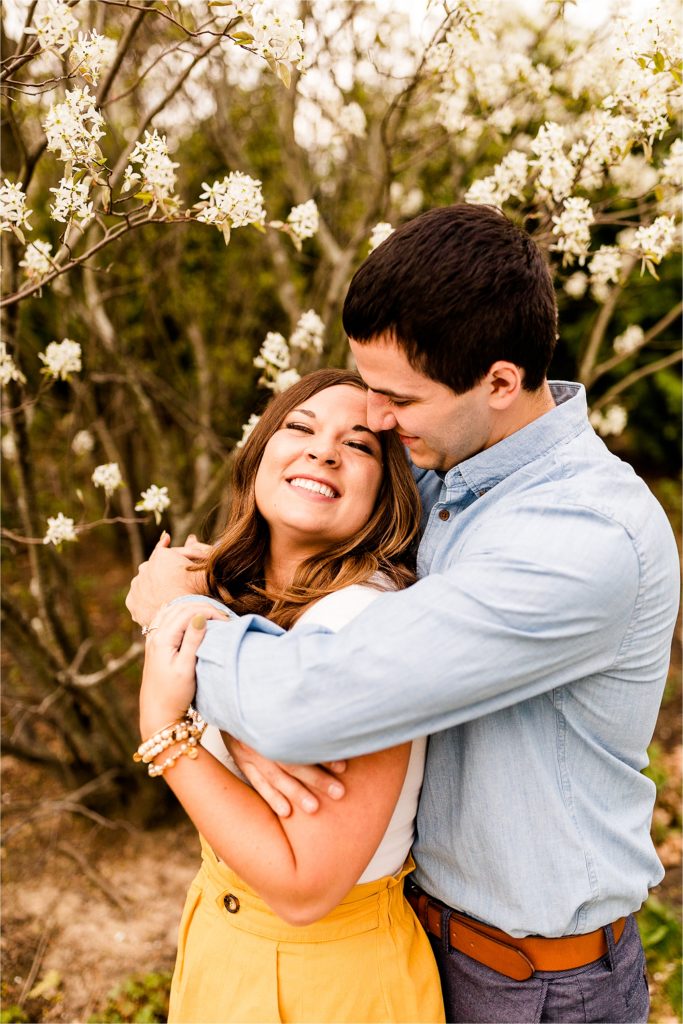
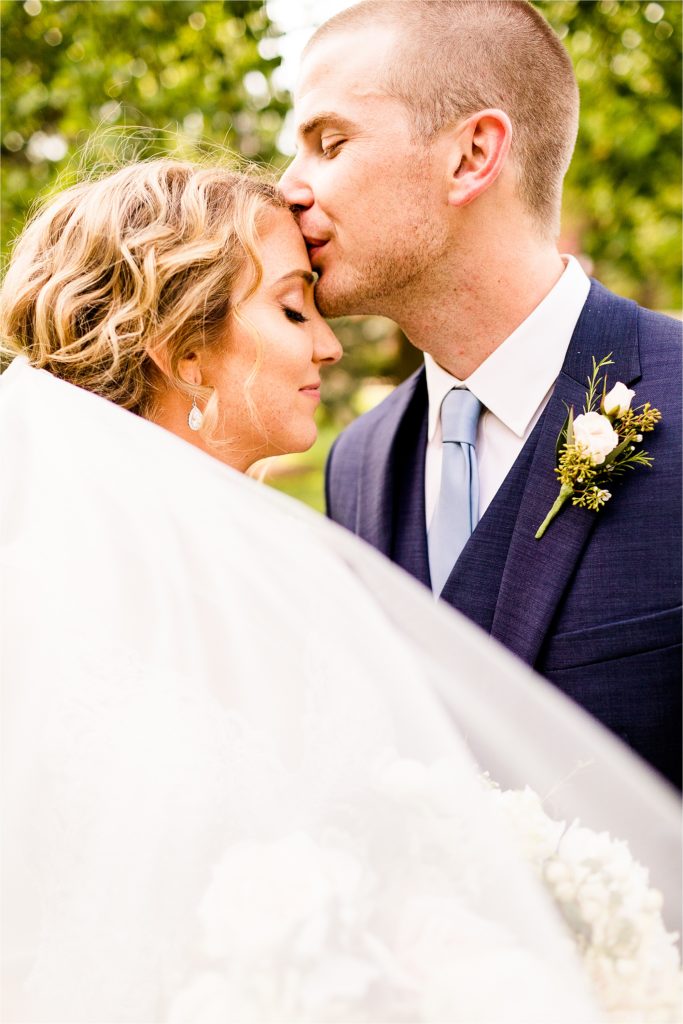
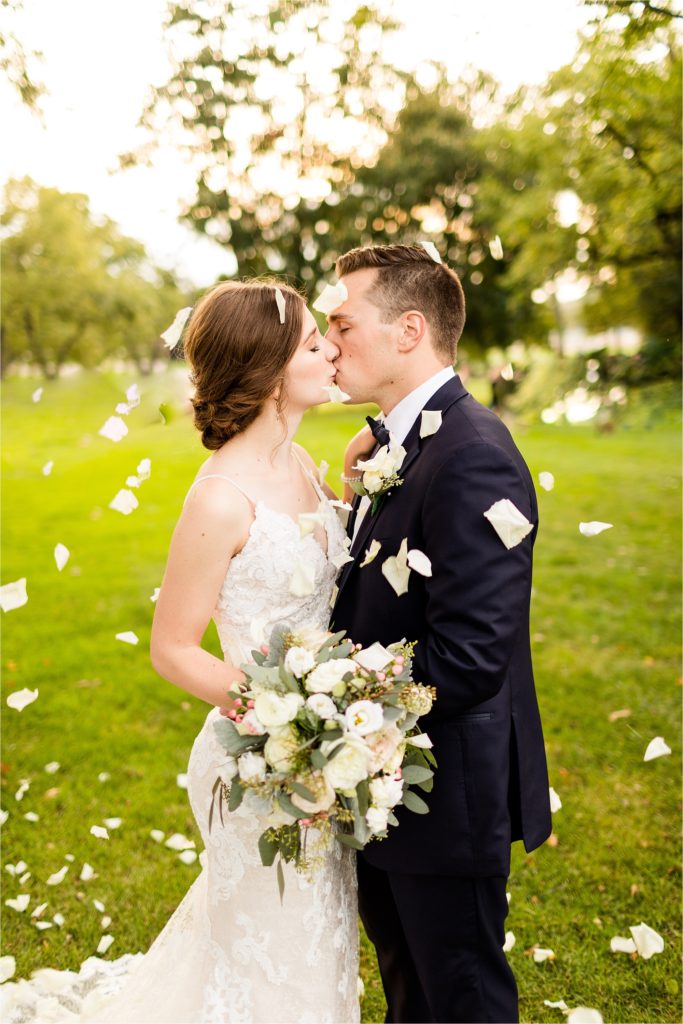
Have you ever browsed through Instagram or a photography website and felt you recognized a photographer’s work instantly, even without seeing their name? That’s the effect of a signature editing style! In a photography world full of talented people, your unique editing approach can become your most recognizable feature and the core of your brand identity.
Table of Contents
- Understanding Signature Editing Style in Photography
- Finding Your Unique Artistic Voice
- Steps to Develop Your Signature Editing Style
- The Best Photography Editing Tools and Software
- Techniques to Enhance Your Editing Style
- Color Theory and its Role in Signature Styles
- Common Mistakes to Avoid in Developing Your Style
- Building a Consistent Brand Around Your Editing Style
- Quick Start Guide: 5 Steps to Begin Developing Your Signature Style
- Style Development Worksheet
- Conclusion
Understanding Signature Editing Style in Photography
What is a Signature Editing Style?
A signature editing style is like your visual fingerprint, making your photography immediately identifiable! It represents how you consistently apply specific editing techniques, color grading, and tonal adjustments across all your work.
Think of it as your photographic handwriting—a unique expression reflecting your artistic outlook and technical preferences. This includes how you handle colors, approach contrast, treat shadows and highlights, and even your favorite ways to compose a shot.
When you develop it well, your signature style becomes an extension of your creative voice. It allows you to tell stories in a way that feels genuine to you and is instantly familiar to clients and followers!
Why Developing a Signature Style is Important
Creating your unique editing approach offers more than just aesthetic appeal—it’s a positive step for your photography journey! When potential clients have many choices, a consistent, recognizable style helps you stand out. It attracts people who connect with your specific artistic viewpoint.
A well-defined style also streamlines your workflow considerably. Once you’ve established your signature edits, you can approach new projects with confidence and consistency, saving valuable time during post-processing!
Studies indicate that visual consistency builds a photographer’s brand identity, making it simpler for clients to identify and choose their services. People are often drawn to photographers whose editing style looks professional and cohesive throughout their portfolio.
Plus, professionally styled photos can really boost engagement! For instance, vacation rental listings featuring high-quality photos tend to get significantly more clicks and higher revenue compared to those using amateur photography. It really makes a difference!
Finding Your Unique Artistic Voice
Discovering your artistic voice is like uncovering your creative fingerprint—it’s personal, it evolves over time, and ultimately, it’s what will help your work stand out!
Identifying Your Artistic Preferences
Before developing a signature style, it helps to know what naturally appeals to you. This isn’t about following trends—it’s about finding the visual elements that consistently align with your artistic feelings.
We suggest starting by gathering images that connect with you. These could be photos from other artists or your own personal favorites! Study them closely—do you notice patterns in the lighting, composition, or subject matter?
Next, consider exploring personal projects that encourage you to step outside your usual methods. You might challenge yourself to explore specific themes, feelings, or concepts through a series of images.
Don’t forget how your personal history informs your artistic voice! Your cultural background, life experiences, and values all contribute to how you perceive the world and capture it through your lens.
Steps to Develop Your Signature Editing Style
Creating signature edits that instantly identify your work is a journey! It involves combining technical knowledge, artistic exploration, and consistent refinement over time.
Experimenting with Different Techniques
The path to your signature style often begins with purposeful experimentation. This exploration phase is so worthwhile—it’s where you’ll discover techniques that resonate with your artistic vision!
We recommend starting with a single image and creating multiple edited versions. Try applying dramatic contrasts one day, then perhaps soft, film-inspired tones the next. Play around with different color grading approaches—maybe warm golden tones for one edit and cool blues for another. Feel free to explore!
You don’t have to stick solely to digital techniques either. Consider incorporating elements like grain textures, light leaks, or vintage color profiles. These can add wonderful character to your signature edits!
During this phase, keeping a visual log of different techniques and your reactions can be helpful. Note which approaches feel most authentic and which ones you find yourself drawn to repeatedly.
Refining Your Process Through Practice
Once you’ve identified techniques that feel right, the next step is to refine them through deliberate practice. Consistency is really helpful for developing signature edits that become recognizable across your portfolio!
Start by selecting 3-5 core editing elements that will form the foundation of your style. These might include a specific way of handling contrast, a particular color balance, or a distinctive method for treating highlights and shadows.
Creating custom presets can capture your core editing approaches, which is super useful! Use them as starting points that you can then fine-tune for each image, helping maintain your signature look while adapting to the specific photo.
Track your progress by reviewing your portfolio regularly. Look for cohesion in your work and notice where your signature edits enhance the feeling or story within your images. This review process helps solidify your style!
Soliciting and Implementing Feedback
No signature style develops entirely on its own! Outside perspectives can offer useful insights that help refine your unique editing approach.
We suggest seeking feedback from trusted colleagues who understand your vision and can offer helpful commentary. When sharing your work, ask specific questions about how your edits affect the overall feeling of your images.
While input is helpful, learning to evaluate it effectively is also important. Not all suggestions will align perfectly with your artistic vision, and that’s completely okay! The aim isn’t universal approval, but refining a style that truly represents you and your work.
The Best Photography Editing Tools and Software
Your chosen tools can significantly influence how you develop and apply your signature style. While creativity comes from within, having the right software helps you express your vision efficiently and consistently!
Overview of Popular Editing Software
Adobe Lightroom is a widely used choice for photographers developing a consistent editing style. Its catalog-based approach lets you organize, edit, and batch-process images while maintaining a cohesive look across your portfolio. It’s quite popular!
For photographers seeking more detailed control, Adobe Photoshop offers remarkable flexibility. Its layers-based system allows for complex compositing, advanced retouching, and pixel-level adjustments that go beyond Lightroom’s capabilities.
Capture One has gained popularity among professionals, particularly noted for its color editing capabilities. If color grading is central to your signature style, its advanced color wheels and tonal adjustments offer nuanced control that many appreciate.
For photographers preferring alternatives to subscription models, Affinity Photo provides a capable one-time purchase option with professional-grade tools worth considering!
Advanced Features to Explore
To develop a truly distinctive editing style, you’ll likely want to move beyond basic adjustments and explore advanced features that give your images that unique character!
Tone curves offer great control for shaping your signature look—they allow precise management of contrast and tone in different brightness ranges. Getting comfortable with S-curves, matte effects, and targeted tonal adjustments can become defining characteristics of your style.
Color grading tools are definitely worth exploring when crafting your unique aesthetic! Look beyond basic saturation and investigate HSL panels (Hue, Saturation, Luminance) to target specific color ranges effectively.
Local adjustment tools let you apply your signature touches selectively rather than globally. Graduated filters, radial filters, and adjustment brushes help guide the viewer’s eye and emphasize different parts of your composition beautifully!
Perhaps the most adaptable feature in any software, though, is customizability. Creating your own presets, action sets, or workflow shortcuts helps apply your signature edits consistently and efficiently across your entire body of work. What a time-saver!
Techniques to Enhance Your Editing Style

Developing signature edits that stand out involves more than software knowledge—it’s about finding creative approaches that bring your unique vision to life!
Using Presets and Filters Creatively
Presets sometimes get viewed merely as shortcuts leading to generic results, but when used thoughtfully, they can become wonderful aids in developing your signature style!
We suggest starting by building a collection of base presets that align with your aesthetic vision. The real creativity shines when you customize these presets to reflect your unique perspective. It’s all about making them your own!
For a particularly distinctive approach, try layering multiple presets at reduced opacities. For example, you might apply a film emulation preset at 60% and then overlay a custom color grade at 40% to create depth and nuance. Experimenting can yield great results!
Another creative strategy involves developing situation-specific preset variations. You could create golden hour, blue hour, and midday versions of your signature look that maintain your aesthetic across different lighting conditions. This adds versatility!
Lightroom and Photoshop Tips for Signature Edits
The route to distinctive signature edits often involves getting comfortable with certain features and combining familiar tools in fresh ways!
In Lightroom, the tone curve is perhaps one of the most flexible tools for developing a unique look. Rather than relying solely on the basic panel adjustments, try creating S-curves with subtle tweaks to the individual RGB channels. It offers amazing control!
The calibration panel in Lightroom presents another avenue for distinctive editing. By adjusting the hue and saturation of primary colors at their base level, you can create color relationships that aren’t achievable with standard HSL adjustments alone. It’s worth exploring!
Layer masking in Photoshop unlocks numerous possibilities for selective adjustments that can transform ordinary images into distinctive works. Consider creating luminosity masks to target specific brightness ranges, allowing you to enhance highlights or recover shadow detail with finesse.
Often, the most appealing signature edits don’t rely on heavy processing—they showcase thoughtful adjustments that enhance the feeling and narrative of your images. Subtlety can be powerful!
Color Theory and its Role in Signature Styles
Color is arguably the most potent tool in developing signature edits that instantly identify your work! Understanding color theory doesn’t just improve your technical skills—it transforms how you communicate feelings and stories through your images.
Basic Color Theory for Photographers
Underpinning any great signature style is often a solid grasp of how colors interact and influence viewer perception. The color wheel acts as your roadmap, showing relationships between primary colors (red, yellow, blue), secondary colors (orange, green, purple), and the tertiary colors that lie between them.
Some of the most effective signature edits incorporate deliberate color harmonies! Complementary colors—those opposite each other on the color wheel like blue and orange or purple and yellow—create vibrant contrast that immediately draws attention. They really pop!
Understanding the three dimensions of color is helpful for refined signature edits:
- Hue is the color itself (like red, blue, etc.).
- Saturation refers to the intensity or purity of the color.
- The value indicates how light or dark a color appears.
Color temperature significantly impacts the mood conveyed by your images. Warm colors (reds, oranges, yellows) tend to evoke energy, intimacy, and warmth, while cool colors (blues, greens, purples) often suggest calmness, professionalism, or melancholy. Think about the feeling you want to create!
Using Color Grading to Impact Visual Storytelling
Color grading—the process of adjusting colors for aesthetic and narrative purposes—is where technical understanding blossoms into artistic expression! It’s so much fun to explore!
Split toning offers one of the most effective paths to distinctive color grading. By applying different colors to highlights and shadows, you can introduce depth and dimensionality that simpler edits might lack. This technique adds a lovely complexity!
The HSL panel allows for targeted adjustments to individual colors, enabling you to create specific color relationships. You can subtly shift greens, deepen blues, or warm up skin tones with amazing control.
Color grading through curves offers precise management over color relationships. By adjusting the individual RGB curves, you can introduce subtle color shifts into specific tonal ranges, like adding a hint of blue to the shadows or warmth to the highlights.
Often, the most effective color grading for signature styles draws inspiration from other visual mediums. We encourage you to study color use in cinema, painting, or fashion to develop unique color palettes that you consistently incorporate into your work. Inspiration is everywhere!
Common Mistakes to Avoid in Developing Your Style
Creating signature edits that truly represent your artistic vision means navigating potential pitfalls that could dilute your unique perspective. Let’s look at a couple!
Over-reliance on Pre-made Presets
One common challenge photographers face when developing their signature edits is depending too heavily on pre-made presets. While these one-click options might seem like easy ways to get polished images, they can sometimes hinder the development of your authentic style if used without customization.
The issue isn’t using presets themselves—they can be great starting points! The difficulty arises when applying them without understanding the underlying adjustments or adapting them to your specific vision.
A helpful approach is to explore presets you admire! Study how they manipulate color relationships, contrast, and tone curves, then use those insights to create your own adjustments that align with your artistic goals. It’s a fantastic learning opportunity!
Another potential misstep is applying presets universally without considering each image’s unique characteristics. Even your own carefully crafted signature edits usually need thoughtful application and tweaking for the best results.
Loss of Originality
Perhaps one significant hurdle to developing distinctive signature edits is the allure of current trends. The photography industry often sees waves of popular editing styles—from specific color pairings to matte film looks to desaturated moody edits.
It can be tempting to adjust your editing approach constantly to match what seems popular online. However, this pattern can prevent the development of a consistent, recognizable style that feels truly like your own.
Overediting presents another way originality can be diminished. When photographers push adjustments very far—extreme contrast, highly saturated colors, or heavy-handed clarity—images can sometimes look artificial and less appealing. Finding that balance is key!
Many photographers also find their originality weakened by overlooking strong photography fundamentals. No amount of signature editing can fully compensate for weak composition, poor lighting, or technique that needs refinement. Good foundations make editing shine!
Building a Consistent Brand Around Your Editing Style
Developing signature edits is one part of the journey—the other is effectively showcasing them to attract clients who appreciate your unique artistic voice!
Creating a Cohesive Portfolio
Your portfolio is the primary expression of your signature style and should be curated thoughtfully and strategically. Instead of including every technically sound image you’ve taken, focus on selecting photographs that collectively tell a cohesive visual story through your unique editing approach. What a great goal!
We suggest starting by honestly assessing your existing work. Identify images that best represent your signature edits and artistic vision. Look for patterns in your color treatment, contrast handling, and the overall mood you create.
Structure your portfolio to show variety within consistency. This approach demonstrates that your signature edits can adapt beautifully to different subjects and lighting conditions while maintaining their distinctive character.
Consider creating mini-series or projects within your portfolio! These allow for a deeper exploration of your signature style. Such cohesive collections show your ability to maintain a consistent look across multiple images while telling a complete story.
Consistency extends beyond individual images to your entire visual presence online and offline! Aim for your website design, social media aesthetic, and marketing materials to align with the mood and color palette evident in your signature edits. It creates a unified impression!
Marketing and Branding for Photographers
With a cohesive portfolio ready, strategic marketing becomes the way to connect your signature style with your ideal audience!
Your website should be designed to showcase your signature edits effectively. Consider the background color, typography, and layout that best complement your photographic style. Let your images take center stage!
Social media offers wonderful opportunities to highlight your signature style, particularly through before-and-after comparisons. Showing the transformation from the raw image to the finished edit demonstrates your technical skill while helping clients appreciate the value your processing adds. It’s quite insightful!
Strong portfolio cohesion not only helps attract new clients but also encourages repeat business and referrals. Clients appreciate reliability in delivering visually appealing and consistent results!
Helping potential clients understand the value of your consistent editing approach is beneficial. Explain how it contributes to a cohesive final product, whether it’s a wedding album, a branding session, or fine art prints. Sharing your process can build appreciation!
Quick Start Guide: 5 Steps to Begin Developing Your Signature Style
Ready to start crafting your own distinctive editing style? Here are five actionable steps we think you’ll find helpful today:
- Create a Visual Reference Board: Collect 20-30 images that you find aesthetically pleasing. These can be photographs from other artists or your own favorite work! Analyze them for common elements like color palette, contrast level, and overall mood. This visual collection will help clarify your natural preferences.
- Select Three Anchor Images: Choose three of your strongest photographs that represent the style you aspire to develop. Edit these images until you feel completely happy with the result, then document your exact process—from basic exposure adjustments to specific color grading techniques. This gives you a solid reference!
- Build Your Foundation Preset: Based on your anchor image edits, create a basic preset capturing the core elements of your emerging style. This should include your preferred approach to contrast, white balance, and color treatment. Think of this as your adaptable starting point for future edits!
- Implement the 80/20 Approach: Aim to apply your foundation preset to achieve about 80% of your signature look, then customize the remaining 20% based on each image’s specific needs and qualities. This balance fosters consistency while respecting the unique character of individual photographs.
- Create a Before/After Portfolio: Develop a small portfolio showing both the original and edited versions of 10-15 images. This not only demonstrates the value your editing adds but also helps you refine your approach through focused practice. It’s great for tracking progress!
Developing your signature style is an ongoing process, a journey rather than a destination! These steps will get you started on a positive path, and your distinctive editing approach will continue to evolve as you grow as a photographer and artist. Enjoy the exploration!
Style Development Worksheet
To help you identify and refine your signature editing style, we invite you to download our free Signature Style Development Worksheet! This practical tool guides you through:
- Aesthetic Preference Analysis: Pinpoint the visual elements you consistently find appealing.
- Technical Pattern Recognition: Discover your instinctive editing tendencies.
- Client Feedback Integration: Incorporate useful client insights without losing your vision.
- Style Evolution Planning: Map out how your editing approach might evolve while keeping its core identity.
- Consistency Checklist: Help maintain cohesion in your edits across different subjects and conditions.
Conclusion
Throughout this guide, we’ve walked through the journey of developing a distinctive visual voice—one that resonates with your creative vision while attracting your ideal clients. We hope you found it helpful!
Your editing style is the visual element that connects your entire body of work, transforming individual photographs into a cohesive portfolio that speaks with one clear, recognizable voice. It helps differentiate your work and allows clients to identify your unique approach at a glance!
Developing your unique approach involves making deliberate choices that reflect your artistic feelings and enhance the stories you want to tell through your images, rather than just following fleeting trends or applying random effects.
The path to your signature style benefits from patience and persistence! You’ll likely go through periods of experimentation, refinement, and maybe even occasional head-scratching before settling on an approach that feels genuinely yours. Keep going!
Your unique editing style is ultimately your visual contribution—the distinctive way you interpret and present the world through photography. Invest the time to develop it thoughtfully, apply it consistently, and share it confidently. In doing so, you’ll not only elevate your craft but also build a memorable brand that stands apart! Happy editing!

-12")


