
After shooting hundreds of weddings since 2015, we’ve learned that mastering light isn’t about having the fanciest gear – it’s about understanding how to work with what you have. While many photographers get caught up chasing the latest equipment, we shoot about 70-75% of our wedding day using natural light.
If you’re just starting your journey in wedding photography, we’ll help you get comfortable with the basics. Need help with dark reception venues? Our guide to working with flash will boost your confidence. If the forecast looks stormy, don’t worry – our tips for photographing rainy weddings will help you create beautiful images no matter the weather. Lastly, if you are looking for all of our gear recommendations for wedding photographers at all levels, we have a the post for you!
Here are our tried-and-true lighting tips that will help you nail every shot, from bright outdoor ceremonies to dimly lit receptions.
Table of Contents
1. How to Work Smarter with Natural Light (Not Harder)

Stop fighting with the sun and start working with it. During outdoor ceremonies, look for open shade near large structures where light falls at a 45-degree angle on your subjects’ faces. This creates natural, flattering light without the harsh shadows that direct sunlight produces.
Let’s break down some common scenarios you’ll encounter. For outdoor ceremonies with no shade, you’ll often face the “raccoon eyes” problem – harsh shadows under your subjects’ eyes from direct overhead sun. Here’s how we handle it: look for nearby buildings or trees that provide partial shade. Even just a sliver of shade can dramatically improve your lighting situation.
For newer photographers feeling uncertain about natural light, a 5-in-1 reflector can be a helpful tool. While we don’t use one ourselves, it’s great for learning how light behaves and can help fill shadows when you’re still mastering natural light techniques.
Getting ready rooms present their own challenges with natural light. Position your bride near windows at a 45-degree angle for makeup shots. This creates beautiful catchlights in the eyes and provides even illumination across the face. Watch out for direct sunlight streaming through windows – it can create harsh patches of light that are difficult to correct in post.
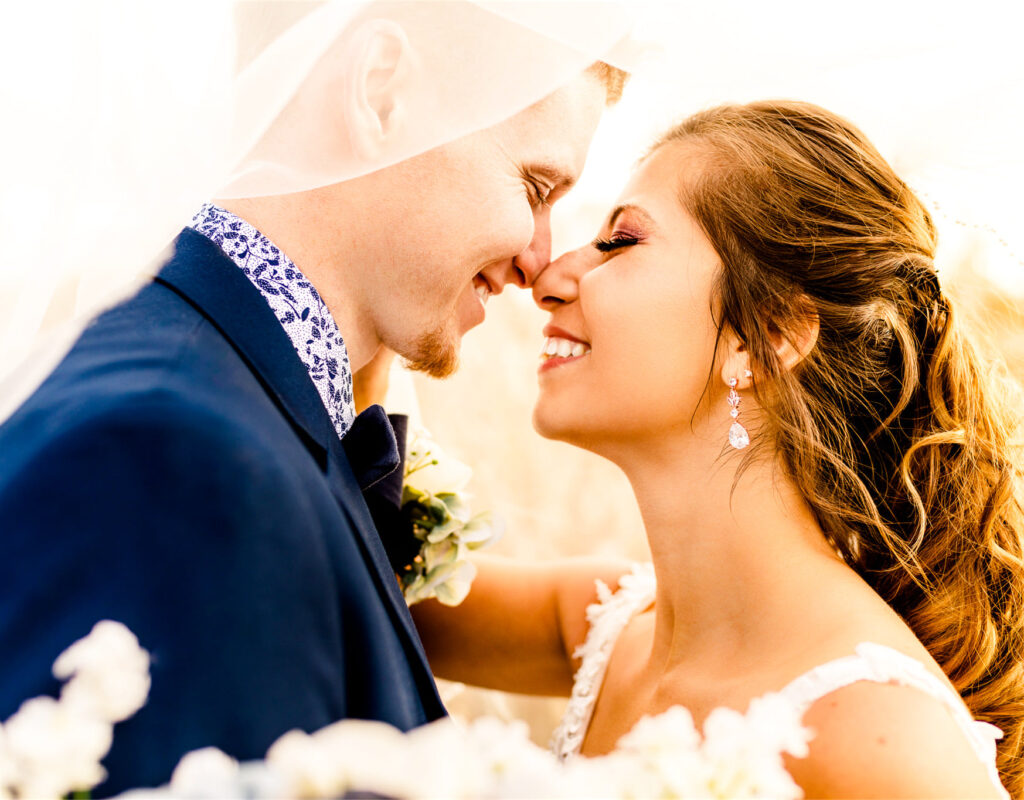
For outdoor portraits, timing is everything. Schedule sessions about 90 minutes before sunset, but don’t just shoot into the golden light. Position couples with that warm light hitting them at a 45-degree angle from behind. Always check your background exposure – blown-out backgrounds can ruin an otherwise perfect portrait.
Here’s a technique we use during family formals in natural light: position groups so the sun is at an angle behind them, then have them turn their faces slightly toward the light. This creates depth while maintaining even illumination across everyone’s faces.
2. When (and When Not) to Use Flash During Ceremonies
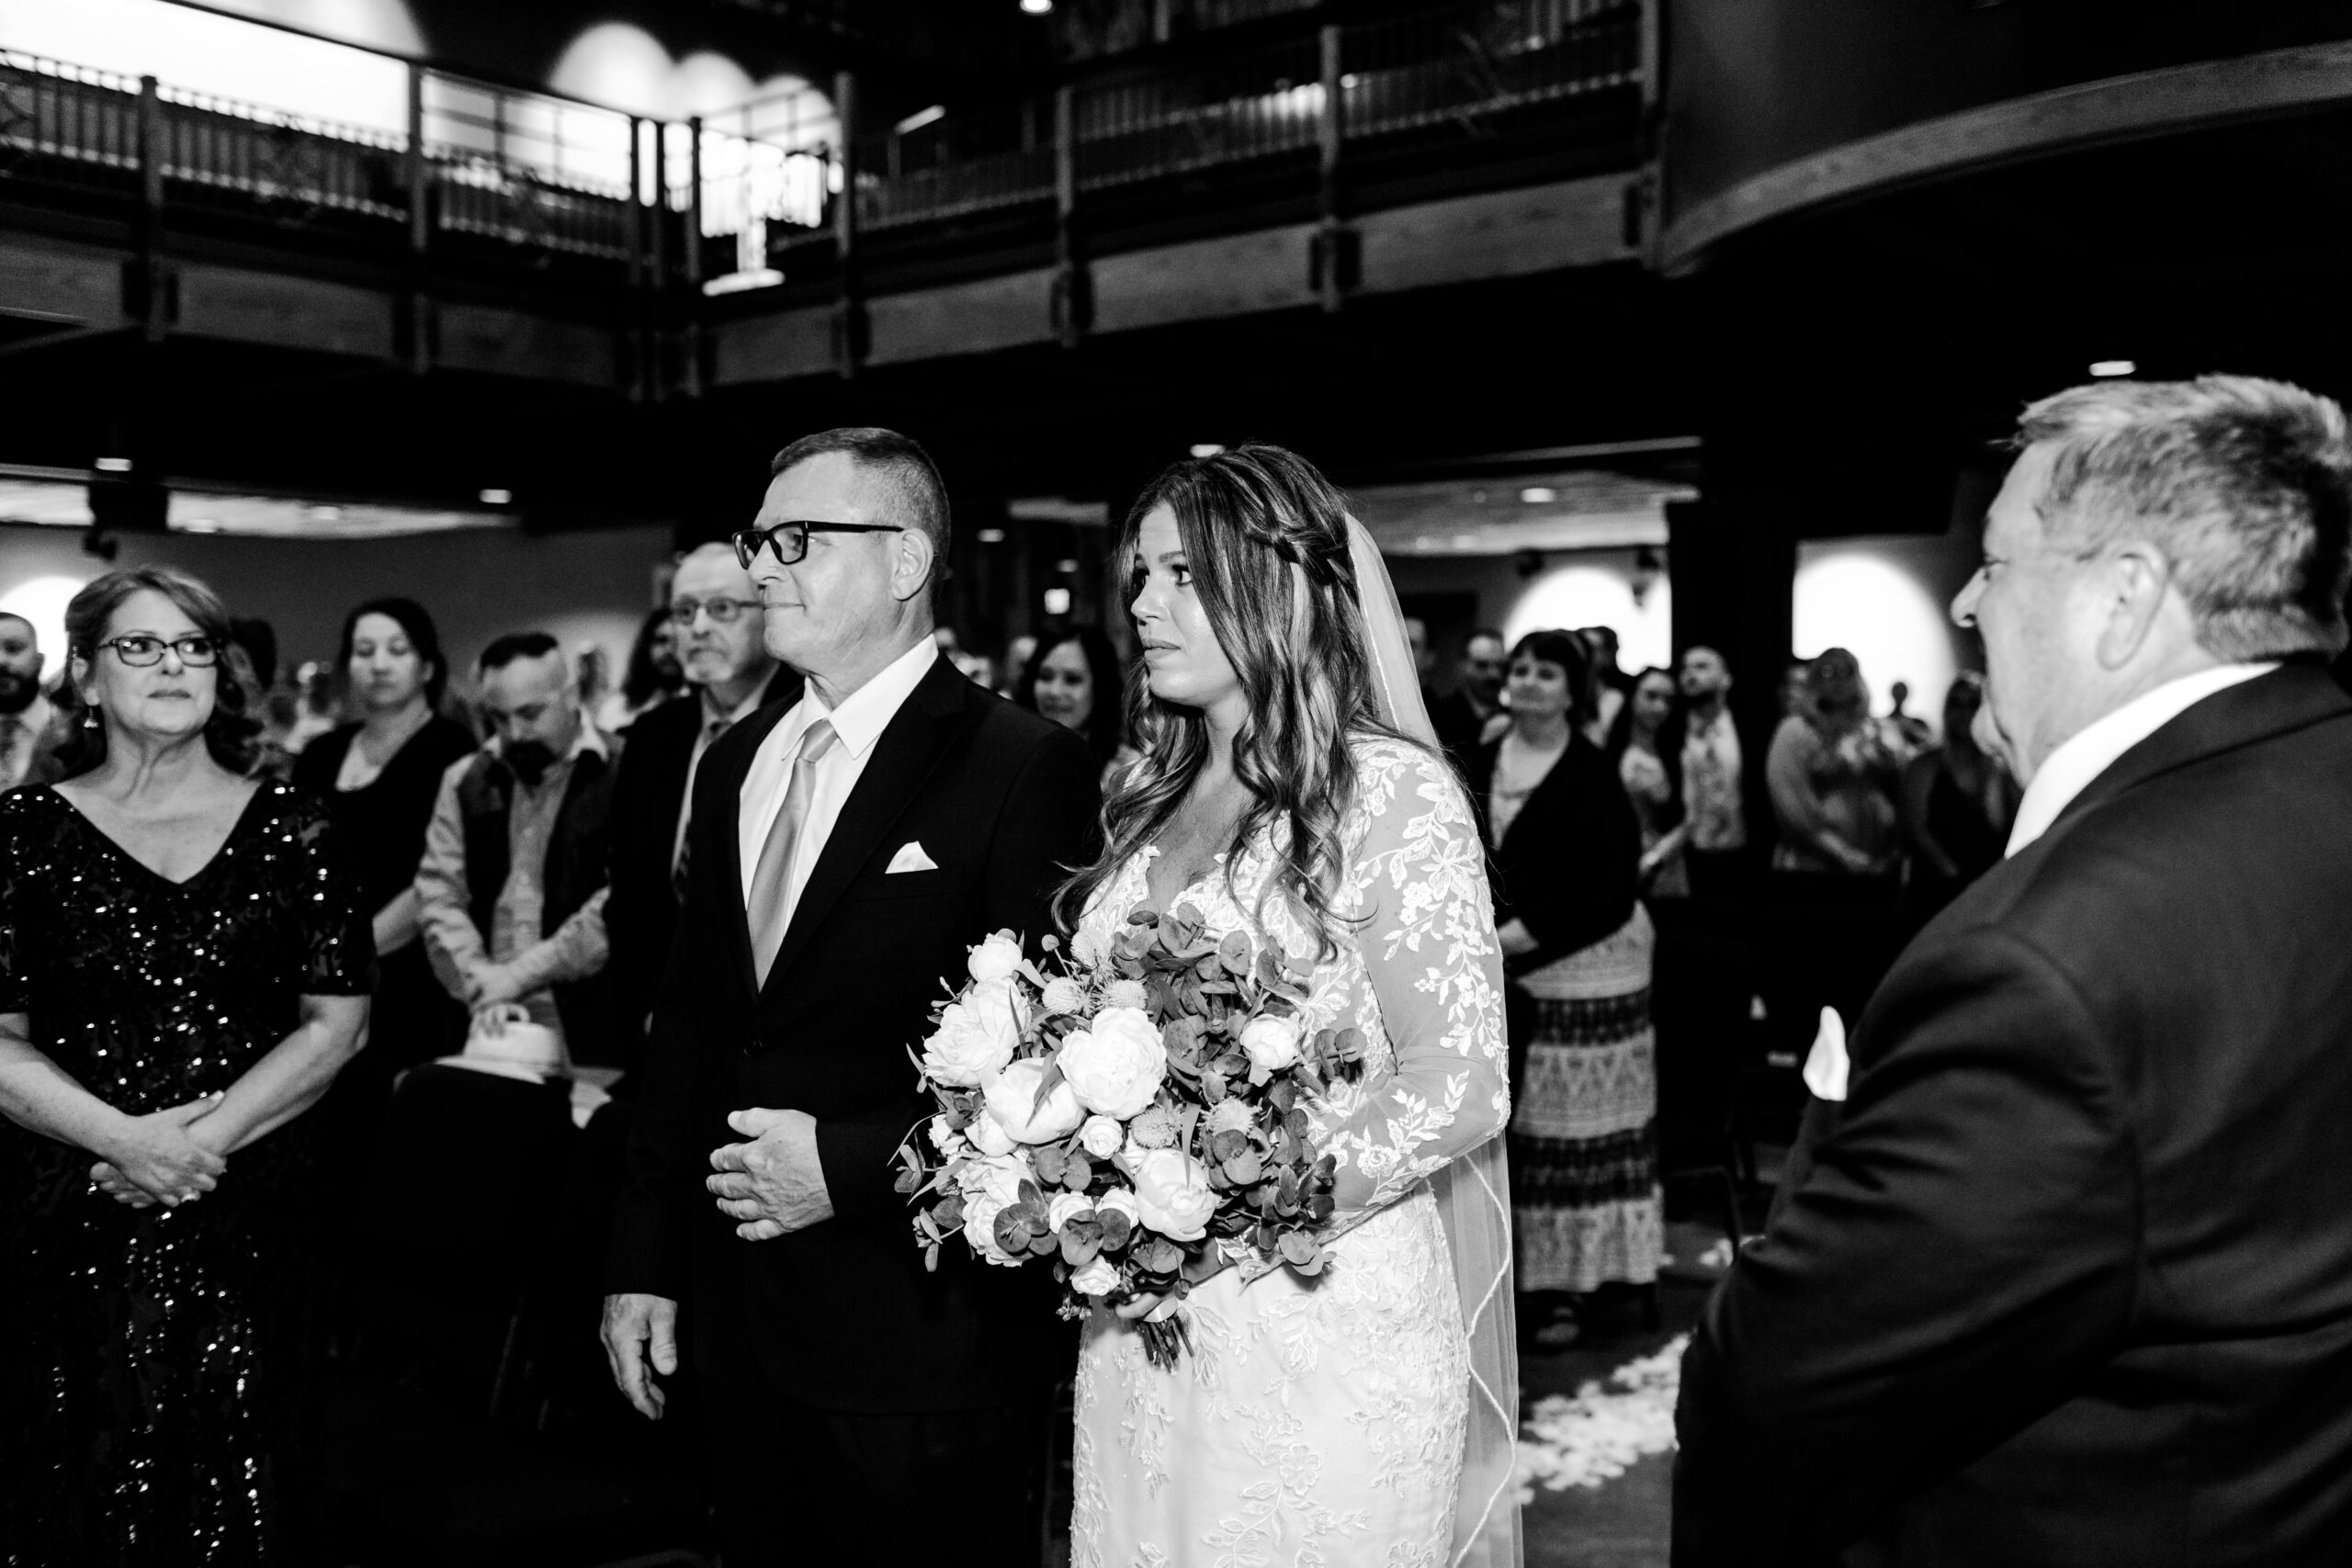
Here’s something many photographers get wrong: you need less artificial light than you think during ceremonies. We only use flash during two specific moments – the processional and recessional. The rest of the time, we’re working with natural light and carefully selected manual camera settings.
Let’s talk church ceremonies specifically. Dark churches intimidate many photographers, but they don’t have to. We match our Kelvin temperature to the venue’s lighting – typically around 4500K for traditional church lighting if we aren’t using flash and around 6000K if we are. This gives you consistent color throughout the ceremony and saves hours of frustrating color correction in post.
For the processional and recessional, we use manual flash settings to ensure consistent exposure as people move down the aisle. The key is to dial in your settings before the ceremony starts. Take test shots using a member of the wedding party, venue staff, or in our case, Luke, walking down the aisle at normal pace.
During the ceremony itself, rely on your camera’s manual settings based on available light. This approach maintains the natural ambiance and avoids disrupting the sacred moment with flash. Pay special attention to your metering during candle lighting ceremonies – expose for the highlights to avoid blowing out the flame.
3. Three-Flash Reception Setup That Never Fails
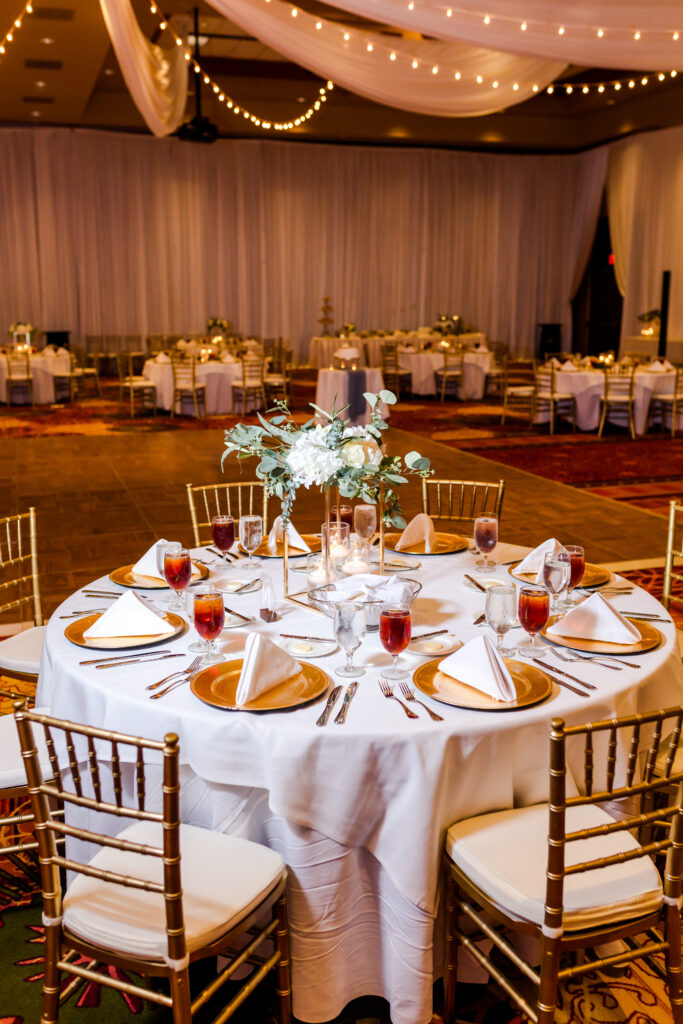
Our three-flash system delivers consistent results at every reception:
We keep our settings consistent: 1/200 shutter speed with manual flash power at 1/32 or 1/16. This combination preserves the venue’s ambiance while ensuring every shot is properly exposed.
Here’s our exact setup process for receptions:
- Set up the remote flash with an umbrella first, typically in a corner of the dance floor that provides the best coverage
- Position it at head height or slightly above
- Connect it to the camera with the 70-200mm lens
- Test shots at various distances to ensure consistent exposure
The key to our reception success is mounting our remote flash with an umbrella on a tripod. This creates soft, even light across the reception space without blinding your guests. When using the 70-200mm lens for candids, having that remote flash connected to our camera system lets us capture moments from any angle without compromising on light quality.
For different reception scenarios:
- First dances: Use the umbrella-mounted flash as your main light source for those close and intimate moments.
- Toasts: Rely on your on-camera flash with the reflector to catch crowd reactions and your 70-200mm with a wireless flash to capture those close-up speech moments
- Dance floor: Rely on your on-camera flash with the reflector so that you can be as mobile as possible and move to where the action is.
- Detail shots: Use a single flash pointed at the ceiling for that extra pop!
4. Build a Bulletproof Backup System
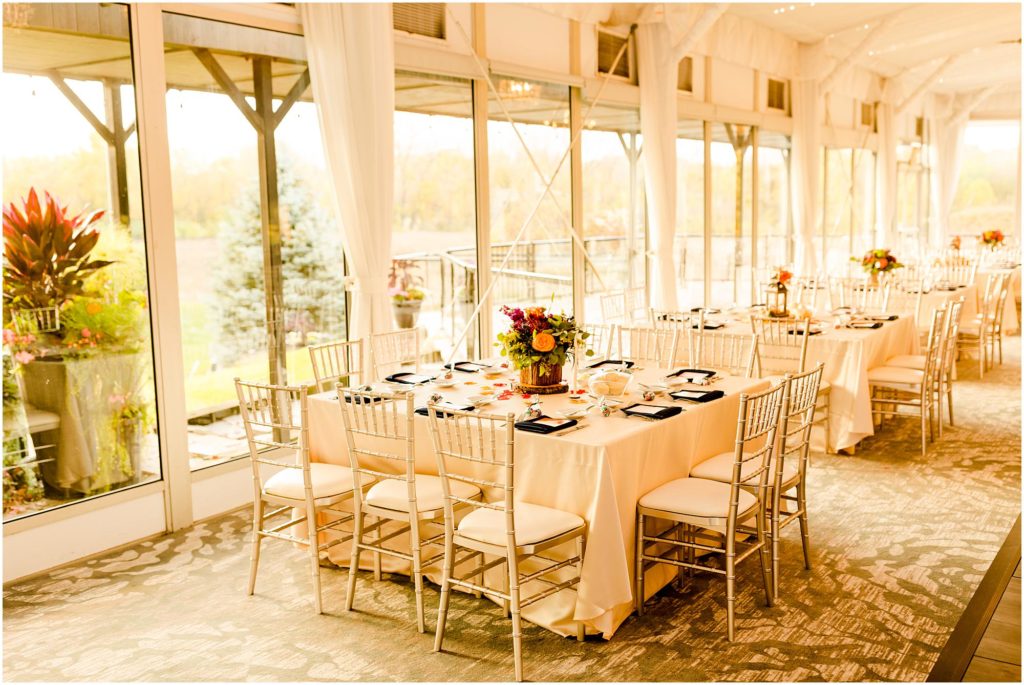
After years of shooting weddings, we’ve learned that equipment failure isn’t a possibility – it’s an eventuality. That’s why we carry four flashes even though we only use three at most.
Here’s our essential kit:
- 4 flashes (one is always a backup)
- 2 flash diffusers
- 1 umbrella
- 1 tripod for remote flash
- Extra batteries
Skip the fancy lighting gear you’ll rarely use. Instead, invest in backup equipment for the essential tools you use at every wedding. You’ll thank yourself when gear inevitably fails at a critical moment.
For outdoor receptions, we also recommend:
- Sandbags for the tripod in windy conditions and for extra precautions
- Clear plastic bags for sudden rain – We used walmart bags…no need to get fancy
5. The Secret to Handling Mixed Lighting Like a Pro
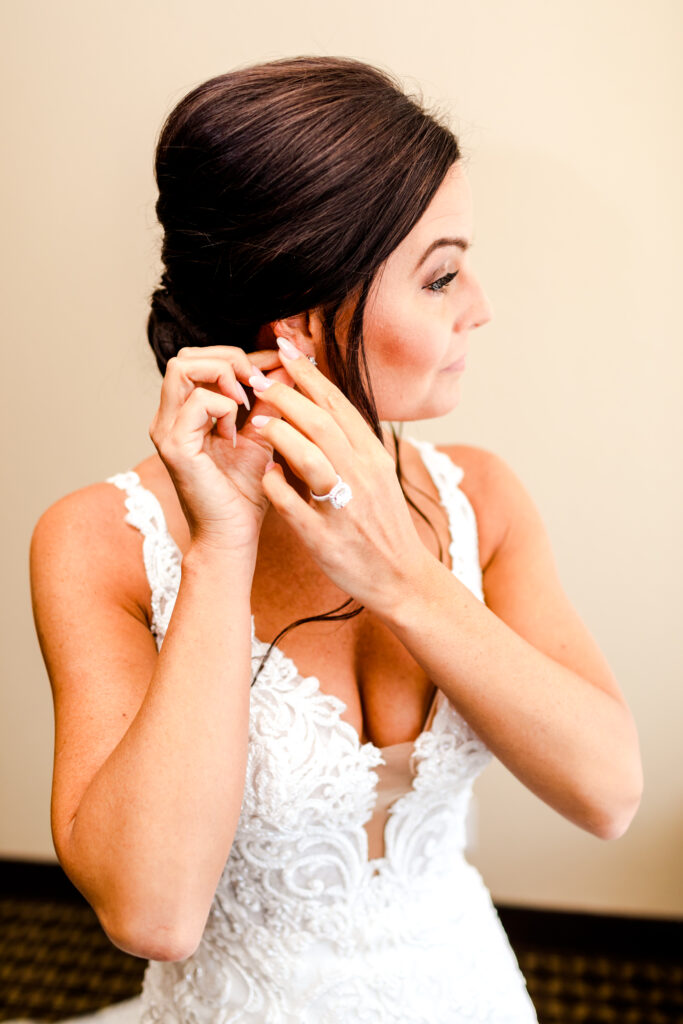
Mixed lighting situations become simple when you follow our approach: start by adjusting your Kelvin settings to match the dominant light source. If that doesn’t achieve the look you want, use flash to overpower problematic ambient lighting.
Common mixed lighting scenarios and solutions:
- Getting ready rooms: Match Kelvin to window light, supplement with flash if needed
- Hotel lobbies: Override fluorescent lighting with flash power
- Outdoor evening candid shots: Balance ambient light with flash
- Indoor venues with large windows: Choose between matching daylight or indoor lighting
For detail shots, dress photos, and getting ready images, we add flash selectively to create extra pop while maintaining a natural look. Understanding when natural light is sufficient and when you need artificial lighting comes with experience, but start by asking yourself: “Does this enhance the natural environment or fight against it?”
This works especially well in getting ready rooms where you’re dealing with window light, overhead fixtures, and makeup mirrors simultaneously. Instead of fighting the mixed lighting, use it to your advantage by positioning your subjects near the best light source and supplementing as needed.
Final Thoughts
Great wedding photography lighting isn’t about having every piece of gear available – it’s about knowing exactly when and how to use what you have. These five techniques have helped us handle everything from bright sunny days to candlelit ceremonies with confidence.
Focus on mastering natural light first, then add artificial lighting strategically when needed. Keep your approach simple, have backups for your essential gear, and never stop learning how light behaves in different situations. Your couples are trusting you to capture their day beautifully and authentically – these techniques will help you deliver exactly that.
Some of the links in this post are affiliate links. This means if you click on the link and purchase the item, we will receive an affiliate commission at no extra cost to you. All opinions remain our own.