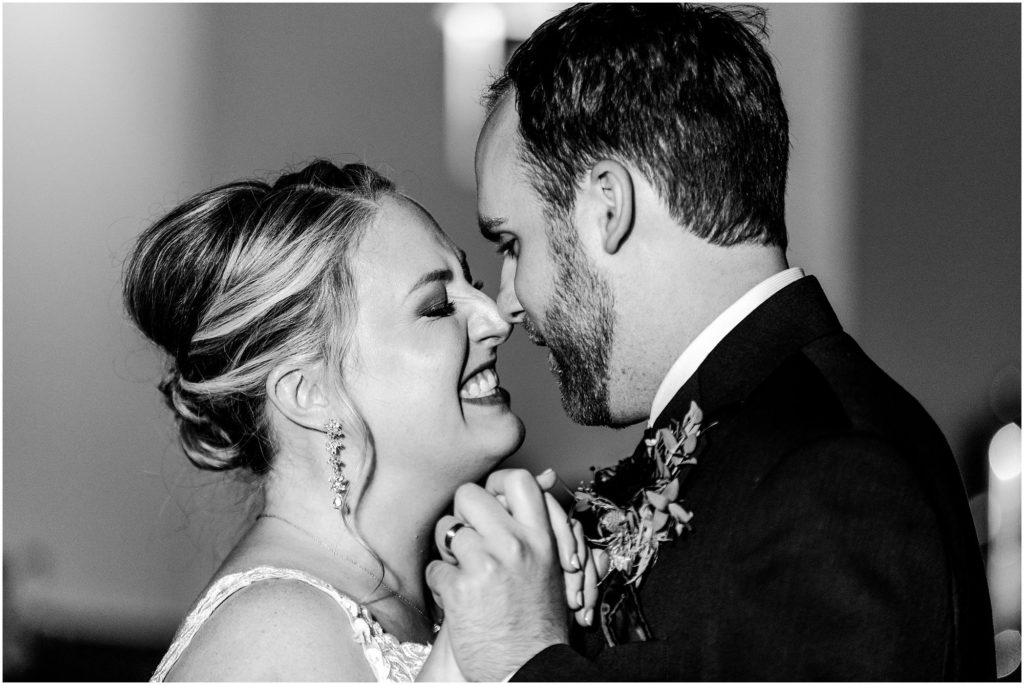
Let’s be honest – reception lighting can be a real challenge. In fact, most wedding photographers we talk to say it’s their biggest technical hurdle. After shooting hundreds of receptions in various venues, we’ve learned that mastering flash photography isn’t just about knowing your equipment – it’s about understanding how to adapt to any lighting situation you encounter.
P.S. Here’s something we’ve learned after years of shooting together – everyone has different strengths in photography, and that’s perfectly okay! While I love experimenting with multiple flash setups, Caitlin has mastered the art of capturing beautiful moments with just an on-camera flash. And you know what? Both approaches create fantastic results! The key isn’t having the most complex lighting setup – it’s understanding your tools and using them confidently. So if you’re feeling overwhelmed by complex flash techniques, remember that amazing wedding photos can be created with minimal flash gear. Focus on mastering what works for you!
If you are new to all this and feeling a bit overwhelmed, check out our super detailed post about how to start your wedding photography business from scratch and believe me when I say it works because we did it and believe you can too! Also, if you are looking for recommendation on what gear you should have as a wedding photographer, make sure to check out our post on the best wedding photography gear we recommend for 2025!
Table of Contents
Tip 1: Keep Your Flash Setup Simple and Reliable
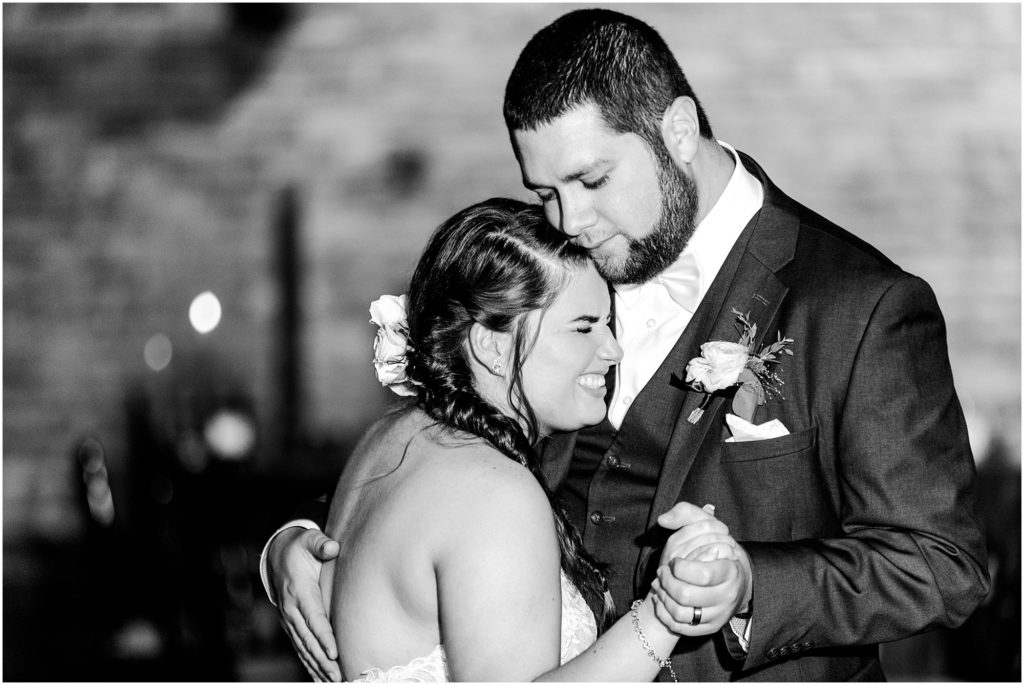
Wedding receptions demand reliability, and your flash setup needs to deliver consistently. We always recommend having at least two external flashes in your kit (per primary camera, so Caitlin and I would always carry 4 flashes – (Here is a link to the flash we use) – one as your primary and one as backup. Starting with a quality TTL-capable flash(this stands for Through-The-Lens and in a nutshell is automatic mode) will give you the flexibility to switch between automatic and manual modes as the situation demands.
We’ve found that keeping our flash setup simple is the key to success at receptions. A quality on-camera flash is really all you need to create beautiful photos. No need for fancy modifiers or complicated setups – we get great results just by understanding how to work with our basic flash and the room around us.
The most important thing is reliability. Always pack extra batteries and a backup flash in your bag. We can’t stress this enough – reception moments happen fast, and you need to know your gear won’t let you down. Before the reception begins, test your flash to make sure it’s firing correctly. That quick check can save you a lot of stress later in the night.
Tip 2: Read Reception Venues Better
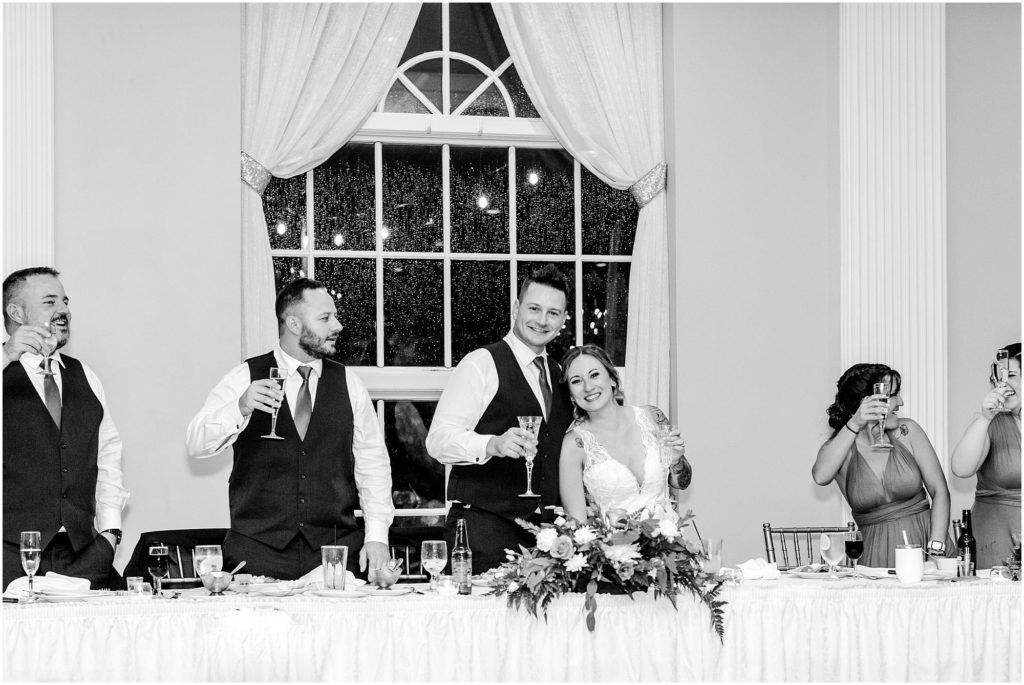
When we arrive at a new venue, the first thing we do is check the ceiling height and color. A white ceiling at 15 feet or lower? Perfect for bounce flash. Dark wooden beams or 30-foot ceilings? Time to modify our approach with direct flash and diffusion.
Take a few test shots during your venue walkthrough. Pay special attention to problematic areas like dark corners or spaces with mixed lighting. Understanding these challenges before the reception starts gives you time to plan your lighting strategy and adjust as needed.
Working with venue lighting restrictions requires flexibility. Some venues have strict rules about flash usage or specific areas where lighting must be minimal. Chures tend to be the most strict with flash, we rarely run into any issues when it comes to the venue. That said, it is always good to be prepared to use high-ISO if you can’t use flash. If your camera does not handle a higher ISO very well, it might make sense to look into one that could. Check out the top wedding photography cameras we recommend for photographers at any level.
Tip 3: Start With These Proven Flash Numbers
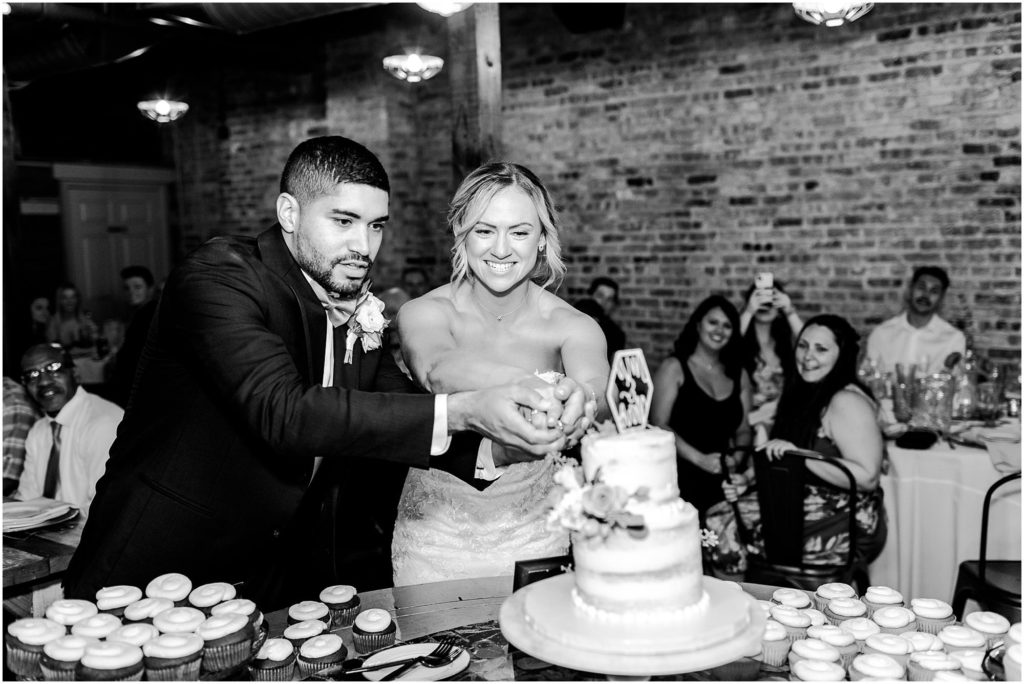
Getting that perfect balance between your flash and the venue’s existing lighting is really about observation and adjustment. We always start by taking a few test shots without flash to see what the room’s natural lighting looks like.
The key is to let the room’s lighting do most of the work. Your flash should just help brighten up the people in your photos without washing out all that beautiful ambiance. Start with your flash on a lower power setting and gradually adjust until people’s faces look natural and well-lit. If you’re seeing harsh shadows or people looking too “flashed,” just dial it back a bit.
What should the flash settings be for a wedding reception?
Here’s where we tend to start every reception out with. The best part about a reception is that you shouldn’t have to update your settings much once you get your light set:
- Base settings: f/1.8, 1/200th, ISO 800
- Flash power: Start at 1/16th power and adjust as needed
- Fine-tune: Adjust flash compensation until skin tones look natural
Remember, you don’t need to light up the entire room – focus on making sure your main subjects look good. When we’re shooting receptions, we keep it simple and adjust our flash power based on how close or far we are from what we’re photographing. The closer you are, the less flash power you’ll need.
Tip 4: Place your Flash Strategically For Key Moments
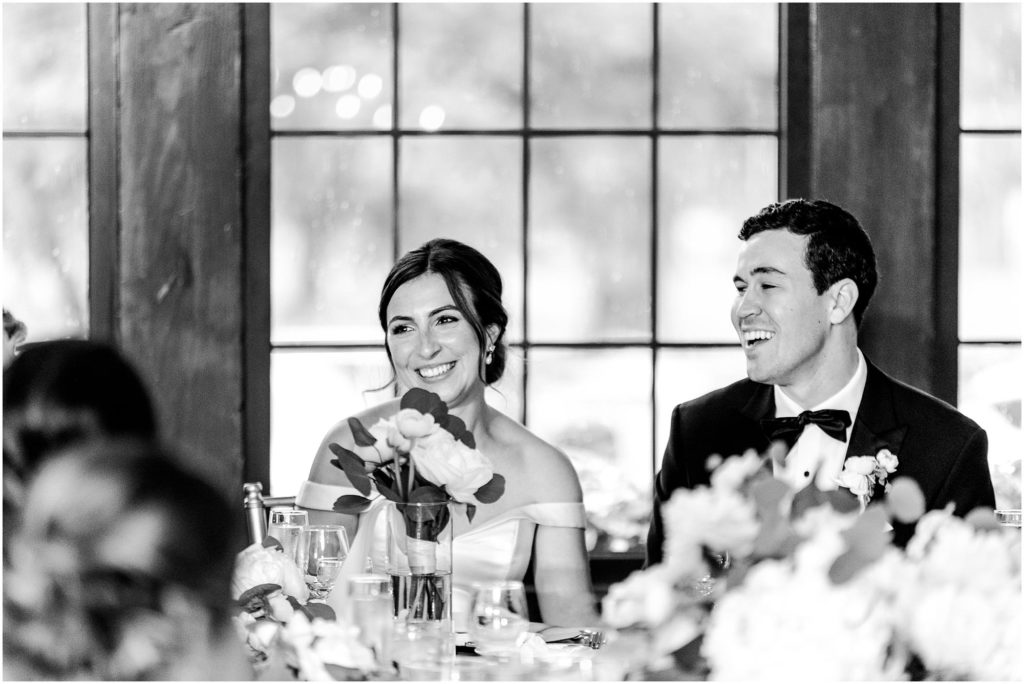
Our reception coverage works best as a team effort with two distinct approaches that complement each other perfectly. While one of us (Luke) sets up at a fixed position with a 70-200mm lens and a flash on a tripod behind an umbrella diffuser, the other (Caitlin) moves freely through the space with an on-camera flash and reflector, capturing wider shots with a 35mm or 50mm lens.
This dual approach gives us incredible coverage of the reception. The stationary position with the 70-200mm allows for those tight, emotional shots with beautiful light, while having someone mobile with a wider lens ensures we don’t miss any spontaneous moments happening around the room. It’s like having the best of both worlds – one photographer can focus on getting those perfect candid close-ups while the other captures the overall energy and flow of the reception.
When setting up your stationary position, look for a spot that gives you a clear view of the key areas – typically the dance floor, cake table, and wherever toasts will happen. The mobility of the second shooter with the on-camera flash means they can fill in any gaps and capture moments from different angles without disrupting the flow of the reception.
Remember to communicate with the videographer about your setup – they’ll appreciate knowing where your stationary light will be, and it helps everyone work together smoothly throughout the night.
Tip 5: Do This…But Don’t Do That
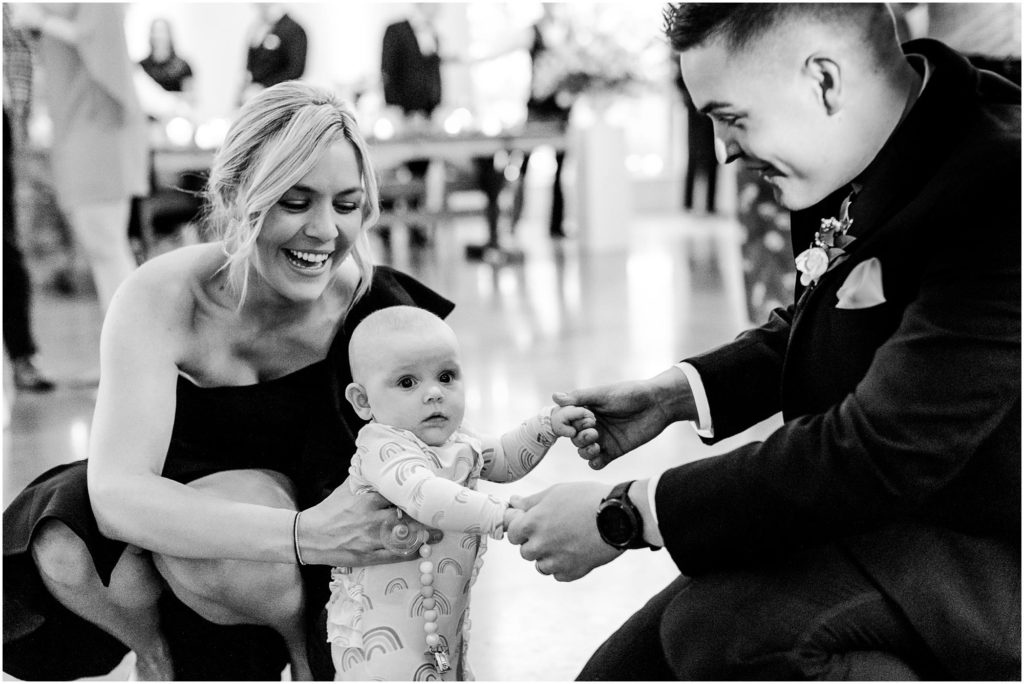
After years of shooting receptions, we’ve learned what works and what doesn’t when it comes to flash photography. Here are our tried-and-true guidelines that will help you avoid common pitfalls and capture better photos.
Let’s start with what works. DO:
- Test your flash settings during cocktail hour when you have time to adjust
- Keep spare batteries in your pocket for quick changes
- Take test shots at each new position before important moments
- Communicate with the videographer about your lighting setup
- Pay attention to guest comfort – no one wants a flash in their face all night
Just as important are the things to avoid. DON’T:
- Get stuck using the same flash power all night – receptions are dynamic
- Forget to check your battery level between key moments
- Light up the entire room – focus on your subjects
- Stand in the videographer’s way during key moments
- Wait until the reception starts to figure out your settings
One mistake we often see photographers make is relying too heavily on their flash. Remember, your flash should complement the existing lighting, not overpower it. We’ve found that starting with a lower power setting and adjusting up as needed works better than blasting full power and trying to dial it back.
Remember, mastering reception flash photography takes time and practice. Start implementing these techniques at your next wedding, and don’t get discouraged if everything isn’t perfect right away. With experience, you’ll develop an intuitive sense for lighting that will serve you throughout your photography career.