-8")


Table of Contents
Hi everyone!
It’s Luke writing today’s blog post! I know I don’t write a lot, and that is because Cait has an awesome gift for it. It is really awesome to see that talent at work on a daily basis! Every once in a while, she wants me to write a post to kind of explain a few things I do. One of my favorite parts of a wedding day is capturing the beauty of a bride’s ring. I am going to be writing 5 tips on how to take amazing ring shots!
Tip # 1: Find Significance
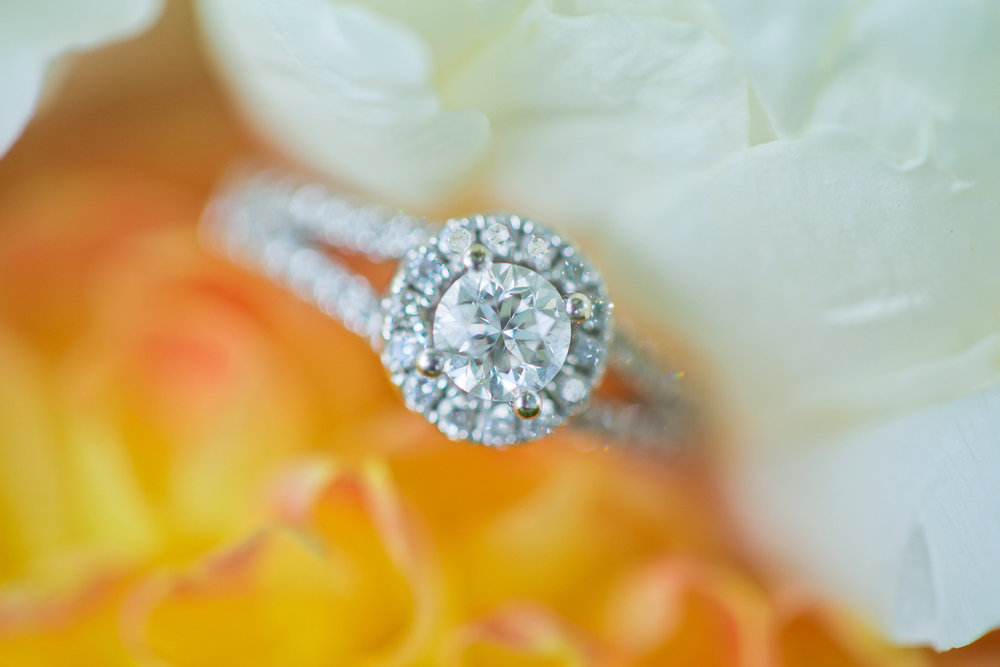
A bride’s engagement ring is one of the most valuable items that she will ever own. It is the first real step to commitment, and it is usually one of the most expensive items a girl owns. I can’t tell you how many times I either hear Cait say something about loving her ring or just happen to spot her starring at the diamond on her finger. Brides really care a lot about that ring, and it signifies so much. As a photographer, I try to tie that shot into the wedding somehow. This could be done by incorporating one of their wedding colors, using their wedding day invite, or simply laying the rings in the bride’s bouquet. This helps the ring stand out, but also fit in with the other photos!

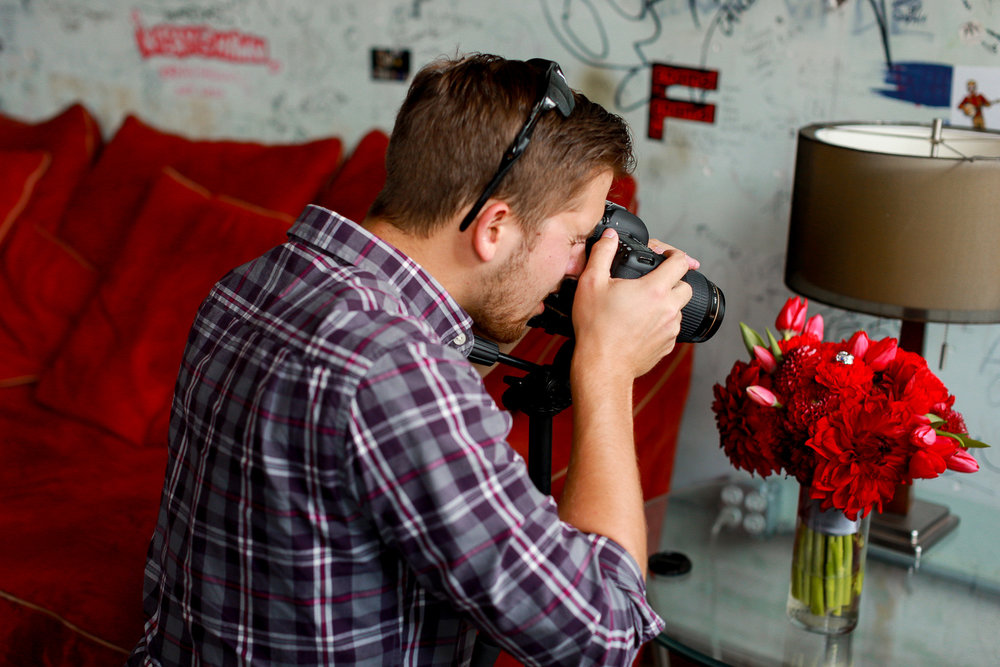
Tip #2: Use a Tripod
This tip is important. If you don’t already use a tripod for ring shots, you should be doing so. Not only does it free up your hands so that you can adjust the ring at will, but it also helps with focusing and keeping the camera steady, so that you can create the clearest image. One thing we do as a business is spend money on equipment that needs to stay up to date. This is not the case for our tripod, though… we have a tripod we bought from Amazon that was about $65! It is strong enough to handle a 5D Mark III, and it doesn’t come with a huge price tag. Here is the link to that!
Tip #3: When possible, manually focus
This tip kind of ties into the tip above, because without a tripod, this may be a little tricky. I only focus manually when taking ring shots. Each ring is different; some are easy to focus on, and some are very difficult. What I have learned is that when I focus manually, I tend to focus on the prongs if I can’t focus on the diamond itself. It is a bit harder and requires some practice, but I promise it will make your images look that much better.
Tip #4: Follow the light
Light is huge when it comes to taking ring shots. Rings reflect light like crazy, so you need to make sure that you or the ring are at the right angle. It also helps to take ring shots in well-lit areas. I generally take my shots outside in a shady area so that I have even lighting and the ring is well lit. If I can’t take the ring outside, I do the next best thing and find a well-lit windowsill instead. Even lighting and well-lit rings make it easy to focus and produce you the best results for capturing a beautiful ring shot!
Tip #5: Placement is everything
When I first started taking ring shots, I started putting them on tree branches or flowers. Even if the branch or flower was miraculously strong enough to hold it up, I would still notice a lot of shaking from the wind or my arms trying to hold the camera still. I now try to find placement on sturdy backgrounds that are knee high or lower. The reason I do that is because I want to be able to be at a good distance with my tripod, and I don’t want a ring to fall somewhere that I can’t find or grab quickly. Let’s say you really love this one area with a lot of flowers, but they just can’t hold the ring steady or safely. I would grab some of those flowers and think creatively about how I can use them. Here is an example:
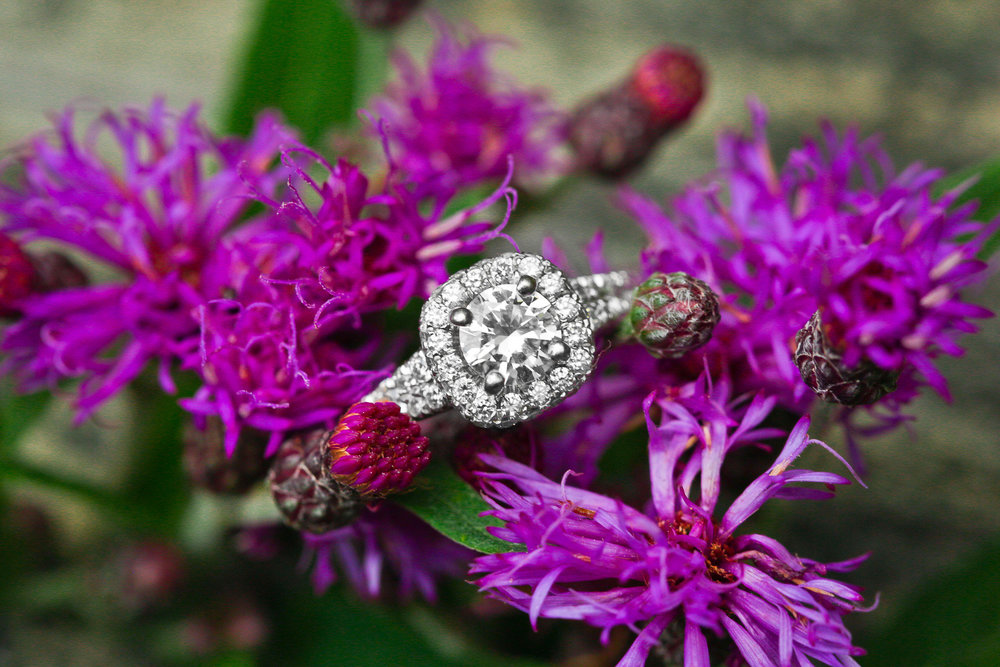
For this shot, I took these flowers and slid their stems through the crack of a bench. This created a sturdier spot for the flowers. I then grabbed a few more flowers to fill in the gaps of the bench, so that all my camera could see are the flowers and the ring. This can be done with a lot of things, so you can get creative with what you use to steady the ring.
If you have any questions, let us know by commenting below! We’d love to help you guys out!

-12")


