-8")


Table of Contents
Visual Learner? Check out our video!
Ever struggled with setting up an autoresponder with your Honeybook contact form? If so, we have fantastic news for you! This is a solution that we recently found and are so excited to share with everyone today! Here are the steps on how to create an autoresponder for Honeybook contact forms!
Add A Honeybook Form To Your Website
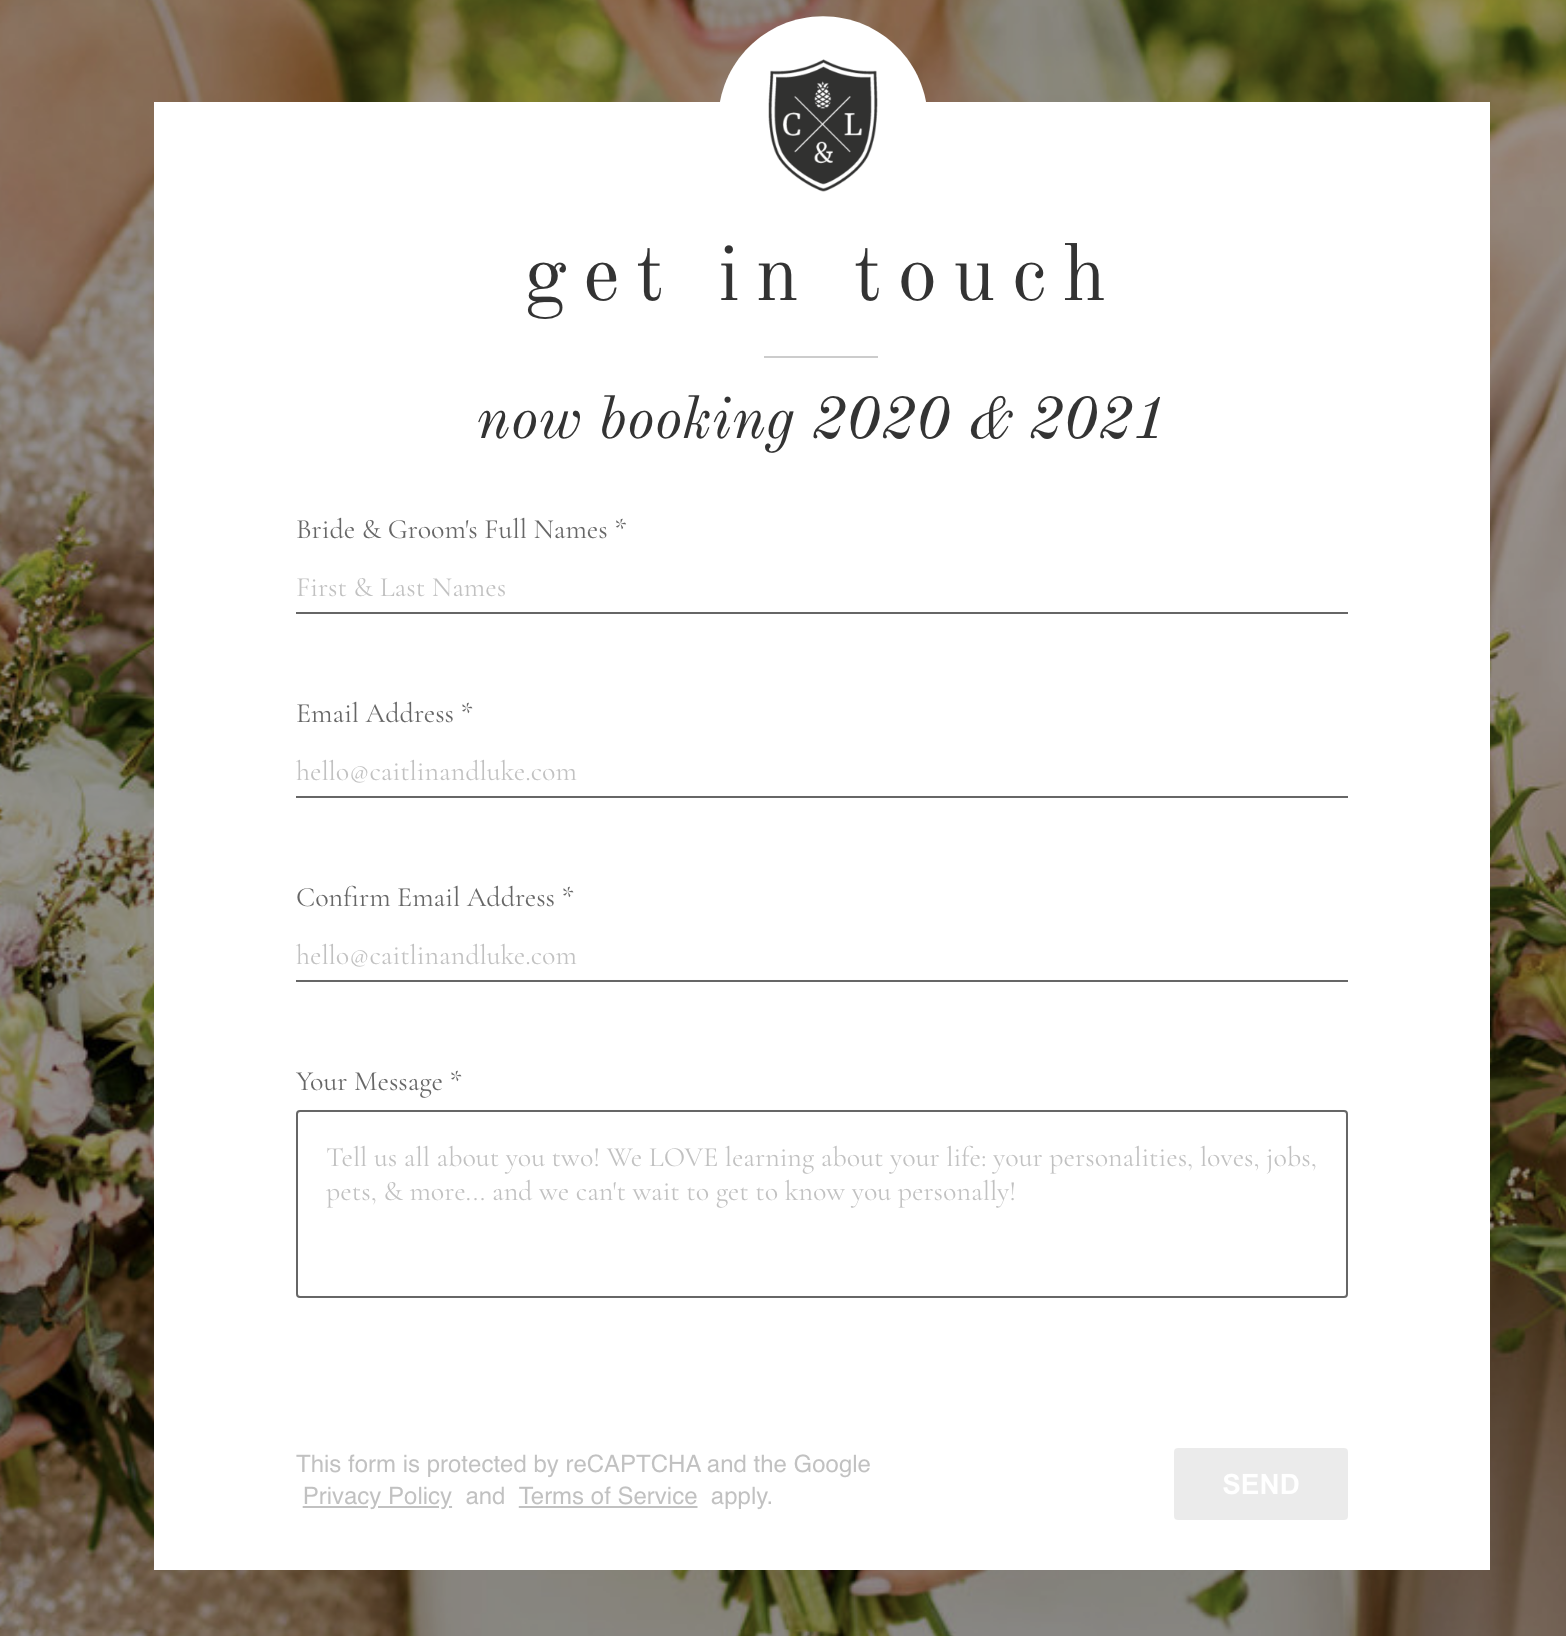
If you are a Honeybook user, you are most likely using their contact forms on your website! I mean, why not? The information submitted automatically gets added to a new project on your account! This saves countless hours for us annually!! Once you have an inquiry form on your website, you are ready for the next step! Get an account with Zapier!
Get Zapier

After creating a free account on Zapier, go to your Dashboard! The first thing it will ask is which apps you want to connect with each other! For this project, we are connecting Honeybook to Gmail! The next box wants you to decide what is going to happen with this specific zap! In this case, you will select “New Inquiry” for the first box and “Send Email” for the next box! This basically says that when you receive an inquiry an email through your Gmail account will automatically be sent to that inquiring couple! Click the “Use Zap” button to get started building your zap!
The Zapier Process
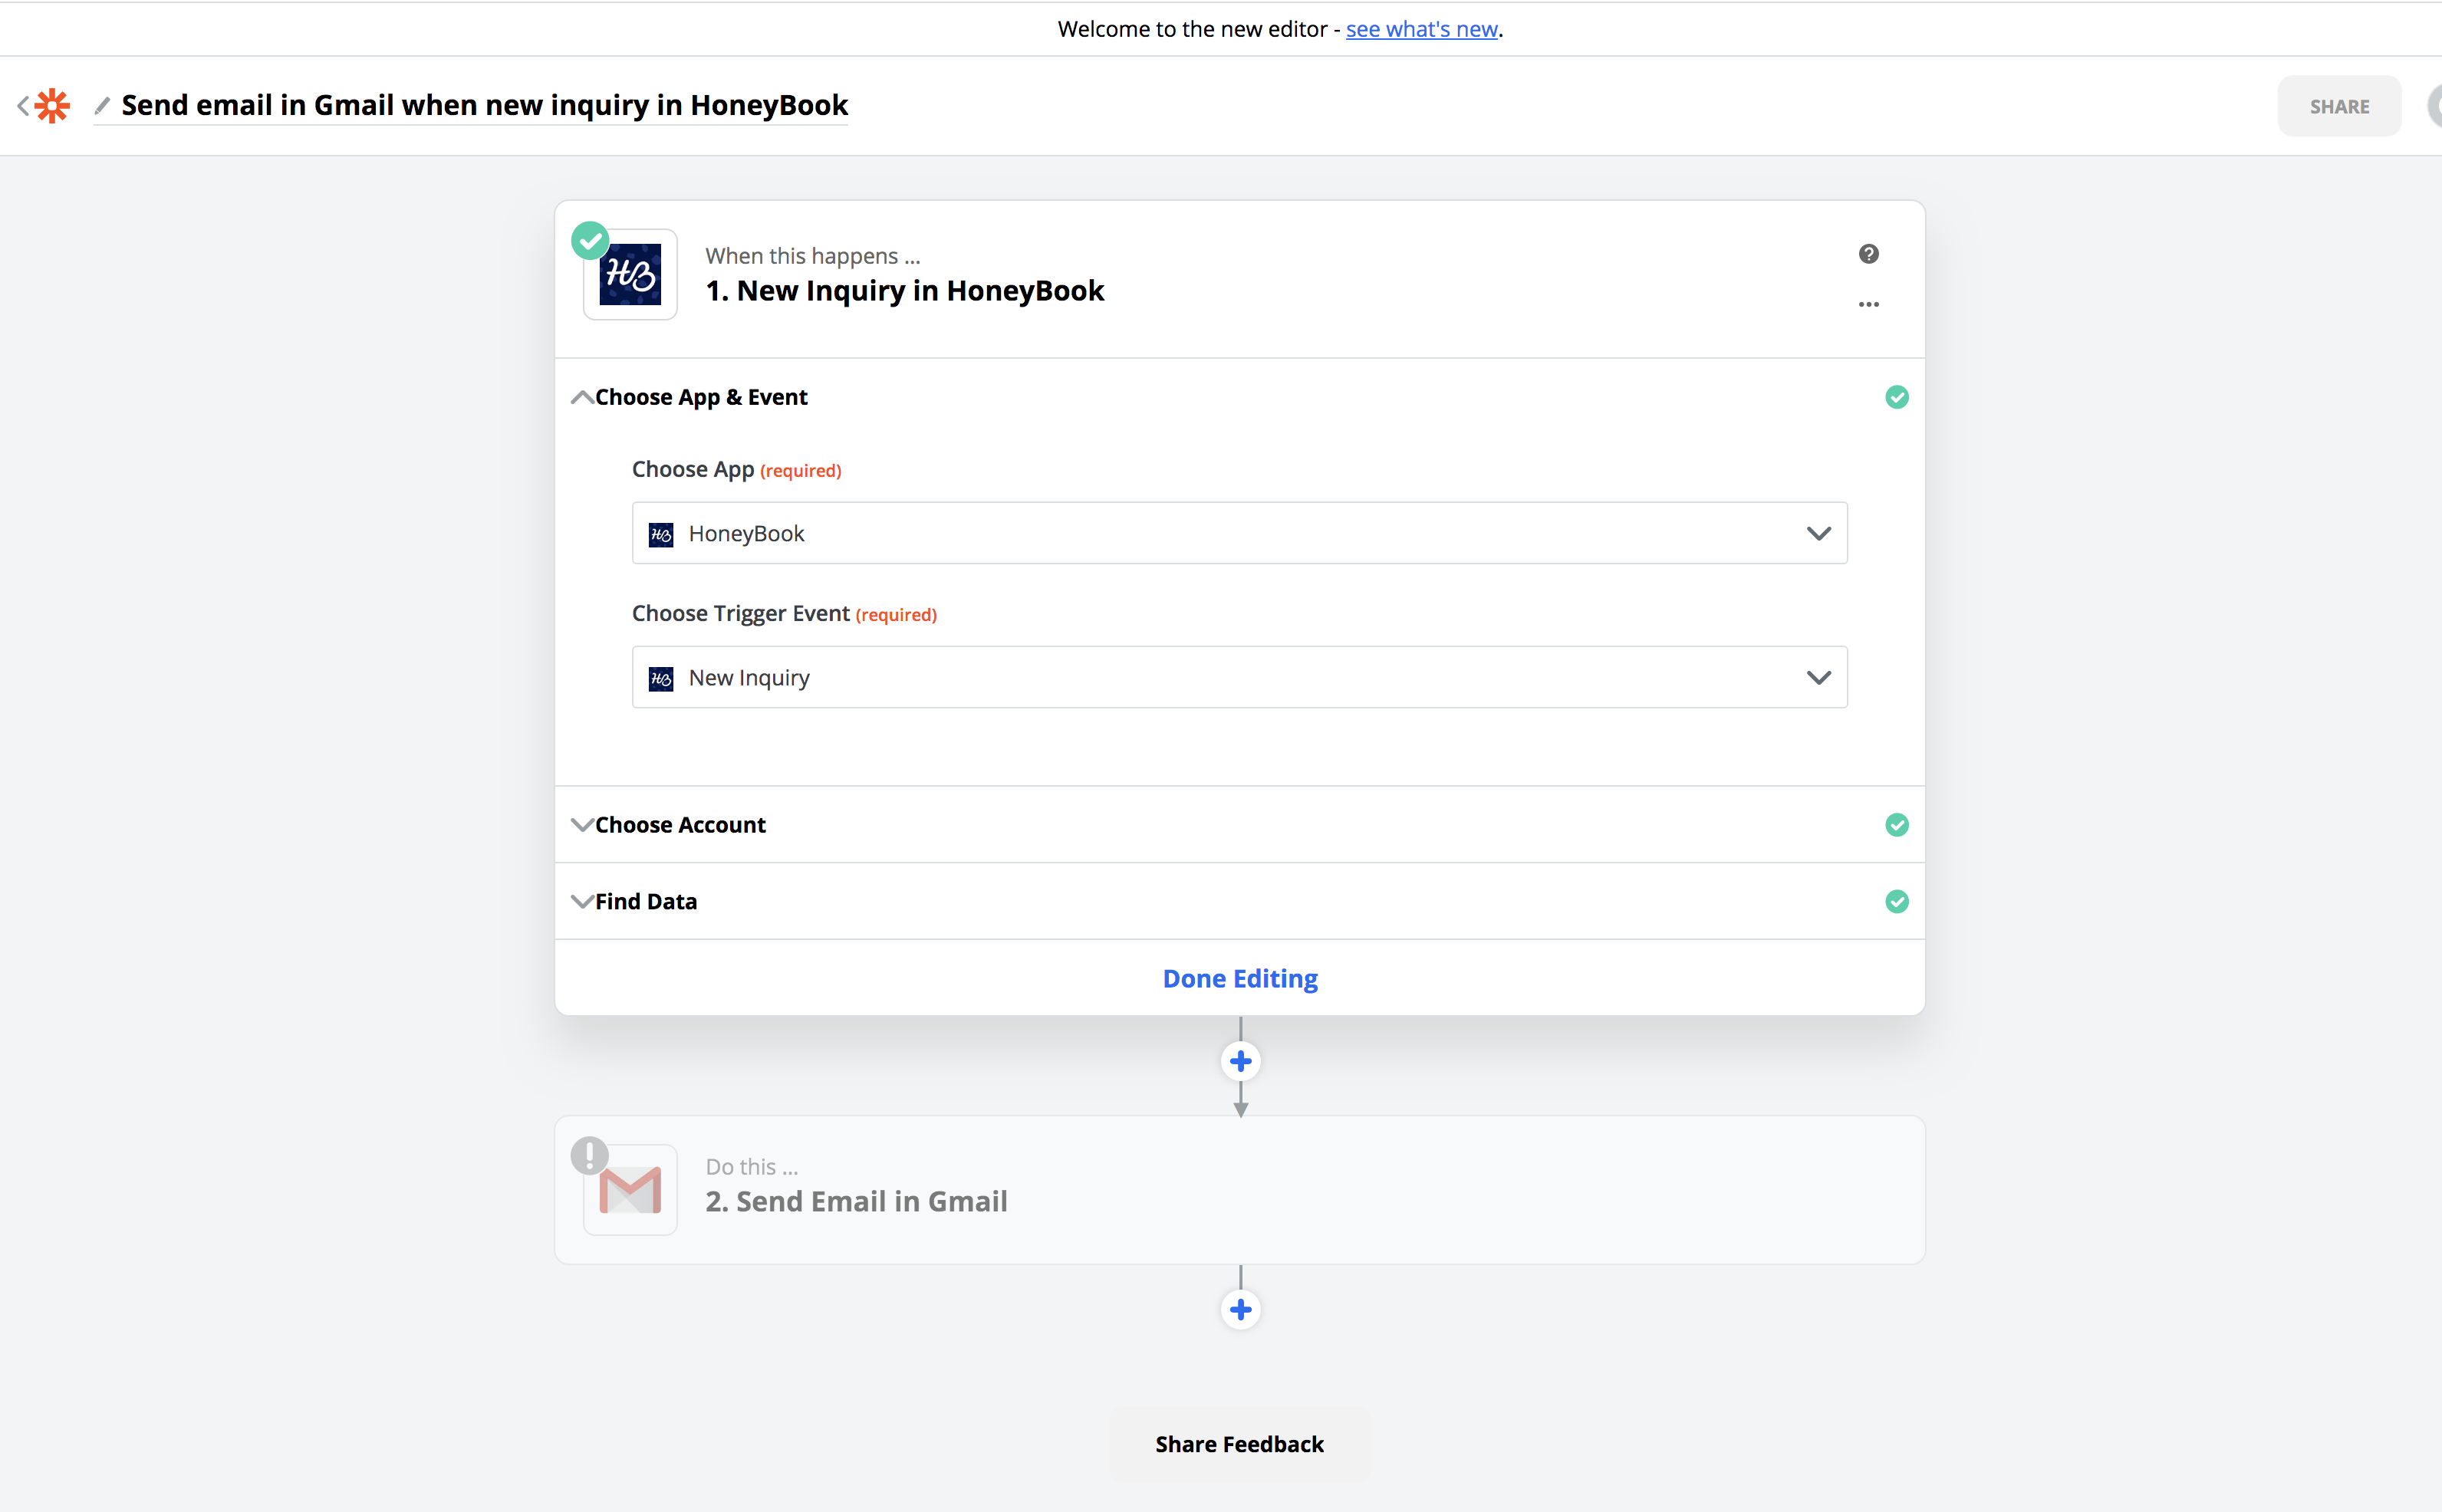
Now that you have clicked that button, the next page will be going into the details of how to customize this zap to fit your business! The first thing we are going to do is set up the Honeybook side of this zap! The first section should already be filled in as “Honeybook” and “New Inquiry.” Click the next tab down labeled, “Choose Account.”

When you first get started it will ask you to connect your Honeybook account. With a few simple clicks it will all be done for you and you’ll be able to select your account for this box!
Don’t miss this step!

The next thing I want you to do is to create a test inquiry! Go to your website and fill out your inquiry form! When you do this, make sure to fill in an actual date, wedding location, name, etc. Code language can be hard to understand and it makes it easier if you use common terms your brides would put into your contact form! Fill out your inquiry form and submit it, then wait 15 minutes and come back to this! The reason you need to wait 15 minutes is that the free account refreshes every 15 minutes! My advice, be patient or upgrade to the next level ha!
Once you’ve waited 15 minutes, go back to your zap and click “Get More Samples.” That will then draw in your most recent inquiry and you can use that information to set up the zap! In the picture above you can start to see the info from my inquiry! After that’s all done, you are good to go with the Honeybook side and you can click “Done Editing!”

On to the Gmail side of things! This can get a little more complicated but don’t worry, it’s still really simple! First, choose your Gmail account and hit “Continue.”
Set up Gmail
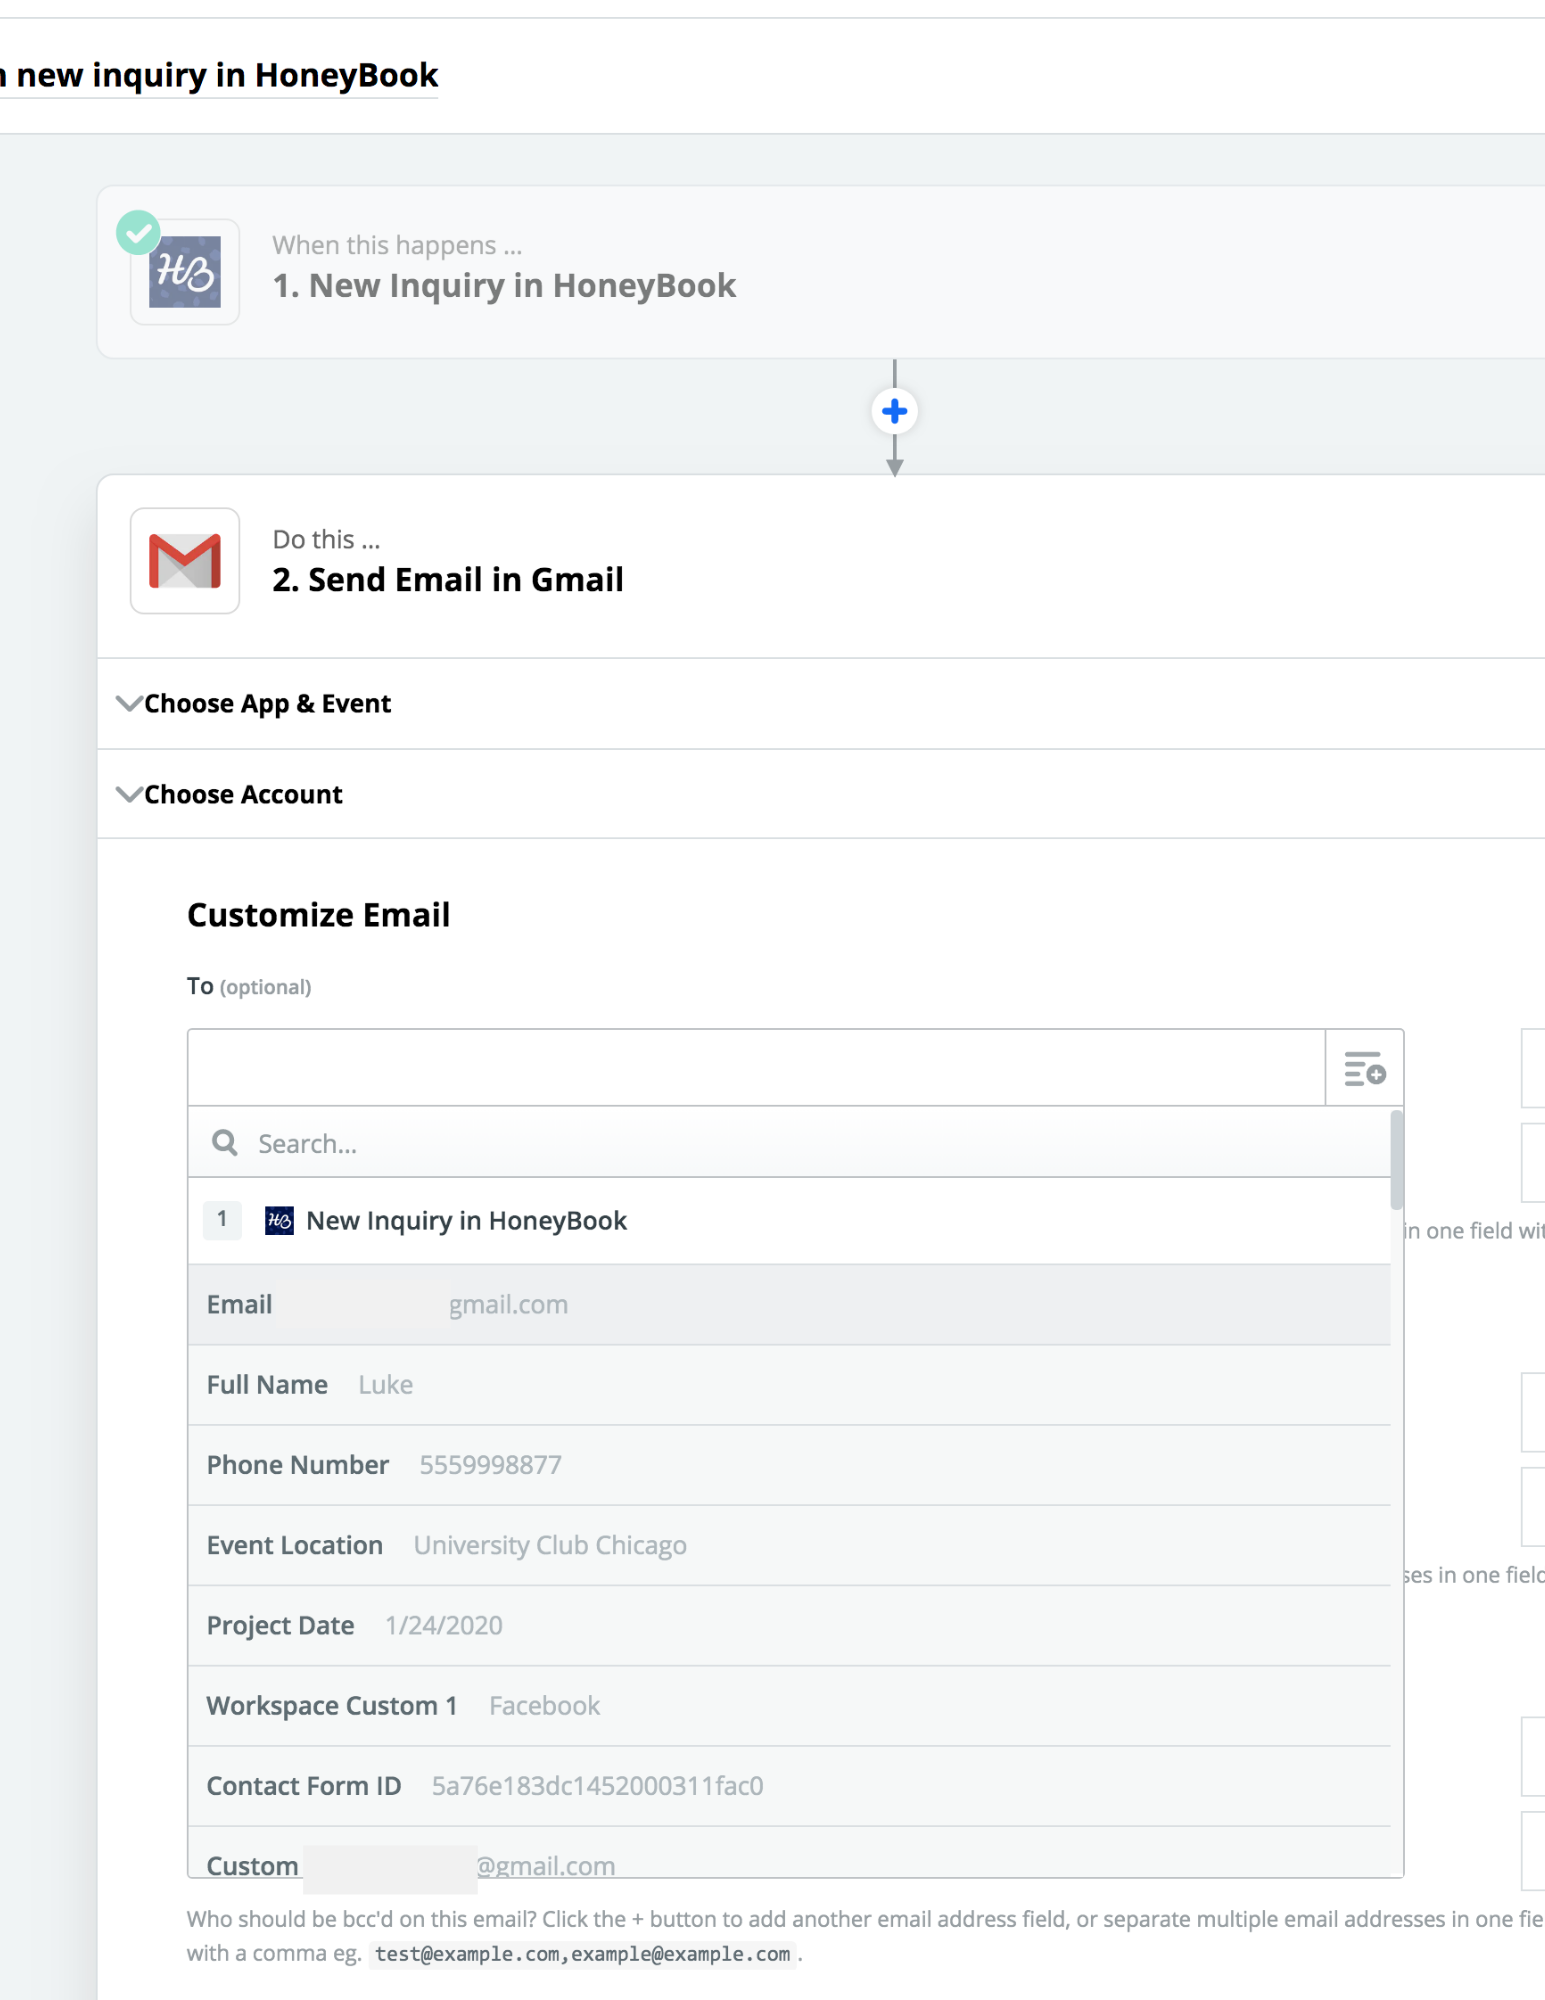
Here’s where the fun starts! Customizing the email can be frustrating but by the end of the post, you should have the tools you need to tackle the project! When you click on the first box it is going to pull in all the information from your most recent inquiry! So, this is why I wanted you to fill out a fake inquiry in a way that a bride would fill it out!
The first box is asking who you are sending the email to! What we suggest doing is to select the email that was given in the inquiry form! That will automatically change to whichever email is submitted with the inquiry form! Make sure to do this step or this autoresponder will send to your inquiring couple!!

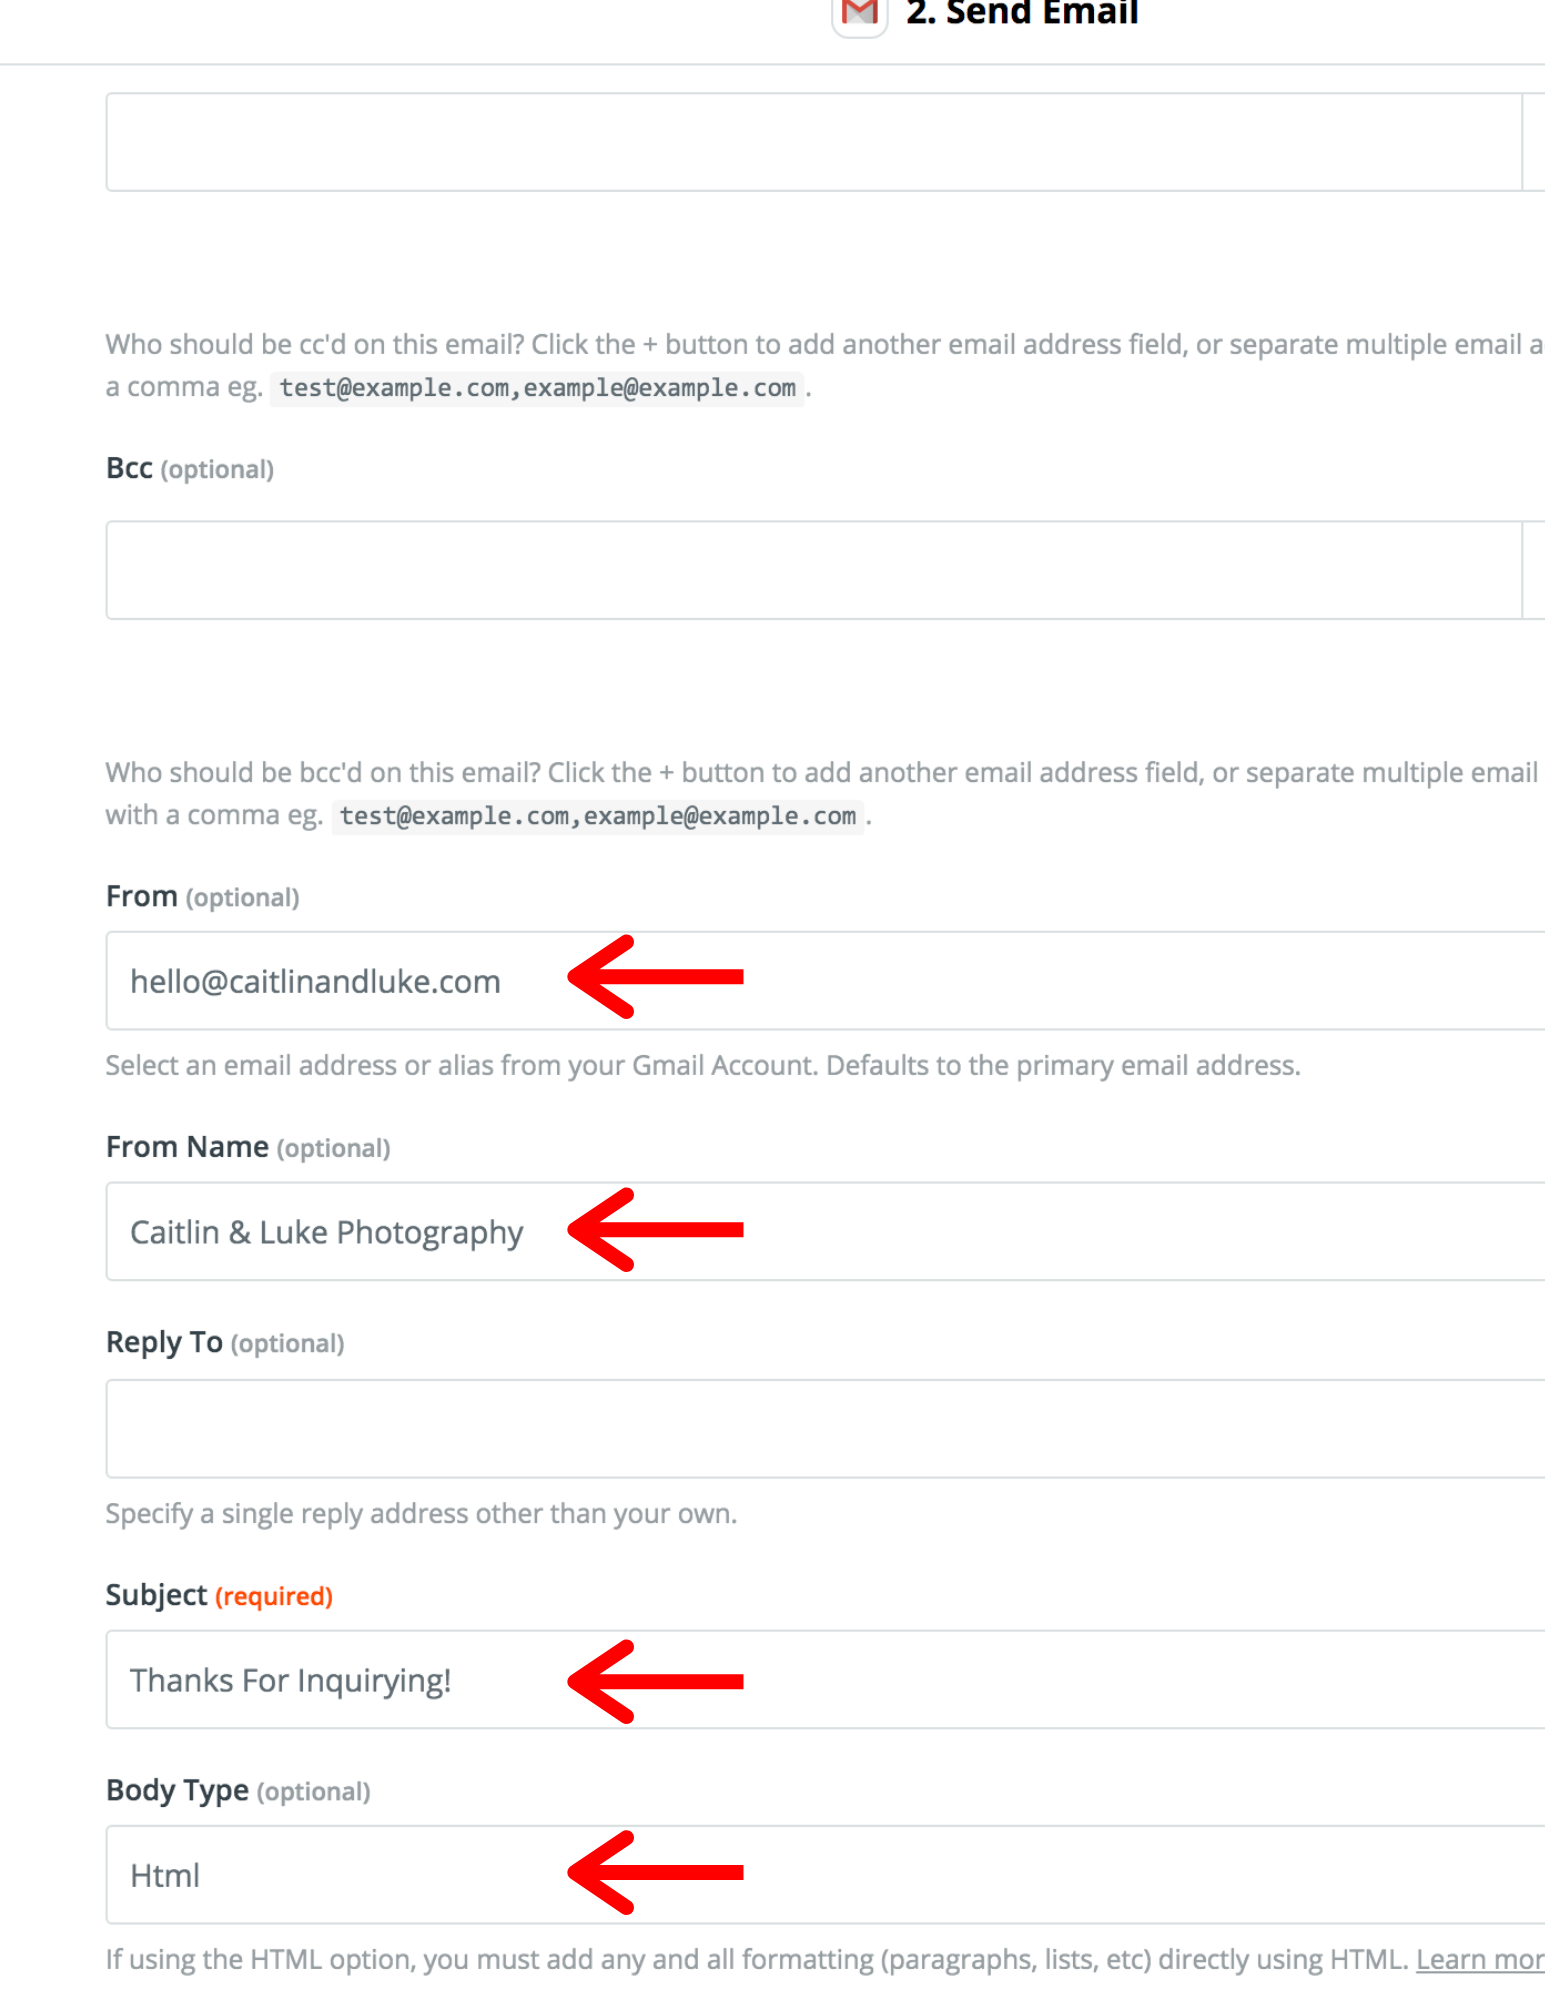
The next 4 steps are pretty simple! The “From” box is where you will put your work email address! The “From Name” box is where you will put your name. For example, this could be your first name only, your first and last name, or even your business name! Leave the “Reply To” box empty and now it’s time to customize your email! First, start with the subject! Whatever you put here will be sent as the subject to whoever is inquiring on your site! Lastly, the “Body Type” box will need to be set to HTML instead of PLAIN!
Customize Your Email

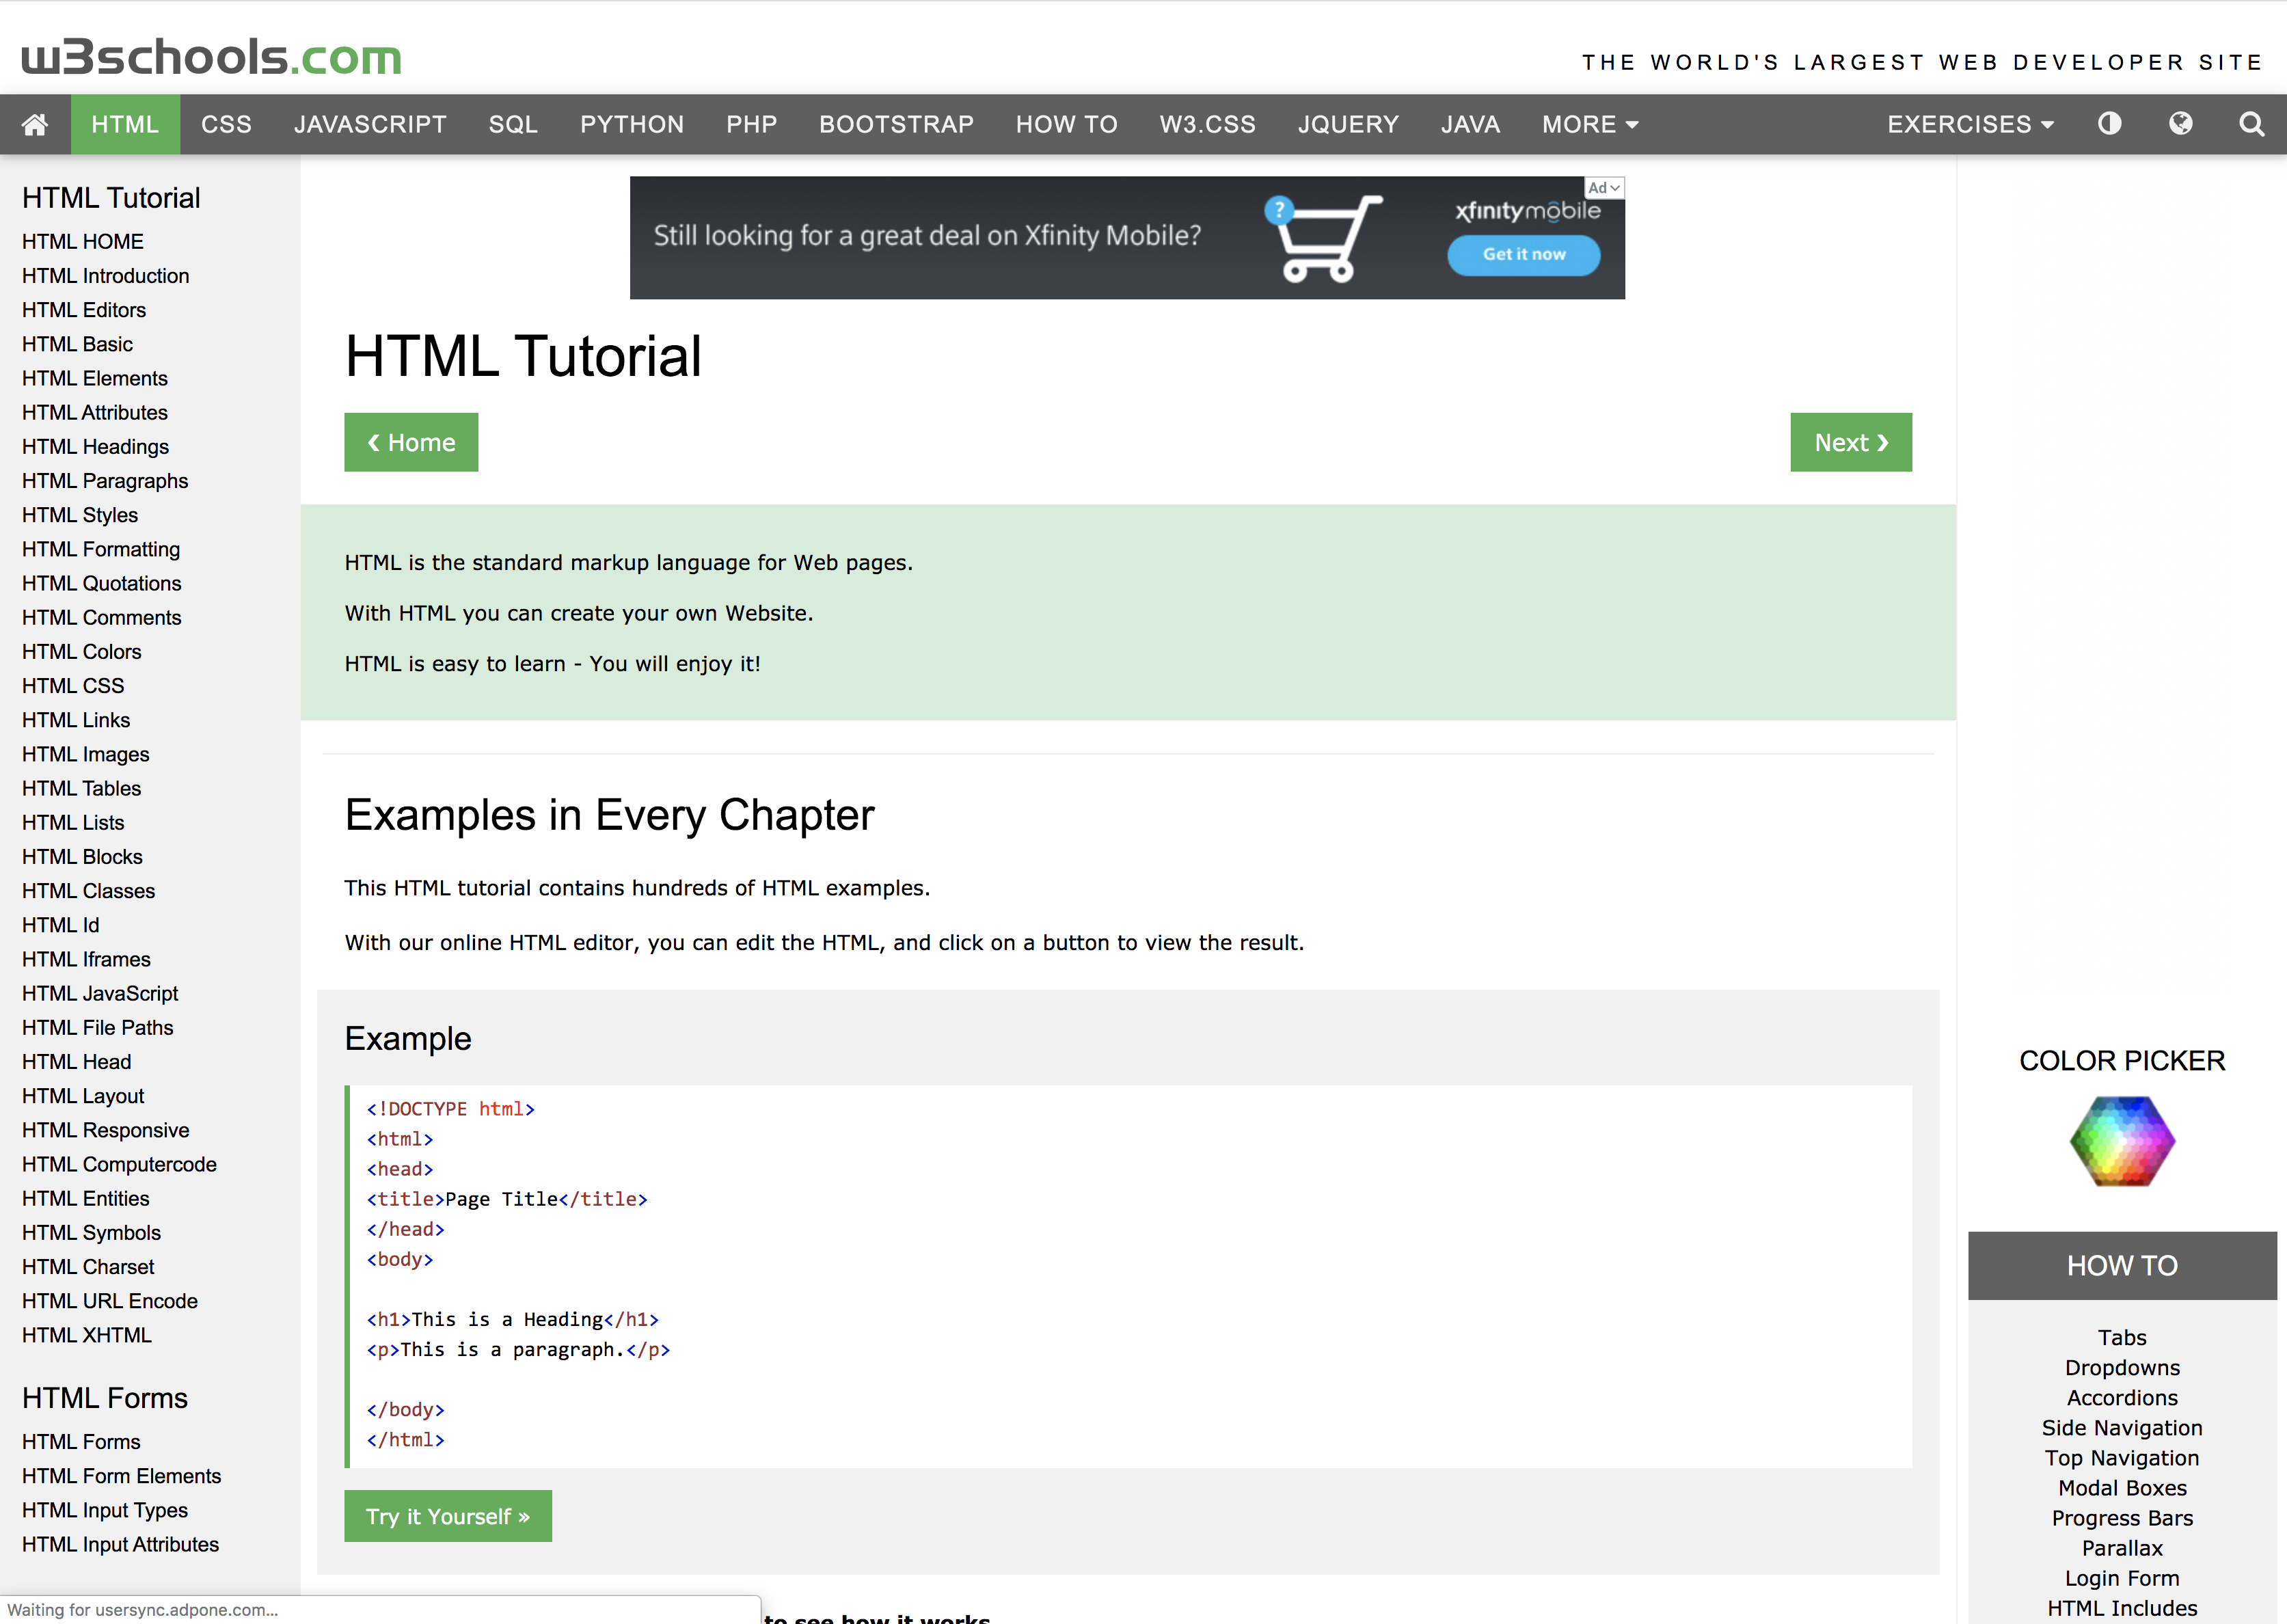
The “Body” box is where you can fully customize your email! Here are a couple of things to take into account when you are creating this…1) the way you format your message in this program will not be the exact way it is formatted when the email is sent! Unless you have coding experience, it does takes some trial and error but eventually, you will get it to look the way you want it! 2) If you aren’t familiar with HTML, like us, just remember 2 things! When bolding something, before writing anything start with <b> and end with </b>. Anything between those two symbols will be bolded! The same goes for spacing. Start a new paragraph off with <p> and end it with </p>. This is where the trial and error comes in! The good news is you can use w3schools to help with formatting, sizing, and even color!
Therefore, the actual email is the hardest part of the process but once you are done, you’re all set! Use our example as a framework to go off of and make sure to test mobile!!
Test & Sit Back and Relax
After you are happy with your email, go ahead and create another test inquiry and make sure it sends to your email! Then sit back and relax knowing that all of your inquiries will be responded to almost instantly!
**We are Honeybook Affiliates, which means at no cost to you, we make a small commission when you click the links and purchase. Any purchase helps feed Ollie, our pet Cockapoo!**
Struggle with posing? Download our free guide!

-12")


